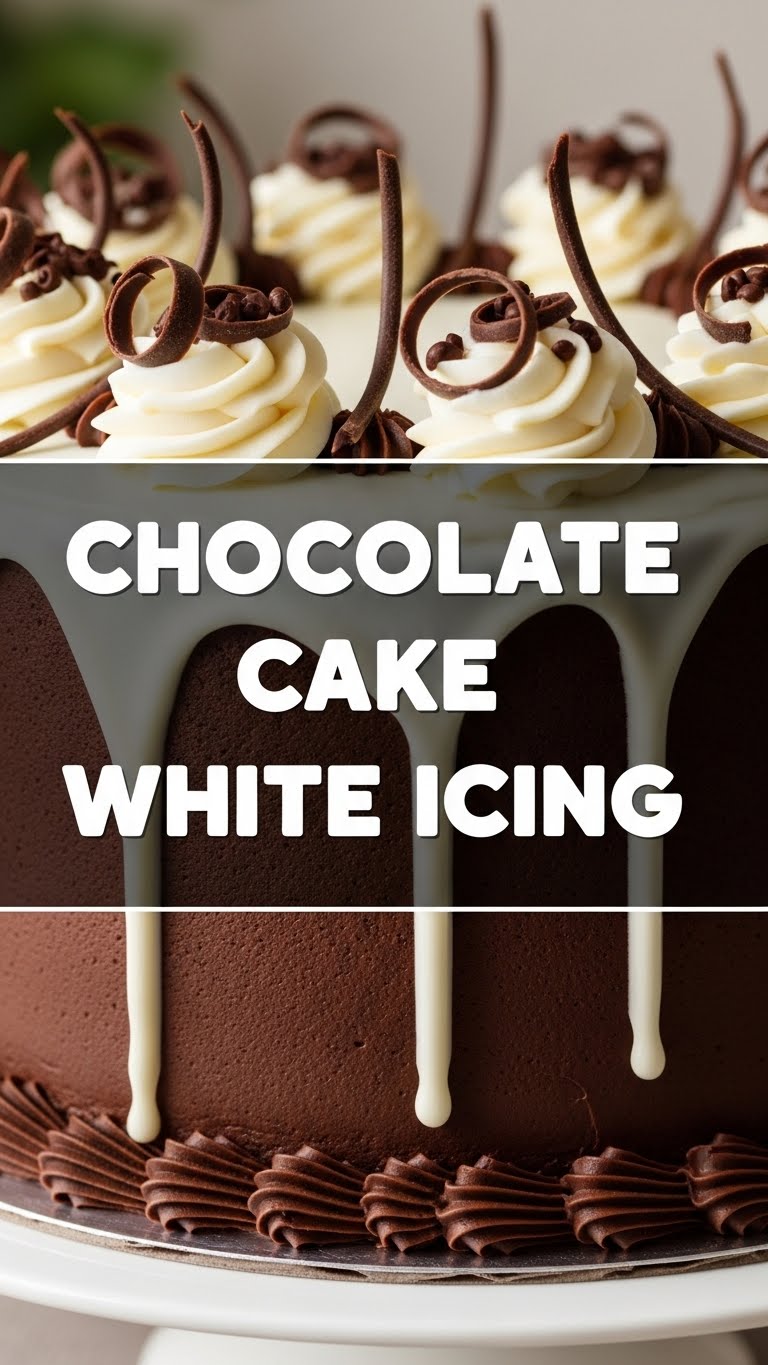
So you’ve got that pesky sweet tooth acting up again, huh? And it’s specifically screaming ‘CHOCOLATE CAKE!’ but you’re also kinda vibing with the couch right now? Same, friend, same. Good news: I’ve got a recipe that’s as lazy-friendly as it is ridiculously delicious. No fancy equipment, no confusing steps, just pure, unadulterated chocolatey bliss topped with a cloud of perfect white icing. Let’s get baking!
Why This Recipe is Awesome
Okay, let’s be real. There are a million chocolate cake recipes out there. But this one? This is *the* one. Why? Because it’s seriously that easy. We’re talking minimal dishes, maximum deliciousness. You don’t need to be a Michelin-star chef; if you can follow basic instructions and resist eating all the batter (tough, I know), you’re golden. It’s practically idiot-proof. Plus, that classic chocolate-white icing combo? It’s iconic for a reason. And **FYI**, it tastes way better than anything from a box mix. You’re welcome.
Ingredients You’ll Need
Gather ’round, my fellow kitchen adventurers! Here’s your shopping list. Most of this stuff is probably already chilling in your pantry, making this recipe even easier. We love that for us.
For the Seriously Good Chocolate Cake:
- All-purpose flour: 1 ½ cups. The backbone of all baked goods. Don’t worry, we’re not getting fancy with special flours here.
- Granulated sugar: 1 ½ cups. Because sugar makes everything better.
- Unsweetened cocoa powder: ½ cup (the good stuff, for max chocolatey vibes). This is where the magic happens.
- Baking soda: 1 teaspoon. Our little leavening friend, making things fluffy.
- Salt: ½ teaspoon. Just a pinch to balance out all that sweetness.
- Buttermilk: 1 cup. Don’t skip this, it’s the secret to a super moist cake!
- Vegetable oil: ½ cup. Keeps our cake tender and moist.
- Large eggs: 2, at room temperature. Happy eggs bake happy cakes.
- Vanilla extract: 1 teaspoon. Because vanilla makes chocolate even more chocolatey, paradoxically.
- Boiling water: 1 cup. Sounds weird, but trust the process. It activates the cocoa like whoa!
For the Dreamy White Icing:
- Unsalted butter: ½ cup (1 stick), softened. Because we control the salt content, thank you very much. A cold stick of butter is no one’s friend.
- Powdered sugar (confectioners’ sugar): 3-4 cups, sifted. We want smooth, not lumpy, icing!
- Milk: 3-4 tablespoons (any kind, but whole milk makes it extra creamy).
- Vanilla extract: 1 teaspoon. Essential for that classic flavor.
- Pinch of salt: Seriously, just a tiny pinch. It makes the icing taste less like pure sugar and more like, well, delicious icing.
Step-by-Step Instructions
Alright, let’s get down to business. Remember, short and sweet steps – just like our cake is about to be!
Cake Time:
- Preheat & Prep: Get that oven to 350°F (175°C). Seriously, do it now. Grab an 8×8 inch square pan (or a 9-inch round) and line it with parchment paper, leaving an overhang to easily lift the cake out. We like easy clean-up.
- Whisk Dry Ingredients: In a large bowl, whisk together the flour, sugar, cocoa powder, baking soda, and salt. Make sure there are no lumps of cocoa.
- Add Wet Ingredients (Mostly): Pour in the buttermilk, oil, eggs, and vanilla extract. Beat with an electric mixer on medium speed for about 2 minutes, until smooth and well combined.
- The Boiling Water Secret: Carefully pour in the boiling water. The batter will be thin – don’t panic! It’s supposed to be like that. Stir until just combined.
- Bake It Up: Pour the batter into your prepared pan. Bake for 30-35 minutes, or until a wooden skewer inserted into the center comes out clean.
- Cool Down: Let the cake cool in the pan for 10-15 minutes, then use the parchment paper overhang to lift it out onto a wire rack to cool completely. This is the hardest part – waiting!
Icing Fun:
- Cream the Butter: In a medium bowl, beat the softened butter with an electric mixer until light and fluffy (about 2 minutes).
- Add the Sweetness: Gradually add the sifted powdered sugar, one cup at a time, alternating with splashes of milk and the vanilla extract. Beat until smooth and creamy.
- Taste Test & Adjust: Add that tiny pinch of salt. Taste it! Need it thinner? Add more milk, a teaspoon at a time. Too thin? Add more powdered sugar. You’re the boss here.
Assemble Your Masterpiece:
- Once the cake is completely cool (and I mean completely cool, otherwise your icing will melt into a sad puddle), spread that glorious white icing evenly over the top.
- Slice, serve, and bask in the glory of your baking prowess!
Common Mistakes to Avoid
Even the pros make mistakes, but with these tips, you’ll avoid the rookie ones. Consider this your cheat sheet!
- Not Preheating the Oven: We talked about this. A cold oven is a sad oven, and a sad oven means unevenly baked cake. Don’t make your cake sad. Or yourself.
- Overmixing the Batter: Resist the urge to beat it into submission. Once everything’s combined, stop. Seriously, stop. Overmixing leads to tough cakes, and we’re not about that life.
- Not Letting the Cake Cool: Patience, grasshopper. I know the temptation to ice a warm cake is strong, but warm cake + icing = melted mess. Let it cool fully, or you’ll regret it.
- Ignoring Sifted Powdered Sugar: Lumpy icing? No thank you. Sifting takes two seconds and saves you from those annoying sugar lumps.
Alternatives & Substitutions
Feeling a little rebellious, or just missing an ingredient? No stress! Here are some ideas to tweak this recipe without totally losing its awesomeness.
- No buttermilk? No problem! Just add 1 tablespoon of white vinegar or lemon juice to regular milk (whole milk works best!) and let it sit for 5 minutes. Boom, instant buttermilk. You’re basically a kitchen magician now.
- Oil vs. Butter in Cake: While oil gives a super moist cake, you can technically swap it for melted butter for a richer flavor. Just be aware the texture might be slightly different.
- Want to spice things up? Add a pinch of cinnamon or a teaspoon of espresso powder to your cake batter to deepen that chocolate flavor. Trust me on this one; it doesn’t make it taste like coffee, just like *more chocolate*.
- Different Icing Flavor: Swap some of the vanilla in the icing for almond extract for a marzipan-y vibe, or a tiny bit of peppermint extract for a festive twist. Your kitchen, your rules!
FAQ (Frequently Asked Questions)
Got questions? I’ve got answers. And probably a joke or two.
Can I make this dairy-free?
You absolutely can! Use your favorite non-dairy milk (almond or oat milk work great) and a good quality vegan butter for both the cake and the icing. You might even fool a few folks!
My cake looks dry! What happened?
A common culprit is overbaking. Keep a close eye on your oven and start checking for doneness a few minutes before the recipe suggests. Every oven is a little different, like snowflakes… but tastier.
How long does this cake last?
If it even makes it that long, it’s generally good for 3-4 days at room temp (covered!) or up to a week in the fridge. But, let’s be real, it’s usually gone in a day. Maybe two.
Can I use margarine instead of butter for the icing?
Well, technically yes, but why hurt your soul like that? Butter just tastes better, IMO. But if you’re in a pinch, go for it. Just don’t tell me.
What if my icing is too runny/too thick?
Easy fix! If it’s too runny, add more powdered sugar, a spoonful at a time, until it thickens up. If it’s too thick, add more milk, a tiny splash at a time, until it reaches your desired consistency. You’re basically a mad scientist now.
Can I make cupcakes with this batter?
Totally! Fill cupcake liners about two-thirds full and bake for 18-22 minutes. You’ll get about 18-24 cupcakes, perfect for sharing (or not!).
Final Thoughts
So there you have it, your new go-to recipe for when only chocolate cake with glorious white icing will do. It’s simple, it’s decadent, and it’s basically a hug in cake form. Go forth and bake, my friend! And maybe save a slice for me? Seriously, you’ve earned a delicious treat. Now go impress someone—or yourself—with your new culinary skills. You’ve earned it!


