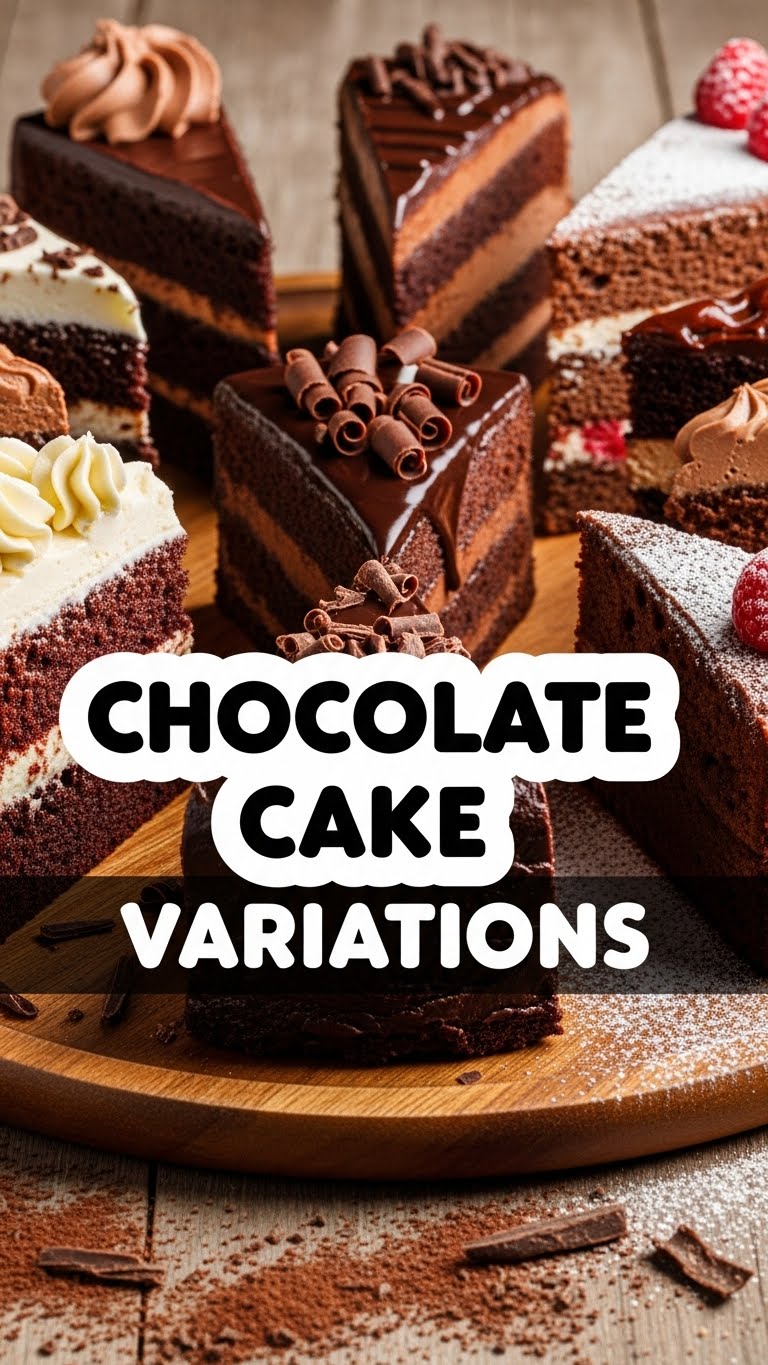
So, you’ve got that familiar itch, huh? The one that screams “CHOCOLATE!” but also whispers “…but make it easy, please.” Oh, honey, I hear you. Loud and clear. We’re about to dive into the glorious, fudgy, utterly irresistible world of chocolate cake, but with a twist. Or five. Because why stick to just one amazing thing when you can have a whole chocolate cake party in your mouth? This isn’t just a recipe; it’s a blueprint for chocolate domination. You’re welcome.
Why This Recipe is Awesome
Look, I’m not going to lie. Chocolate cake is already pretty darn awesome. But this isn’t just *any* chocolate cake. This is your new go-to, “I need a hug in cake form” kind of recipe. It’s incredibly forgiving (even if you’re a distracted baker who sometimes forgets what they’re doing—no judgment here). It’s moist, it’s rich, and it’s basically a blank canvas for all your chocolate-fueled fantasies. Plus, it’s simple enough that you won’t need a culinary degree or a spirit guide to pull it off. You’ll look like a baking genius, and I won’t tell anyone how ridiculously easy it was. Deal?
Ingredients You’ll Need
Alright, assemble your chocolate army! Most of these are probably chilling in your pantry already, which is a huge win, IMO.
- All-Purpose Flour: About 1 ½ cups. The backbone of our cakey dreams.
- Granulated Sugar: 1 ½ cups. Because sweetness is non-negotiable.
- Unsweetened Cocoa Powder: ½ cup. Use good quality stuff; it makes a difference!
- Baking Soda: 1 teaspoon. Our little lift-off agent.
- Baking Powder: ½ teaspoon. More lift! We want this cake to soar.
- Salt: ½ teaspoon. Just a pinch to make everything else sing.
- Large Eggs: 2, at room temp. Happy eggs, happy cake.
- Milk: ½ cup. Any kind works, but whole milk gives it that extra lusciousness.
- Vegetable Oil: ½ cup. Keeps it super moist.
- Vanilla Extract: 1 teaspoon. Don’t skip this, it’s like a warm hug for your taste buds.
- Hot Water or Coffee: ½ cup. This is the secret sauce for intense chocolate flavor. Coffee amplifies it without tasting like coffee. Trust me.
Step-by-Step Instructions
- Get Prepped: Preheat your oven to 350°F (175°C). Grease and flour an 8 or 9-inch round cake pan. Or line with parchment paper. Don’t skip this unless you enjoy cake sticking to metal.
- Mix the Dry Stuff: In a large bowl, whisk together the flour, sugar, cocoa powder, baking soda, baking powder, and salt. Make sure there are no lumpy bits.
- Add the Wet Stuff (Mostly): To the dry ingredients, add the eggs, milk, vegetable oil, and vanilla extract. Beat with an electric mixer (or a strong arm and a whisk) on medium speed for about 2 minutes, until smooth and well combined. Scrape down the sides of the bowl.
- The Hot Liquid Magic: Carefully pour in the hot water (or coffee). Mix on low speed until just combined. The batter will be thin—**don’t panic, this is normal!** It’s what makes it so moist.
- Bake It Up: Pour the thin batter into your prepared cake pan. Pop it into the preheated oven and bake for 30-35 minutes, or until a wooden skewer or toothpick inserted into the center comes out with moist crumbs, but not wet batter.
- Cool Down: Let the cake cool in the pan for about 10 minutes before inverting it onto a wire rack to cool completely. Patience is a virtue here, my friend.
Common Mistakes to Avoid
- Overmixing the Batter: Once you add the wet to the dry, mix just until combined. Overmixing develops the gluten too much, giving you a tough, dense cake. We want fluffy!
- Not Greasing Your Pan Properly: You thought you could just spray a little PAM and call it a day, huh? Rookie mistake. **Grease AND flour** for easy release, or use parchment. Your future self will thank you.
- Opening the Oven Door Too Early: Resist the urge to peek! Especially in the first 20 minutes. The sudden temperature drop can make your cake sink in the middle. Be strong!
- Impatience with Cooling: Trying to frost a warm cake is a one-way ticket to a melted, crumbly mess. **Let it cool completely.** I know, it’s torture.
Alternatives & Substitutions
Here’s where the “variations” truly shine! This basic recipe is super adaptable.
- Coffee vs. Water: While I swear by hot coffee for a deeper chocolate flavor, if you’re not a fan or just don’t have it, hot water is perfectly fine! The cake will still be delicious.
- Dairy-Free Option: Swap milk for your favorite non-dairy milk (almond, soy, oat). Make sure your cocoa powder is also dairy-free. Easy peasy!
- Oil vs. Butter: Vegetable oil keeps this cake incredibly moist. If you’re a butter purist, you can substitute melted butter for the oil, but the texture will be slightly different (often a bit denser). I prefer the oil for this particular recipe.
- Add-Ins Galore: Want more oomph? Stir in a cup of chocolate chips (milk, dark, white – your choice!), chopped nuts, or even a tablespoon of instant espresso powder with the dry ingredients for an even richer chocolate kick.
- Frosting Fun: This cake is begging for your favorite frosting. Cream cheese frosting? Classic chocolate buttercream? Raspberry ganache? Caramel drizzle? The world is your oyster!
FAQ (Frequently Asked Questions)
Got questions? I’ve got answers (and a little sass).
- Can I make this into cupcakes? Absolutely! Pour the batter into cupcake liners, fill them about two-thirds full, and bake for 18-22 minutes. Keep an eye on them, baking times vary.
- How long does this cake last? Covered at room temperature, it’s glorious for 3-4 days. In the fridge, maybe a bit longer, but it dries out faster. Fresh is always best!
- Can I use self-rising flour? No, no, no! Self-rising flour has leavening agents already in it, and this recipe specifically calls for baking soda and baking powder. Using self-rising will throw off the balance and likely result in a sad, deflated cake.
- What if I don’t have hot water/coffee? Can I just use cold? You *can*, but the hot liquid helps to “bloom” the cocoa powder, releasing more of its flavor and making the cake extra rich. Plus, it helps create that wonderfully thin batter texture. So, warm it up, buttercup!
- Can I freeze this cake? Yes! Once completely cooled, wrap it tightly in plastic wrap, then foil. It’ll keep in the freezer for up to 2-3 months. Thaw at room temperature before frosting.
- Do I really need to use good quality cocoa powder? Well, technically you don’t *have* to, but if you want that deep, rich, satisfying chocolate flavor that makes people swoon, then yes, **invest in good cocoa**. It’s the star of the show!
Final Thoughts
So there you have it, your new favorite chocolate cake recipe, ready for you to experiment with and make your own. Whether you stick to the classic or go wild with variations, remember that baking should be fun. Don’t stress, enjoy the process, and definitely enjoy the results! Now go impress someone—or yourself—with your new culinary skills. You’ve earned it, you glorious chocolate-loving human!


