So you’re craving something rich, decadent, and chocolatey but the thought of a complicated recipe makes you want to just order takeout? Been there, done that, bought the oversized elastic-waisted pants. But what if I told you there’s a chocolate cake so simple, it’s practically a *sketch*? Like, the bare minimum effort for maximum chocolatey impact. Intrigued?
Why This Recipe is Awesome
Alright, listen up. This isn’t just *any* chocolate cake. This is the “I swear I made this from scratch but it only took me 30 minutes to prep” kind of cake. It’s **foolproof**, I swear. Even if your culinary skills usually peak at instant noodles, you got this. Plus, it’s ridiculously moist without being heavy, and intensely chocolatey without being cloying. Basically, it’s the perfect comeback for anyone who ever said baking was too hard.
Ingredients You’ll Need
- **All-Purpose Flour:** Just your regular flour, don’t get fancy unless you want to.
- **Granulated Sugar:** Because sweet treats need to be, well, sweet.
- **Unsweetened Cocoa Powder:** The darker the better, IMO. This is where the magic happens.
- **Baking Soda:** Our secret weapon for that beautiful rise. Don’t skip it!
- **Salt:** Just a pinch, to make all those other flavors sing.
- **Eggs:** Room temperature, please! They mix better, trust me.
- **Milk:** Any kind works, but whole milk gives it that extra lushness.
- **Vegetable Oil:** Or any neutral oil. Keeps it super moist.
- **Vanilla Extract:** Don’t even *think* about skipping this. It’s the MVP.
- **Boiling Water:** Sounds weird, I know, but it blooms the cocoa and makes it extra rich.
Step-by-Step Instructions
- **Preheat & Prep:** Get that oven humming at 350°F (175°C). Grease and flour an 8 or 9-inch round cake pan. Don’t be lazy here; parchment paper on the bottom is a good idea too.
- **Dry Mix Magic:** In a large bowl, whisk together the flour, sugar, cocoa powder, baking soda, and salt. Make sure there are no lumps—we’re aiming for smooth sailing.
- **Wet Mix Whirlwind:** In a separate medium bowl, whisk the eggs, milk, oil, and vanilla extract until they’re all buddies.
- **Combine Forces:** Pour the wet ingredients into the dry ingredients. Mix on low speed with an electric mixer, or by hand, until *just* combined. **Do not overmix!** Overmixing leads to tough cakes, and nobody wants that.
- **The Hot Secret:** Slowly add the boiling water to the batter, mixing until smooth. The batter will be thin, and that’s totally okay. It’s part of the charm!
- **Bake It Up:** Pour the batter into your prepared pan. Bake for 30-35 minutes, or until a toothpick inserted into the center comes out clean.
- **Cool Down:** Let it cool in the pan for about 10-15 minutes before inverting it onto a wire rack to cool completely. Patience is a virtue, especially when cake is involved.
Common Mistakes to Avoid
- **Ignoring the Oven Preheat:** Seriously, folks. An un-preheated oven is like trying to run a marathon without stretching. It just won’t work right. Your cake won’t rise properly.
- **Overmixing the Batter:** This is the cardinal sin of cake baking. You want to mix until *just* combined. Lumps the size of a pea? Fine. Gummy, tough cake? Not fine.
- **Not Greasing Your Pan Properly:** Unless you enjoy chiseling cake out of a pan, grease and flour that thing like your life depends on it. Or use parchment paper. Your choice.
- **Cutting into a Warm Cake:** I know, I know. The temptation is real. But a warm cake is fragile and will crumble. Let it cool! **Seriously, cool it!**
Alternatives & Substitutions
**Flour Power:** If you’re feeling fancy, you can use cake flour for an even finer crumb, but all-purpose works perfectly. Gluten-free flour blends usually work well too, but results can vary slightly.
**Milk Me:** No whole milk? Skim, 2%, or even almond milk works. The texture might be *slightly* less rich, but it’ll still be delicious.
**Cocoa Choices:** Want it darker? Use Dutch-processed cocoa powder. Want it super intense? Mix in a teaspoon of instant espresso powder with your dry ingredients. It won’t make it taste like coffee, just amplifies the chocolate.
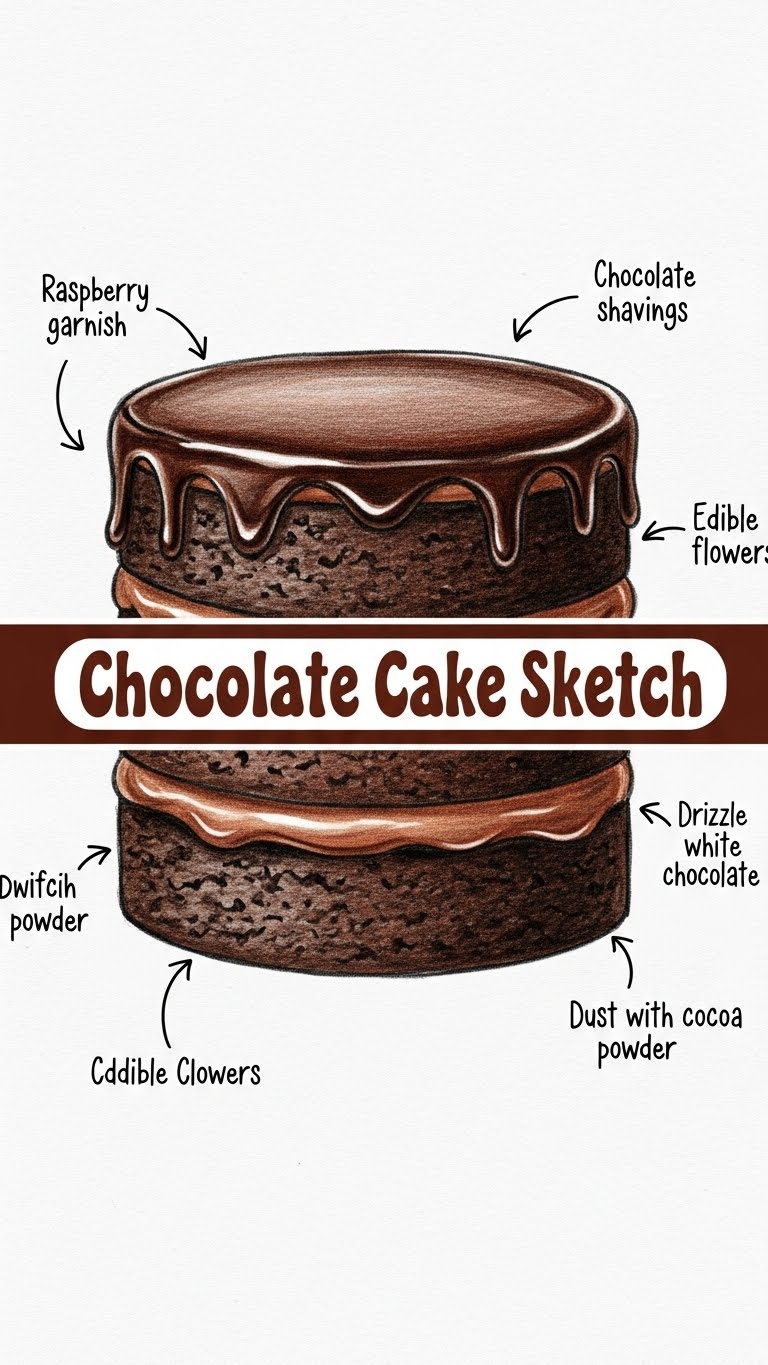
**Frosting Fun:** This cake is excellent with a simple chocolate buttercream, a rich ganache, or honestly, just a dusting of powdered sugar. Keep it simple, friend.
FAQ (Frequently Asked Questions)
- **”Can I use margarine instead of oil?”** Well, technically yes, but why hurt your soul like that? Oil gives it that signature moistness this recipe is known for. Stick with a neutral oil for best results.
- **”My cake cracked on top, what happened?”** Usually, that means your oven might be a tad too hot, or you overbaked it slightly. Don’t fret, a little frosting hides all sins!
- **”Can I make this into cupcakes?”** Absolutely! Adjust baking time to about 18-22 minutes. Keep an eye on them.
- **”Is the boiling water really necessary?”** Oh, my sweet summer child, YES! It “blooms” the cocoa, intensifying the flavor and contributing to that wonderfully moist texture. It’s a game-changer.
- **”How long does it last?”** If kept covered at room temperature, it usually lasts 3-4 days. But let’s be real, it’ll probably be gone much faster than that.
- **”I don’t have vanilla extract, can I skip it?”** You *can*, but your cake will lack a certain je ne sais quoi. Vanilla enhances chocolate flavor like no other. Don’t skip it if you can help it!
Final Thoughts
So there you have it, your very own “Chocolate Cake Sketch” – minimalist effort, maximalist flavor. It’s the kind of cake that looks impressive but won’t make you want to throw your mixing bowl across the kitchen. You’ve just whipped up something truly delicious, and probably surprised yourself a little. Now go impress someone—or yourself—with your new culinary skills. You’ve earned that slice (or three)! Happy baking, my friend!


