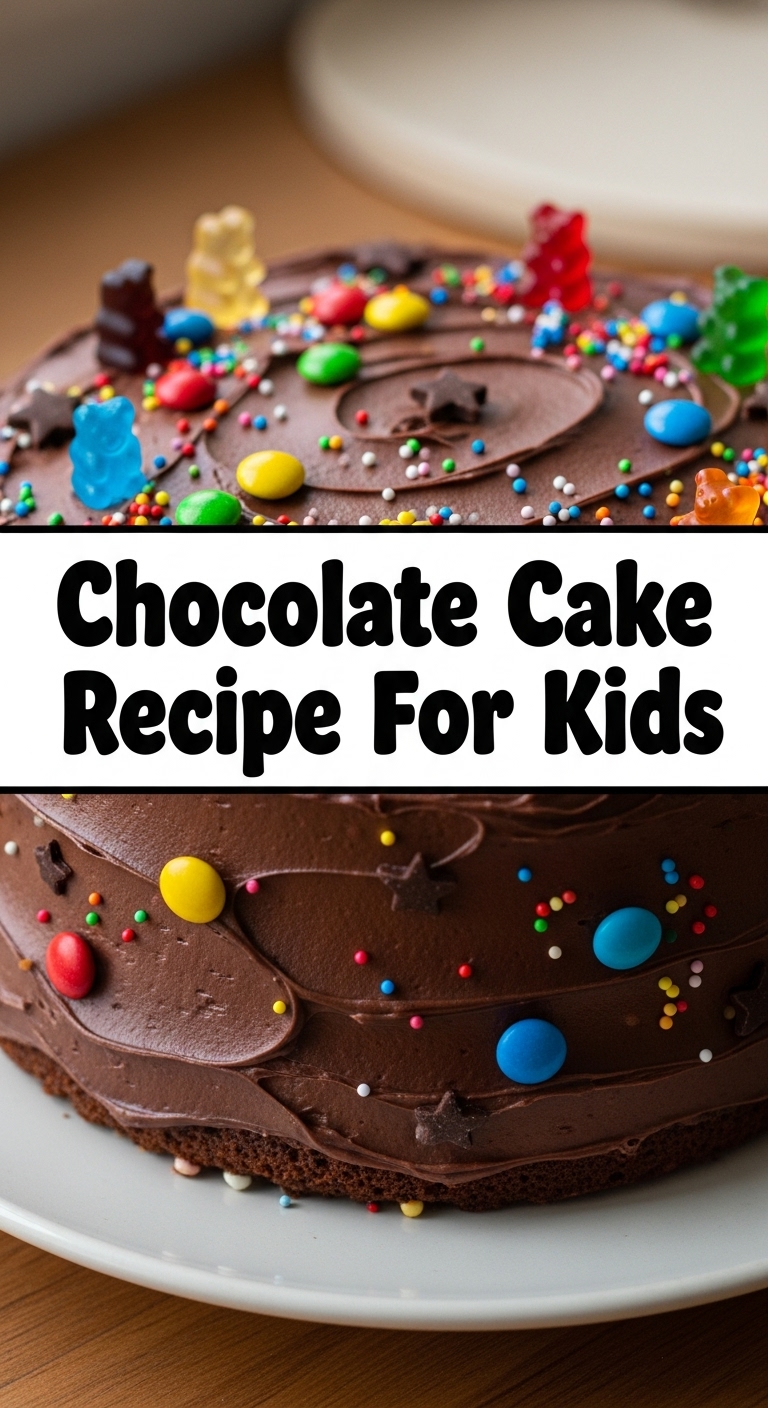
Alright, my friend, let’s be real. You’ve got little humans bouncing off the walls, demanding ‘MORE SUGAR!’ and you’re thinking, ‘How can I keep them busy and get a treat out of it?’ Or maybe you’re the big kid craving chocolate, no judgment here! Well, buckle up, because we’re about to make a chocolate cake so easy, even a dinosaur could probably bake it. Seriously, it’s that simple and deliciously foolproof.
Why This Recipe is Awesome
Okay, so why this recipe and not some fancy 12-step ordeal that requires a culinary degree? Simple: it’s practically magic. Seriously, it’s one-bowl wonder territory. Less mess, less fuss, and more time for important things like, you know, eating the cake. Plus, it’s got that deeply chocolatey flavor that kids (and adults, let’s be honest) dream about. It’s so foolproof, you’ll wonder why you ever bought a box mix. And if I can do it without setting off the smoke detector, you definitely can too.
Ingredients You’ll Need
- 1 ½ cups (190g) All-purpose flour: The sturdy foundation of our chocolate dreams. Don’t worry, it’s just flour.
- 1 ½ cups (300g) Granulated sugar: Because sweetness is joy, especially for tiny humans.
- ¾ cup (65g) Unsweetened cocoa powder: This is where the magic happens. Go for good quality; your taste buds will thank you.
- 1 ½ teaspoons Baking soda: Our dynamic duo for lift. Don’t mix it up with baking powder!
- 1 teaspoon Baking powder: The other half of our lifting team.
- 1 teaspoon Salt: Just a pinch! It makes everything taste better, trust me.
- 1 cup (240ml) Milk: Any kind works, but whole milk makes it extra lush.
- ½ cup (120ml) Vegetable oil: Or any neutral oil. This keeps it super moist.
- 1 teaspoon Vanilla extract: A little splash of happiness.
- 2 Large eggs: The glue that holds it all together.
- 1 cup (240ml) Boiling water: Sounds weird, I know, but it makes the chocolate flavor EXPLODE.
Step-by-Step Instructions
Preheat & Prep: Get your oven to 175°C (350°F). Grease and flour an 8×8 inch (or 9-inch round) pan. You don’t want your beautiful cake sticking, do you? No one wants a cake massacre.
Dry Mix Fun: In a large bowl, whisk together the flour, sugar, cocoa powder, baking soda, baking powder, and salt. Make sure there are no lumpy bits. Kids can help with this part!
Wet Mix Whisk: Add the milk, oil, vanilla, and eggs to the dry ingredients. Beat with an electric mixer (or a strong arm and whisk) until everything is just combined. Don’t overmix; we want a tender cake, not a tough one.
Secret Ingredient Time: Carefully pour in the boiling water. The batter will look thin – this is normal! Stir gently until just combined. FYI, this step is crucial for that deep chocolate flavor.
Bake It Up: Pour the batter into your prepared pan. Pop it into the preheated oven for 30-35 minutes, or until a toothpick inserted into the center comes out clean. Every oven is a unique snowflake, so keep an eye on it!
Cool Down: Let the cake cool in the pan for about 10-15 minutes before flipping it out onto a wire rack to cool completely. Patience is a virtue, my friend! If you cut it hot, it might crumble. We want neat slices, not a chocolate avalanche.
Common Mistakes to Avoid
Skipping the Preheat: Seriously, just do it. Your cake needs that consistent heat from the start. Thinking you don’t need to preheat the oven? Rookie mistake!
Overmixing the Batter: Once the wet and dry ingredients are just combined, stop. Overmixing develops gluten, leading to a tough, chewy cake. We’re making cake, not bread!
Not Greasing Your Pan Properly: Unless you enjoy a cake that’s permanently attached to its home, grease and flour that pan properly. A little parchment paper on the bottom is also a pro tip for easy removal.
Opening the Oven Door Early: Resist the urge! The sudden change in temperature can make your cake sink in the middle. Wait until the last 10 minutes, then you can peek. Your cake needs its space to rise.
Thinking the Boiling Water is a Hoax: It’s not! It truly enhances the chocolate flavor and makes the cake extra moist. Trust the process. It’s science… or magic. Whichever.
Alternatives & Substitutions
Milk: No regular milk? Almond milk, soy milk, or even water can work in a pinch, though the flavor might be slightly less rich. IMO, whole milk is the best for this recipe for that creamy texture.
Oil: Melted butter can be used, but oil generally makes for a more consistently moist cake over time. Applesauce (unsweetened) can also substitute some of the oil for a lighter version, but it might change the texture a bit. Your call!
Cocoa Powder: If you only have Dutch-processed cocoa, it’ll still work, but the cake might be a little less dark and rich. For maximum flavor, stick with natural unsweetened cocoa.
Frosting: This cake is delicious on its own, but a simple chocolate buttercream or even just a dusting of powdered sugar makes it extra special. Or, y’know, just eat it plain. Your house, your rules!
FAQ (Frequently Asked Questions)
Can I use self-rising flour? Nope! This recipe relies on specific amounts of baking soda and baking powder. Using self-rising would mess with the chemistry. Just stick to all-purpose, my friend.
My cake sunk in the middle! What happened? Oh dear! This usually means it was underbaked, or you opened the oven door too early. Next time, make sure your toothpick comes out clean from the very center.
Can I make cupcakes instead? Absolutely! Fill cupcake liners about two-thirds full and bake for roughly 20-25 minutes. Keep an eye on them; cupcake ovens vary, so check for doneness!
How long does this cake last? If you manage to hide it from your family, it’ll stay fresh for 3-4 days at room temperature in an airtight container. Good luck with the hiding part!
Is this recipe really for kids to make? With adult supervision, absolutely! Kids can help measure, mix (the dry ingredients especially), and of course, taste-test. It’s a great way to introduce them to baking without it being too complex.
Can I add chocolate chips? You’re speaking my language! Yes, totally. Stir about a half cup into the batter before baking for extra chocolatey goodness. Because more chocolate is always a good idea.
Final Thoughts
So there you have it, chief! A delicious, moist chocolate cake that’s easy enough for a weeknight but tasty enough for a special occasion (or, let’s be honest, just because it’s Tuesday). You’ve totally got this. Now go impress someone—or yourself—with your new culinary skills. You’ve earned it! And don’t forget to lick the bowl. It’s a chef’s prerogative. Enjoy every chocolatey bite!


