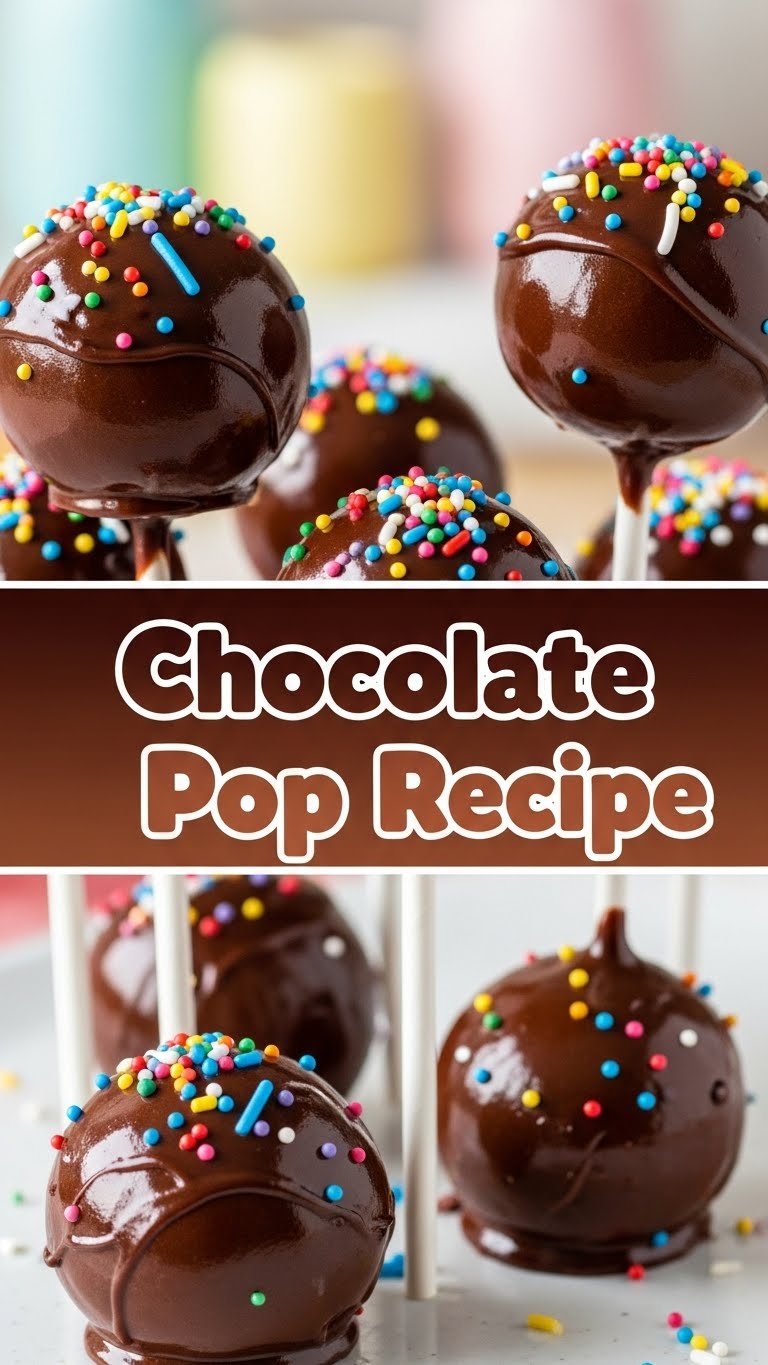
So, you’ve got that pesky sweet tooth gnawing at your brain, but the thought of spending an entire afternoon playing baker-chef just isn’t cutting it? Welcome to the club! We’re talking about that craving that hits like a tiny, delicious wrecking ball, demanding immediate satisfaction. Well, my friend, you’ve clicked on the right spot because today, we’re making Chocolate Cake Pops!
Why This Recipe is Awesome
Let’s be real, life is short, and your patience for complicated recipes is probably even shorter. That’s where these glorious little chocolate spheres of joy come in. This isn’t just a recipe; it’s a cheat code to dessert greatness. It’s **idiot-proof**, I swear, even I couldn’t mess it up, and that’s saying something! You get all the decadent flavor of a chocolate cake, the creamy goodness of frosting, and the satisfying *CRACK* of a chocolate shell, all wrapped up in a bite-sized, portable package. It’s basically a magic trick, and **FYI**, everyone will think you’re a culinary genius. No one needs to know you started with a box mix. Shhh!
Ingredients You’ll Need
Get ready to gather your delicious arsenal. Nothing too fancy here, just good ol’ reliable ingredients that are about to become something amazing.
- Your Favorite Boxed Chocolate Cake Mix (plus ingredients to make it): Because who has time for scratch? Not us! We’re here for the fun, not the fuss.
- Canned Chocolate Frosting (16 oz can): The glue that holds our dreams (and cake crumbs) together. Any brand works, but pick one you actually like eating.
- Candy Melts or High-Quality Chocolate Chips (about 12 oz): For that glorious outer shell. White, dark, milk, whatever floats your boat. We’re going chocolate, obviously, but you do you!
- Lollipop Sticks or Paper Straws (cut in half): The trusty steed for your cake pop knight.
- Sprinkles, Edible Glitter, or Extra Drizzle Chocolate: For jazzing things up! Because plain is boring.
Step-by-Step Instructions
Alright, apron on (or not, we don’t judge), let’s get this party started! Each step is short and sweet, just like our future cake pops.
- Bake Your Cake: Follow the instructions on your chocolate cake mix box. Bake it, let it cool completely. And I mean *completely*. A warm cake will just make a crumbly mess later. Trust me on this one.
- Crumble Time: Once the cake is cool, grab a large bowl. Crumble the entire cake into fine crumbs. Use your hands; it’s therapeutic. We’re talking no lumps here, just pure, beautiful cake dust.
- Mix ‘n’ Mingle: Add about half of your can of chocolate frosting to the cake crumbs. Start mixing with your hands. You’re aiming for a consistency like play-doh – moldable but not sticky. Add more frosting, a tablespoon at a time, if it’s too dry. Do not add too much! This is a critical step for perfect cake pops.
- Roll ’em Up: Roll the mixture into small, golf-ball-sized spheres. Place them on a baking sheet lined with parchment paper. Try to make them all roughly the same size for even dipping.
- Chill Out: Pop that baking sheet of naked cake balls into the fridge for at least 30 minutes, or the freezer for 15. This step is **non-negotiable**; cold cake balls dip much better.
- Melt the Magic: While your cake balls are chilling, melt your candy melts or chocolate chips. Do this gently in a microwave-safe bowl in 30-second intervals, stirring after each, or using a double boiler. You want it smooth and fluid, not burnt!
- The Dip & Stick: Take a cake ball from the fridge. Dip the tip of a lollipop stick into the melted chocolate, then insert it about halfway into the cake ball. This acts as a delicious edible glue.
- Full Immersion: Now, dip the entire cake pop into the melted chocolate, twirling gently to coat evenly. Let any excess drip off by tapping the stick lightly against the side of the bowl.
- Decorate & Dry: Immediately add your sprinkles or decorations while the chocolate is still wet. Stick the finished cake pop upright into a styrofoam block or a tall glass to dry. Repeat until all your cake pops are glorious!
Common Mistakes to Avoid
Look, we all make mistakes. It’s part of the journey. But some are more avoidable than others, especially when cake pops are on the line!
- Too Much Frosting: This is the number one culprit for saggy, mushy cake pops that fall off the stick. Less is more, people! We want moldable, not gooey.
- Not Chilling Enough: Trying to skip the chilling step? Rookie mistake! Warm cake balls are like trying to herd cats – messy and frustrating. They’ll crack, they’ll fall apart, it’ll be a disaster.
- Overheating Your Chocolate: Burnt chocolate is a tragedy. Go slow and low with your melting. A seized, clumpy mess is no fun for anyone.
- Impatience with Drying: Don’t touch ’em too soon! Let that chocolate shell harden completely before you start handling them, or you’ll end up with fingerprints and smudges.
Alternatives & Substitutions
Feeling creative? Or maybe you just ran out of something key (we’ve all been there!). Here are some ideas:
- Cake Flavor: Not a fan of chocolate? (Who are you?!) You can totally use a vanilla, red velvet, or even a funfetti cake mix. Just swap out the frosting to match!
- Frosting Type: While chocolate frosting is amazing, cream cheese frosting or vanilla buttercream can also be used. Just make sure it’s not too soft.
- Chocolate Coating: Candy melts are super easy because they melt smoothly and harden quickly. But if you’re feeling fancy, you can temper actual chocolate (though it’s a bit more work, **IMO**). White chocolate, colored candy melts – the possibilities are endless!
- Decorations: No sprinkles? No problem! Drizzle with contrasting melted chocolate, crushed nuts, coconut flakes, or just leave them plain for a sleek look.
FAQ (Frequently Asked Questions)
Got questions? I’ve got (casual) answers!
- Can I just eat the cake and frosting mix straight from the bowl? I mean, who’s stopping you? But then you wouldn’t have cake *pops*, would you? Embrace the journey!
- How long do these magical treats last? Stored in an airtight container in the fridge, they’re good for about a week. But let’s be real, they’ll be gone way before then.
- Can I freeze cake pops? You bet! Once fully set, store them in an airtight container in the freezer for up to a month. Thaw them in the fridge when you’re ready for a delightful surprise.
- My chocolate is too thick for dipping, help! Add a tiny bit of coconut oil or vegetable shortening (about 1/2 teaspoon at a time) to your melted chocolate and stir until it reaches a smoother consistency.
- I don’t have lollipop sticks, what now? Small forks, coffee stirrers, or just leave them as “cake balls” – still delicious, just less “pop!”
Final Thoughts
There you have it! Delicious, adorable, and surprisingly easy chocolate cake pops that will make you feel like a pro baker (even if you just successfully avoided burning water). These little guys are perfect for parties, gifts, or just treating yourself after a long week. Now go impress someone—or yourself—with your new culinary skills. You’ve earned it!


