So you’ve just binged three episodes of that new show, and now your brain is screaming “CHOCOLATE!” but your body is firmly planted on the couch, resisting all efforts? Story of my life, friend. We’ve all been there – that deep, soul-shaking craving for something utterly decadent, but the thought of a multi-layer architectural marvel just feels like… too much. And honestly, who needs that kind of pressure on a Tuesday?
Why This Recipe is Awesome
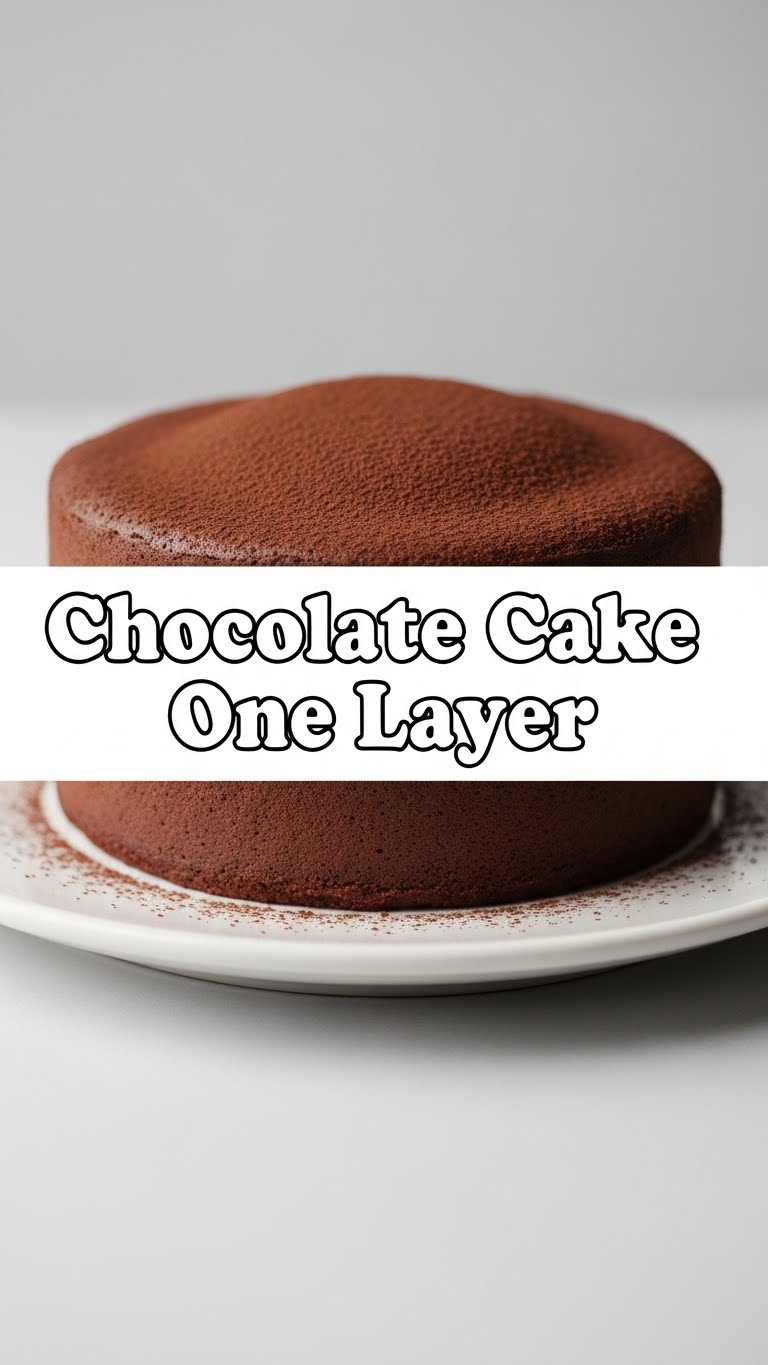
Listen up, because this isn’t one of those recipes that *pretends* to be easy then makes you cry into a bowl of flour. This is *actually* easy. Like, ‘can-do-it-with-one-eye-closed-while-humming-your-favorite-tune’ easy. Seriously, it’s pretty much idiot-proof, even I didn’t mess it up. Plus, it’s a single-layer chocolate cake, which means no stressful stacking, no crumb coat nightmares, and zero elaborate frosting scenarios. Just pure, unadulterated chocolate joy, minimal fuss. You’re welcome. Consider this your new go-to for instant gratification.
Ingredients You’ll Need
Get ready to raid your pantry! You probably have most of this stuff already. No fancy, obscure ingredients that require a quest to a hidden specialty store, I promise.
- All-Purpose Flour: 1 ½ cups. The backbone of your cake, the white stuff, not the kind you use for dusting your furniture.
- Granulated Sugar: 1 ½ cups. Your best friend, don’t skimp. This makes it sweet, not bitter.
- Unsweetened Cocoa Powder: ½ cup. The star of the show! Make sure it’s unsweetened, because we’re adding our own sugary goodness.
- Baking Soda: 1 teaspoon. Our little leavening hero.
- Salt: ½ teaspoon. Just a pinch to make everything else sing.
- Large Egg: 1. Room temperature, if you’re feeling fancy, but not a deal-breaker.
- Milk: 1 cup. Whole milk is great, but honestly, whatever you have in the fridge will probably work.
- Vegetable Oil: ½ cup. Or canola, or melted coconut oil (cooled). This keeps it moist!
- Vanilla Extract: 1 teaspoon. Essential for that warm, comforting flavour.
- Hot Water or Hot Coffee: ½ cup. This is the secret weapon! Seriously, hot coffee makes chocolate cake taste even MORE chocolatey. Don’t worry, it won’t taste like coffee, just chocolate amplified.
Step-by-Step Instructions
- Get That Oven Hot: First things first, preheat your oven to 350°F (175°C). And grab an 8-inch round cake pan. Grease and flour it generously, or line the bottom with parchment paper and then grease the sides. Nobody likes a stuck cake.
- Dry Mix Magic: In a large bowl, whisk together your flour, sugar, cocoa powder, baking soda, and salt. Give it a good whisk until there are no lumpy bits and everything looks evenly distributed.
- Wet Mix Wonder: In a separate medium bowl, lightly whisk your egg, then stir in the milk, oil, and vanilla extract. Don’t overdo it, just get them combined.
- Combine Forces: Pour the wet ingredients into the dry ingredients. Stir them together with a spatula or wooden spoon until *just* combined. Resist the urge to overmix! A few small lumps are perfectly fine.
- The Hot Secret: Now, carefully pour the hot water (or coffee!) into your batter. Stir it gently until the batter is smooth. It’ll look pretty thin, but don’t panic, that’s exactly how it should be. This is where the magic happens for an extra moist cake.
- Pour and Bake: Pour your glorious batter into your prepared cake pan. Pop it into the preheated oven.
- Wait (Im)patiently: Bake for 30-35 minutes. You’ll know it’s done when a wooden skewer or toothpick inserted into the center comes out clean or with just a few moist crumbs attached.
- Cool Down: Let the cake cool in the pan on a wire rack for about 10-15 minutes before inverting it onto the rack to cool completely. Patience is a virtue, especially when it comes to cake!
Common Mistakes to Avoid
- Not Preheating the Oven: Rookie mistake! Your cake needs that consistent heat from the get-go to rise properly. Don’t shock it into submission.
- Forgetting to Grease the Pan: This one is just sad. You’ll end up with half a cake stuck to the pan, and who wants that? Grease and flour, people, grease and flour!
- Overmixing the Batter: Seriously, step away from the whisk! Overmixing develops the gluten in the flour, leading to a tough, dry cake. Mix until *just* combined. A few lumps are like character – embrace them.
- Opening the Oven Door Too Soon: Resist the temptation! Every time you peek, you let out heat and risk your cake sinking. Wait until at least the 25-minute mark, then only a quick peek.
- Cutting into a Hot Cake: I know, it’s tempting. But it needs time to set and firm up. Be strong! You’ll thank yourself later.
Alternatives & Substitutions
Life happens, and sometimes you don’t have exactly what the recipe calls for. No worries, we’re flexible!
- No Milk? You can use buttermilk (it’ll make it extra tender!), or even just water if you’re in a pinch (though milk adds richness). If you have regular milk but want buttermilk, add 1 tablespoon of white vinegar or lemon juice to your cup of milk and let it sit for 5 minutes. Voila!
- No Vegetable Oil? Melted butter (cooled!), or even applesauce (use ¾ cup for ½ cup oil) works great for a slightly healthier, yet still moist, cake. IMO, oil gives a really tender crumb, but butter adds a nice flavor. Your call!
- Hot Water vs. Hot Coffee: As mentioned, hot coffee (black, regular strength) will deepen the chocolate flavor beautifully without making it taste like coffee. But plain hot water is absolutely fine if coffee isn’t your jam or you don’t have any.
- Want More Chocolate? Feel free to fold in ½ cup of chocolate chips after step 5! Because, why not?
FAQ (Frequently Asked Questions)
Got questions? I’ve got answers (mostly humorous ones).
- Can I use margarine instead of butter? Well, technically yes, but why hurt your soul like that? Butter just tastes better, IMO. But hey, if margarine is all you’ve got, go for it. No judgment here, only cake.
- How do I know when it’s done? The toothpick test is your best friend! Insert a wooden skewer or toothpick into the center of the cake. If it comes out clean or with a few moist crumbs (not wet batter), it’s done!
- My cake looks dry, what happened? You probably overbaked it! Keep a close eye on your oven and start checking early. Or you might have overmixed. See, I told you about those common mistakes!
- Can I make this gluten-free? Absolutely! Swap the all-purpose flour for a 1:1 gluten-free baking blend that contains xanthan gum. The rest of the recipe stays the same.
- What kind of frosting should I use? Oh, the possibilities! A simple chocolate buttercream, a cream cheese frosting, or even just a dusting of powdered sugar. Or heck, eat it plain – it’s that good!
- How long does this cake last? If you manage to not eat it all in one sitting (impressive!), it’ll last covered at room temperature for 3-4 days, or in the fridge for up to a week. It also freezes well, FYI.
Final Thoughts
So there you have it, your new go-to chocolate cake recipe for when you need a hug in cake form, but without all the fuss. This isn’t just a recipe; it’s a license to indulge without the guilt of spending hours in the kitchen. Go forth and conquer, my friend! Bake it, eat it, share it (or don’t, I won’t tell). You’ve totally got this. Now go impress someone – or yourself – with your new culinary skills. You’ve earned it!


