So, you’ve got that classic dilemma, right? You’re eyeing a decadent chocolate cake AND a scoop (or five) of your favorite ice cream, but your brain is screaming, “Too many decisions! Too many plates!” What if I told you we could smash those two glorious worlds together into one ridiculously easy, absolutely divine dessert? Welcome, my friend, to the land of Chocolate Cake Ice Cream. No actual oven required for the ice cream part, thank goodness!
Why This Recipe is Awesome
First off, let’s be real: this isn’t just ice cream. It’s an *experience*. It’s the culinary equivalent of wearing sweatpants to a fancy dinner – comfortable, genius, and everyone secretly wishes they thought of it. Here’s the lowdown on why you need this in your life, like, yesterday:
- It’s practically **idiot-proof**. Seriously, if I can do it without setting off the smoke alarm (which happens more often than I’d like to admit), you’re golden.
- It combines two of life’s greatest pleasures into one, meaning less dishwashing and more eating. **Winning!**
- No-bake (for the ice cream part!). You just need some pre-made cake or a box mix you whipped up earlier.
- It’s ridiculously customizable. Think of it as your dessert canvas. More on that later.
Ingredients You’ll Need
Gather ’round, my fellow dessert enthusiasts. Here’s what you’ll be needing. Don’t skimp on the good stuff, your taste buds will thank you.
- **Heavy Cream (2 cups):** The MVP of silky, smooth ice cream. Don’t even think about light cream unless you want sadness in a bowl.
- **Whole Milk (1 cup):** Adds a lovely creaminess without being *too* heavy.
- **Granulated Sugar (3/4 cup):** The sweetness, obviously. Adjust if you like things extra sugary or a bit more subdued.
- **Unsweetened Cocoa Powder (1/4 cup):** For that deep, dark chocolate base. Pick a good quality one; it makes a difference!
- **Vanilla Extract (1 teaspoon):** A flavor enhancer that just makes everything better. Like a secret weapon.
- **A Pinch of Salt:** Seriously, don’t skip this. It balances out the sweetness and makes the chocolate pop. It’s science!
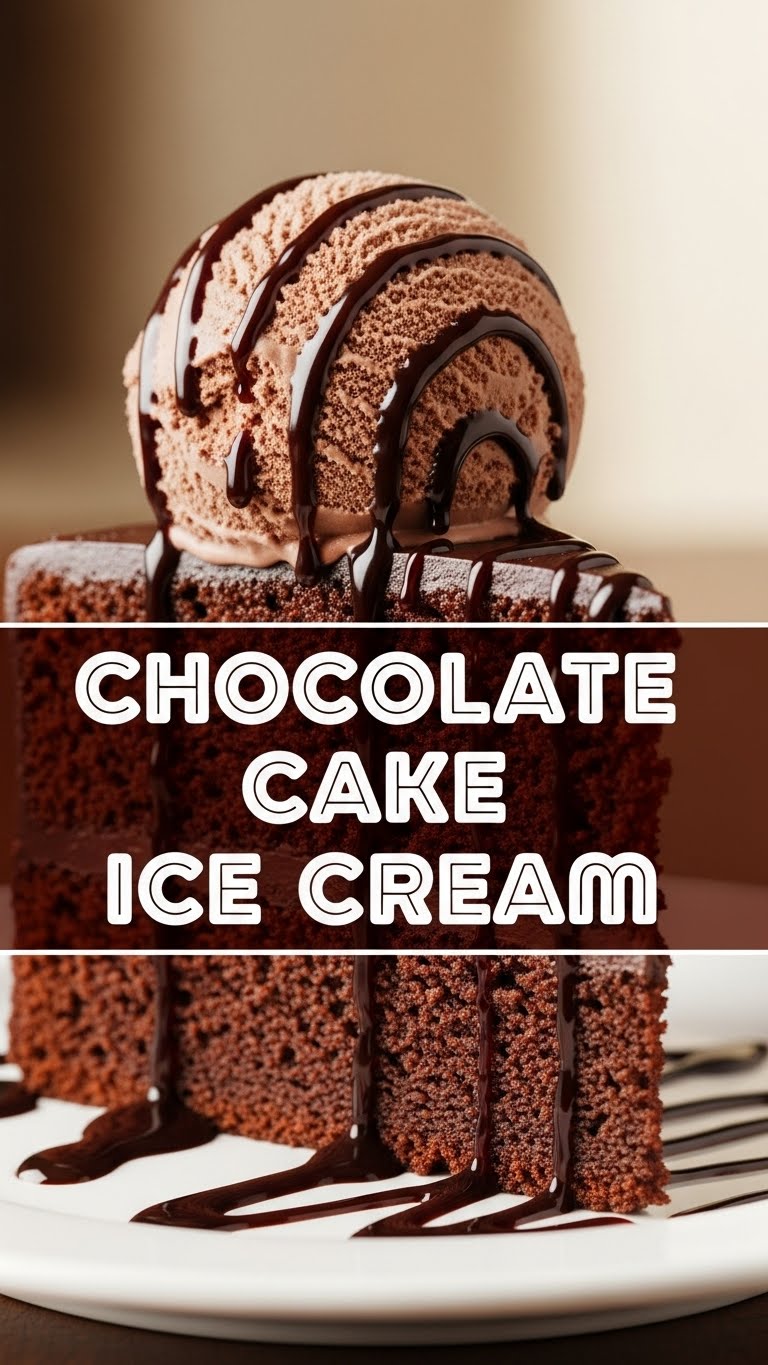
- **Chocolate Cake (about 2 cups crumbled):** This is where the magic happens! Store-bought, leftover birthday cake, or a batch you whipped up just for this – your call. **Day-old cake crumbles better**, FYI.
- **Chocolate Chips or Chunks (1/2 cup, optional):** Because why not add more chocolate? We’re not health fanatics here, we’re making *chocolate cake ice cream*.
Step-by-Step Instructions
Alright, apron on, game face ready. Let’s make some ice cream that’ll make your neighbors jealous.
- **Whisk the Base:** In a large bowl, whisk together the heavy cream, whole milk, granulated sugar, cocoa powder, vanilla extract, and that tiny pinch of salt. Whisk until the sugar is completely dissolved and everything is well combined. You want a smooth, chocolatey liquid.
- **Chill Out:** Cover the bowl with plastic wrap and pop it in the fridge. Let it chill for at least 2 hours, or even better, overnight. **A really cold base is crucial** for the best ice cream texture. Patience, young grasshopper.
- **Churn, Baby, Churn:** Once your base is thoroughly chilled, pour it into your ice cream maker’s frozen bowl and churn according to the manufacturer’s instructions. This usually takes about 20-25 minutes, until it’s the consistency of soft-serve.
- **Cake Time!:** During the last 5 minutes of churning, add your crumbled chocolate cake pieces and the optional chocolate chips/chunks. Let the machine gently incorporate them. You want little pockets of cakey goodness, not a muddy mess.
- **Harden Up:** Transfer the soft ice cream to an airtight container. Press plastic wrap directly onto the surface of the ice cream to prevent ice crystals (aka “freezer burn”). Freeze for another 2-4 hours, or until it’s firm enough to scoop.
- **Serve and Devour:** Scoop generously, maybe add some extra sprinkles or fudge if you’re feeling fancy. Enjoy your masterpiece!
Common Mistakes to Avoid
Listen up, buttercup. We’re here to make deliciousness, not disaster. Sidestep these rookie errors:
- **Not Chilling the Base Enough:** This is probably the biggest offender. If your base isn’t *super cold*, your ice cream will take forever to churn, and it might end up icy instead of creamy. **Don’t rush the chill!**
- **Overfilling Your Ice Cream Maker:** Most machines have a fill line for a reason. Ice cream expands as it churns. If you overfill it, you’ll have a chocolatey explosion, and nobody wants that mess.
- **Using Warm Cake:** Make sure your chocolate cake is at room temperature or slightly chilled. Warm cake will melt your beautiful ice cream as it’s churning.
- **Impatience:** As tempting as it is to dive in with a spoon right out of the churner, that final freeze step is essential for proper scoopability and texture. Don’t skip it!
Alternatives & Substitutions
Feeling adventurous? Here are some ways to jazz up your new favorite dessert. Because variety is the spice of life, right?
- **Different Cake Flavors:** Not a chocolate-all-the-time person? (Gasp! But okay, I respect it.) Try vanilla cake, red velvet, or even a brownie for a fudgier vibe.
- **Add-Ins Galore:** Swirl in some caramel, peanut butter ripple, chopped nuts, mini marshmallows, or a touch of coffee extract to intensify the chocolate. Go wild!
- **Dairy-Free Option:** You can totally make this dairy-free by swapping heavy cream for full-fat coconut cream and whole milk for a rich plant-based milk (like oat or almond). Just make sure your chocolate cake is also dairy-free.
- **No Ice Cream Maker? No Problem (Sort Of):** You can try the “no-churn” method with condensed milk and whipped cream for the base, then fold in your cake. It won’t be *quite* the same, but it’s a solid backup.
FAQ (Frequently Asked Questions)
Got questions? I’ve got answers. Probably with a dash of sass.
- **”Can I use store-bought frosting in this?”** Oh, absolutely! A swirl of fudgy frosting mixed in with the cake pieces would be next level. Just don’t overdo it, or it might get *too* sweet.
- **”How long does this ice cream last in the freezer?”** If it actually *lasts* in your freezer, I applaud your self-control. Realistically, it’s best within 1-2 weeks for optimal creaminess, but it’ll be fine for up to a month.
- **”My ice cream is icy! What went wrong?”** You probably didn’t chill your base enough before churning, or your freezer isn’t cold enough. **Invest in a good airtight container** and make sure your freezer is set nice and low.
- **”Can I just buy chocolate ice cream and add cake?”** Well, technically yes, but why miss out on the fun of making it yourself? Plus, homemade always tastes better, IMO.
- **”What’s the best kind of chocolate cake to use?”** Any kind that crumbles well! A slightly dense, fudgy cake works wonders, but even a fluffy boxed cake will do the trick.
Final Thoughts
And there you have it, folks! Your new favorite dessert that perfectly marries the best of both worlds. This Chocolate Cake Ice Cream is seriously good, and the fact that you made it yourself (with minimal fuss, I might add) just makes it taste even better. So go ahead, treat yourself, share with friends (if you must!), and bask in the glory of your culinary genius. You’ve earned it!


