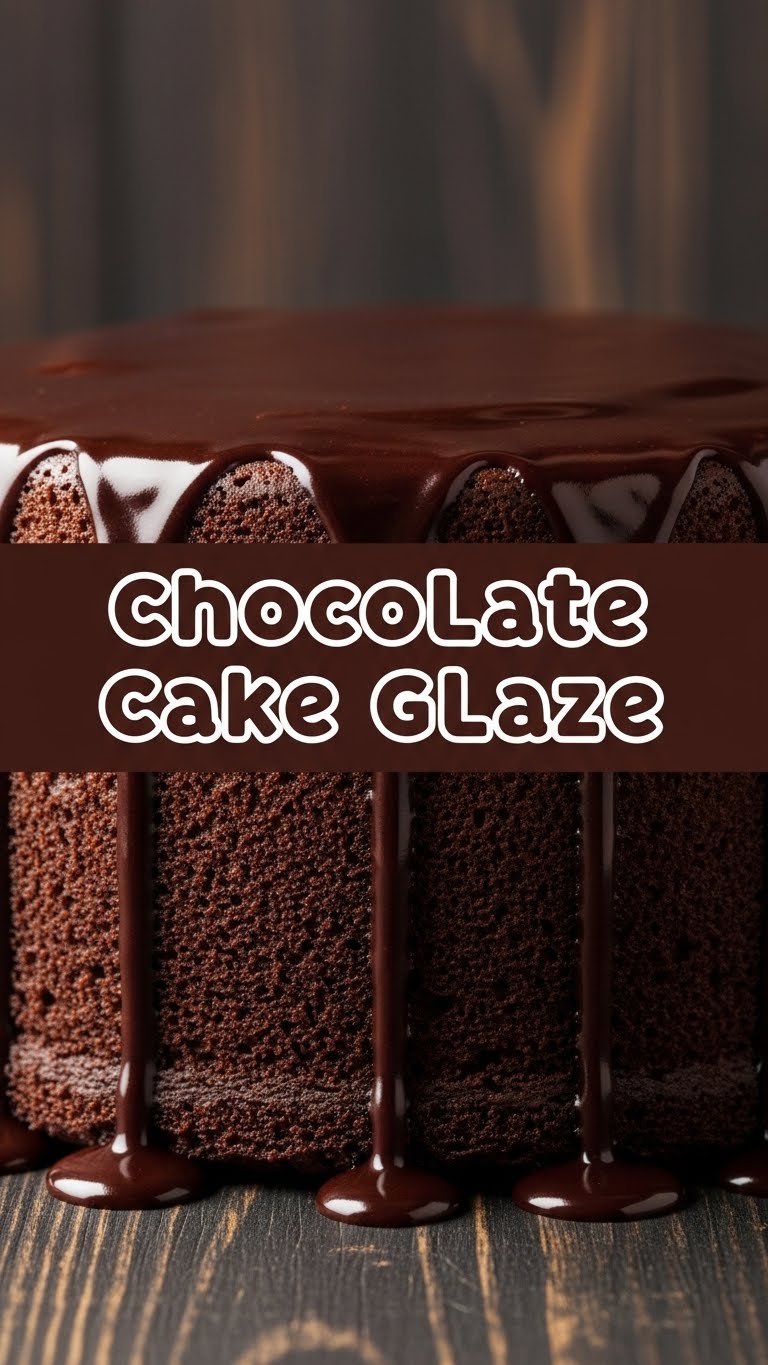
So, you’ve baked a masterpiece (or, let’s be real, bought a decent store-bought cake base – no judgment here!) and now it’s staring at you, naked. It needs a little something-something. A glow-up, if you will. Enter the chocolate glaze: the unsung hero that takes your cake from “meh” to “OMG, I need this in my life RIGHT NOW.” And guess what? It’s ridiculously easy. Seriously, if you can stir, you can make this. Let’s do this!
Why This Recipe is Awesome
Because, my friend, life is too short for complicated recipes, especially when chocolate is involved. This glaze is:
- Faster than your internet connection on a good day: We’re talking minutes, not hours.
- Idiot-proof: Even *I* (and I’ve set off the smoke detector making toast) can’t mess this up. It’s basically magic.
- Only uses a few basic ingredients: You probably have them lurking in your pantry right now. Go check!
- Transforms any cake: From humble sheet cakes to fancy layer cakes, this glaze makes everything look and taste like a million bucks. Your friends will think you went to culinary school. (Don’t tell them the truth, it’s our little secret.)
- Perfect consistency: Not too thick, not too thin, just the right amount of drizzle-and-set glory.
Ingredients You’ll Need
Gather ’round, my little kitchen wizard! Here’s your ridiculously short shopping list:
- 1/2 cup (1 stick) Unsalted Butter: Because everything’s better with butter, right? Don’t even *think* about skimping.
- 1/2 cup Unsweetened Cocoa Powder: The good stuff, please. Not the dusty ancient can from the back of the cupboard, unless you’re feeling adventurous.
- 2 cups Powdered Sugar (Confectioners’ Sugar): Sifted, if you’re feeling fancy and want to avoid lumps. If not, live dangerously!
- 1/4 cup Milk (or cream, for extra decadence): Whole milk is best, but whatever you have will work. Or oat milk if you’re trying to be *slightly* virtuous.
- 1 teaspoon Vanilla Extract: The warm, cozy hug in a bottle. Don’t skip it!
- Pinch of Salt: To make the chocolate sing! Seriously, it brightens everything up.
Step-by-Step Instructions
Alright, apron on (or not, we’re friends here, no judgment!), let’s get glazing. This is so easy, you’ll wonder why you ever bought those little glaze packets.
- Melt the Butter: Grab a medium saucepan and melt the butter over medium-low heat. Keep an eye on it; we want melted, not burnt to a crisp!
- Whisk in Cocoa: Once the butter is gloriously melted, take the pan off the heat. Immediately whisk in the cocoa powder until it’s smooth. It’ll be thick and paste-like. Don’t worry, it’s supposed to look like that!
- Add Sugar and Liquid: Now, gradually whisk in the powdered sugar, alternating with the milk (or cream). Start with a bit of sugar, then a splash of milk, then more sugar, until everything is incorporated and smooth.
- Stir in Flavor: Add the vanilla extract and that tiny pinch of salt. Give it another good whisk until everything is super silky and smooth.
- Glaze Away! Your glaze is ready! Pour it immediately over your cooled cake. It sets pretty quickly, so don’t dawdle! For best results, use a spatula or the back of a spoon to spread it evenly.
Common Mistakes to Avoid
Even though this recipe is practically foolproof, there are a few little traps you might fall into. Learn from my mistakes, so you don’t have to!
- Not Sifting Powdered Sugar: If you skip this, you might end up with little sugar lumps that refuse to dissolve. Not the end of the world, but it won’t be as silky smooth. Pro tip: Whisking like a mad scientist helps!
- Overheating the Butter: Burnt butter tastes terrible, and it will ruin your glaze. Keep that heat low and watch it like a hawk.
- Applying to a Warm Cake: Unless you want your glaze to completely melt and slide off the cake, make sure your cake is completely cooled. Trust me on this one.
- Impatience: This isn’t a race! Take your time whisking to get that perfect, glossy finish. A lumpy glaze is a sad glaze.
Alternatives & Substitutions
Feeling creative? Or just missing an ingredient (because, let’s be real, who *always* has everything?). Here are some easy swaps:
- Dairy-Free: Swap out the butter for a good quality plant-based butter (like Miyoko’s or Earth Balance) and use a non-dairy milk (oat, almond, or soy work great!). Voila, vegan magic!
- Flavor Boosters:
- Add 1/2 teaspoon espresso powder with the cocoa for a deeper, richer chocolate flavor. It really makes the chocolate pop!
- Swap vanilla extract for almond extract for a subtle nutty note, or peppermint extract for a festive touch. (But only a tiny bit of peppermint, or your cake will taste like toothpaste – you’ve been warned!)
- A splash of your favorite liqueur (like Kahlúa or Grand Marnier) instead of some of the milk can add an adult twist. Use sparingly, FYI!
- Consistency Control: Too thick? Add a tiny bit more milk, one teaspoon at a time. Too thin? Whisk in another tablespoon or two of powdered sugar until it’s just right.
FAQ (Frequently Asked Questions)
Got questions? I probably had them too! Let’s tackle some common conundrums:
- Can I use regular granulated sugar instead of powdered sugar?
- Oh, honey, no. Granulated sugar won’t dissolve properly and you’ll end up with a grainy, crunchy glaze. Powdered sugar is your secret weapon for that smooth, dreamy finish. Stick to the powdered stuff, IMO.
- How long does this glaze last?
- If stored in an airtight container in the fridge, it’ll last about a week. But honestly, who lets chocolate glaze last that long? Mine usually disappears within 24 hours (don’t tell anyone, I eat it with a spoon).
- Can I make it vegan?
- Absolutely! Check out the “Alternatives & Substitutions” section. Plant-based butter and non-dairy milk are your best friends here. Easy peasy!
- My glaze is too thick/thin. Help!
- Don’t panic! If it’s too thick, add a tiny splash more milk (1/2 teaspoon at a time) until it’s pourable. If it’s too thin, whisk in a tablespoon or two more powdered sugar until it thickens up. You’ve got this!
- Does it need to be refrigerated?
- Once on the cake, if your kitchen isn’t super hot, it’s usually fine at room temperature for a day or two. If you’ve used milk/cream and want to keep it longer, pop the cake in the fridge. Unused glaze definitely needs to be refrigerated.
Final Thoughts
And there you have it! A chocolate glaze that’s so easy and delicious, you’ll wonder why you haven’t been making it your whole life. Go ahead, take a bow. You’ve just elevated your cake game with minimal effort and maximum deliciousness. Now go impress someone—or yourself—with your new culinary skills. You’ve earned it! (And maybe save a slice for me? Just kidding… mostly.)


