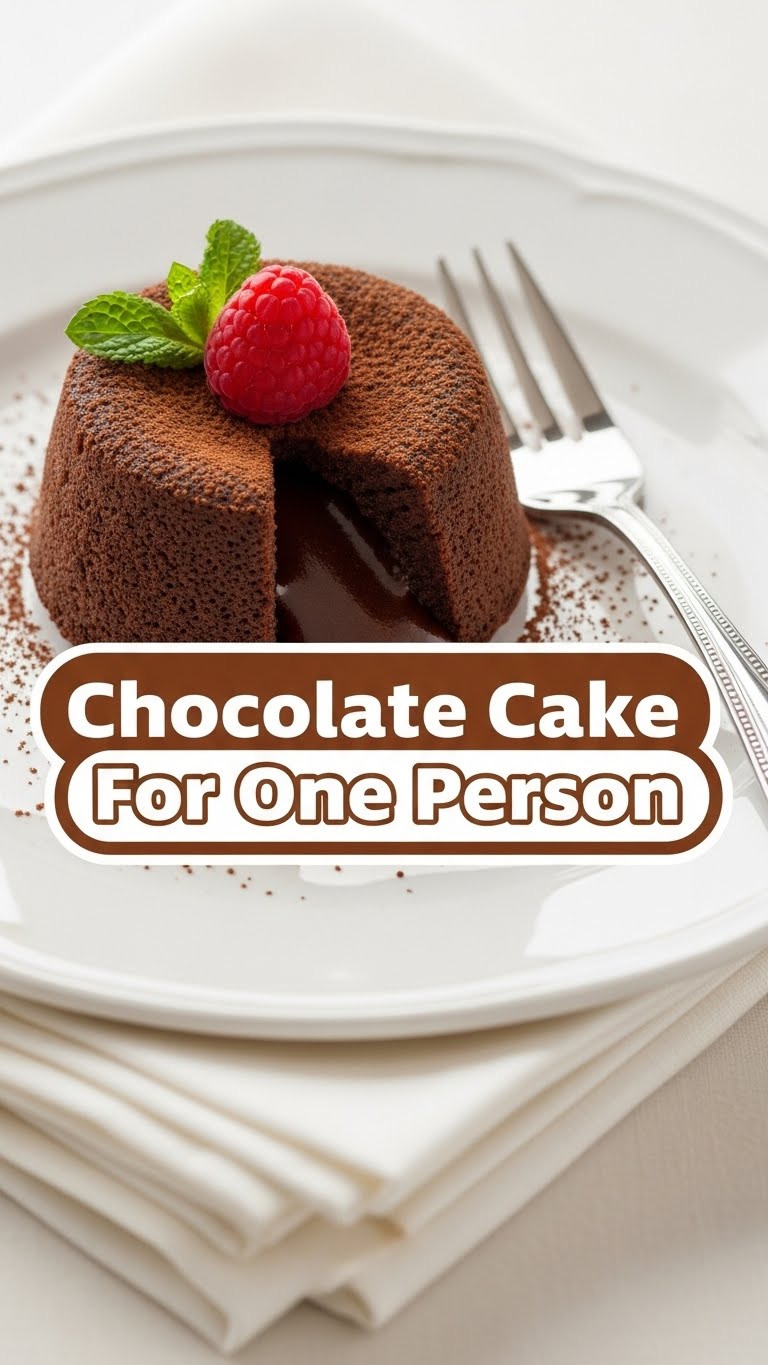
So you’re craving something warm, gooey, chocolatey, and all yours, but the thought of baking a whole cake and then *sharing* it? Nope. And spending hours in the kitchen, dealing with a gazillion dishes? Hard pass. My friend, you’ve come to the right place. We’re about to make a personal chocolate cake so good, you’ll want to keep it a secret. (Spoiler: it’s okay if you do.)
Why This Recipe is Awesome
Okay, first off, it’s a **cake for ONE**. That alone makes it a winner, right? No awkward sharing, no leftover guilt (or the temptation to eat the entire 8-serving cake yourself, we’ve all been there). Secondly, it’s so quick you could probably make it during a commercial break for your favorite show. And thirdly, it’s virtually **idiot-proof**. Trust me, if I can do it without setting off the smoke alarm (most days), you’re golden. Plus, minimal dishes? You’re welcome.
Ingredients You’ll Need
Gather ’round, fellow sweet tooths! Here’s your tiny arsenal:
- 2 tbsp All-Purpose Flour: Just a tiny bit, like you’re trying to prove you *can* bake.
- 2 tbsp Granulated Sugar: Because life’s too short for unsweetened sadness.
- 1.5 tbsp Unsweetened Cocoa Powder: The darker, the better, unless you’re into beige cake (who even are you?).
- 1/4 tsp Baking Powder: For that glorious lift – no flat cake allowed!
- Pinch of Salt: A tiny pinch, because balance, darling. It makes the chocolate pop!
- 3 tbsp Milk: Any kind works, even oat if you’re feeling fancy.
- 1 tbsp Vegetable Oil: Canola, sunflower, whatever’s lurking in your pantry. Or melted butter for extra richness (decadent, I know).
- 1/4 tsp Vanilla Extract: Adds that “oomph!”
- Optional: A few chocolate chips (because why not double down?), a scoop of ice cream (mandatory, IMO), or a dollop of whipped cream.
Step-by-Step Instructions
Let’s get this party started, shall we?
- Preheat & Prep: Get that oven fired up to **180°C (350°F)**. Grab a small ramekin (about 4-inch diameter) or an oven-safe mug. Give it a quick greasing with butter or oil spray – **don’t skip this**, unless you enjoy archaeological digs for your cake.
- Dry Mix: In a small bowl, whisk together the flour, sugar, cocoa powder, baking powder, and salt. Make sure there are no lumpy bits, unless you’re into surprise flour bombs.
- Wet Mix: Pour in the milk, oil (or melted butter), and vanilla extract. Stir gently until *just* combined. **Do not overmix!** Lumps are actually okay here; overworked batter makes tough cake, and nobody wants a tough cake. Seriously, stop stirring once you don’t see any dry flour.
- Add-ins (Optional): Feeling extra? Fold in a few chocolate chips. Go on, you deserve it.
- Bake It Baby: Pour your glorious batter into your prepared ramekin/mug. Pop it into the preheated oven for **12-18 minutes**. It’s done when a toothpick inserted into the center comes out with moist crumbs, but not raw batter. The top should look set and spring back slightly.
- Cool & Devour: Let it cool for a minute or two (if you can resist; I usually can’t) then dig in! Top with ice cream, whipped cream, or just a spoon. You’ve earned this, you magnificent baker, you.
Common Mistakes to Avoid
We’ve all been there, making silly little mistakes. Learn from my wisdom (aka past failures):
- **Thinking you don’t need to preheat the oven.** Rookie mistake! Patience is a virtue, especially when cake is involved. A cold oven equals a sad, unevenly baked cake.
- **Overmixing the batter.** Remember what I said? Lumpy is love. Stir until *just* combined, or you’ll end up with a dense, rubbery brick instead of a fluffy cake.
- **Forgetting to grease the ramekin.** Unless you enjoy chiseling your cake out and then crying because it’s stuck, spray or butter that bad boy thoroughly.
- **Eating it straight out of the oven without letting it cool for 30 seconds.** Yes, it’s hot. Yes, you’ll burn your tongue. Just… wait a tiny bit. Or don’t, I’m not your mom. But don’t say I didn’t warn you.
Alternatives & Substitutions
Feeling adventurous? Or just missing an ingredient? No worries, I got you:
- **No milk?** Water works in a pinch, or even cold coffee for a mocha kick (highly recommend if you’re a coffee lover!).
- **No oil?** Melted butter is always a fantastic substitute, or even applesauce for a slightly healthier, yet still moist, version. Just make sure it’s unsweetened applesauce.
- **Want a different flavor?** Add a tiny dash of almond extract instead of vanilla, or a pinch of cinnamon for a Mexican chocolate vibe. Get creative, my friend!
- **Dairy-free?** Use your favorite plant-based milk and a neutral oil. Easy peasy lemon squeezy.
- **Gluten-free?** You can definitely swap in a 1:1 gluten-free flour blend. Just make sure it has xanthan gum in it.
FAQ (Frequently Asked Questions)
Got questions? I’ve got (casual) answers!
- Can I bake this in a regular muffin tin? Absolutely! Just adjust the baking time down to about 10-15 minutes, as muffins are smaller. Keep an eye on it – nobody wants a dry muffin-cake!
- What if I don’t have baking powder? Oh dear. You’ll end up with a very dense, sad cake that won’t rise. It’s pretty crucial for that lift, so maybe grab some before you start.
- Can I use whole wheat flour? You can, but it might change the texture a bit, making it slightly denser and perhaps a little more “wholesome” tasting. Start with all-purpose for your first try, then experiment!
- How long does it keep? Honestly, this cake is best eaten warm, immediately. It’s for one, remember? There shouldn’t be any leftovers! If by some miracle there are, cover it and eat it within a day, but it won’t be quite as good.
- Can I make it in the microwave? Technically yes, but I’m a purist for oven-baked goodness and its superior texture. If you *must*, zap it for 60-90 seconds on high, checking every 30. The texture won’t be quite the same (a bit spongier), but it’ll get the job done in a pinch!
- Can I double the recipe? You can! Just use a slightly larger ramekin or divide it into two smaller ones. Baking time might increase a tiny bit.
Final Thoughts
See? Told you it was easy. Now you’ve got a warm, chocolatey hug in a mug (or ramekin!) all to yourself, with minimal effort and maximum satisfaction. Go on, pat yourself on the back, you culinary wizard! Now go impress someone—or just yourself—with your new single-serve chocolate cake skills. You’ve earned it! And maybe share the recipe, but definitely not the cake. 😉


