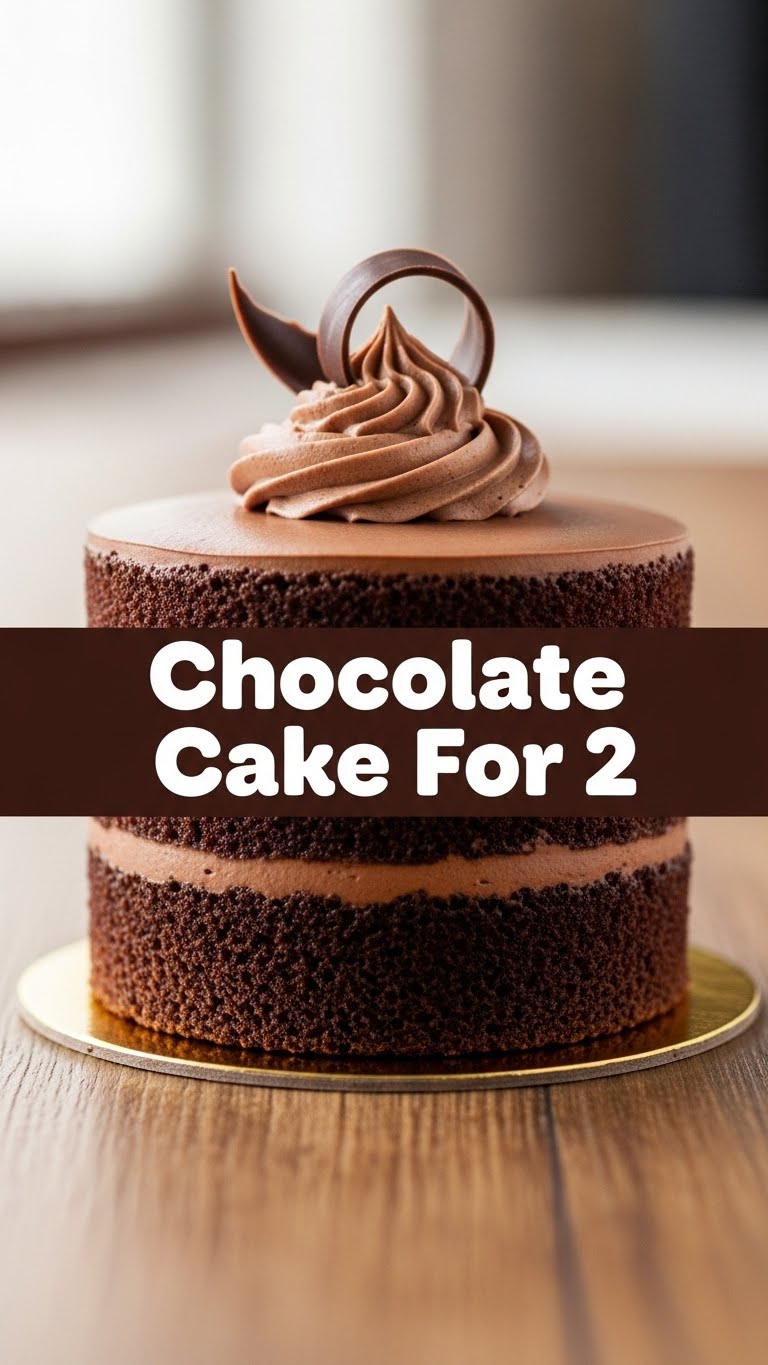
So you’re craving something warm, gooey, chocolatey, and utterly delicious but the thought of baking a whole cake feels like a marathon you’re just not up for, huh? Same, friend. Same. You want instant gratification without the towering dessert commitment. Well, guess what? Your chocolate cake dreams just downsized to the perfect, manageable, two-serving reality. And trust me, it’s going to be epic.
Why This Recipe is Awesome
Because sometimes, you just need a hug in cake form, and you don’t want to share it with the entire neighborhood. This recipe is your new best friend for several reasons:
- Speed Demon: From zero to hero (aka chocolate cake) in under 30 minutes. Seriously.
- Portion Control (ish): It makes just enough for two. Or one, if you’re having that kind of day. No mountains of leftovers tempting you from the fridge.
- Idiot-Proof: If I can do it without setting off the smoke detector, you definitely can. This cake is incredibly forgiving.
- Pantry Staples: You probably have most of these ingredients chilling in your kitchen right now. No fancy trips to specialty stores needed.
- Maximum Deliciousness, Minimum Effort: It tastes like you spent hours, when in reality, you just channeled your inner kitchen wizard for a few minutes.
Ingredients You’ll Need
Gather ’round, culinary adventurers! Here’s your tiny treasure map to chocolatey bliss:
- All-purpose flour: 1/4 cup. The backbone of our cakey dreams.
- Unsweetened cocoa powder: 2 tablespoons. Get the good stuff, it makes a difference!
- Granulated sugar: 1/4 cup. Sweetness incoming!
- Baking powder: 1/4 teaspoon. Our little lift-off specialist.
- Salt: A tiny pinch (1/8 teaspoon). Don’t skip it, it brings out all the chocolatey goodness.
- Milk: 1/4 cup. Any kind you prefer, dairy or non-dairy.
- Vegetable oil (or any neutral oil): 2 tablespoons. For moistness and tenderness.
- Vanilla extract: 1/2 teaspoon. Because vanilla and chocolate are soulmates.
- Chocolate chips (optional, but highly recommended): 2 tablespoons. Because more chocolate is always a good idea.
Step-by-Step Instructions
Alright, let’s get down to business! Follow these super simple steps and prepare for chocolate euphoria:
- Prep Your Pans: Grab two small oven-safe ramekins (about 6-8 oz capacity) or a single small oven-safe dish. Lightly grease them. Preheat your oven to 350°F (175°C). Don’t skip the preheating, it’s crucial!
- Combine Dry Ingredients: In a medium bowl, whisk together the flour, cocoa powder, sugar, baking powder, and salt. Make sure there are no lumpy bits.
- Add Wet Ingredients: Pour in the milk, oil, and vanilla extract. Stir gently with a spoon or whisk until just combined. Don’t overmix! A few small lumps are totally fine. Overmixing leads to tough cake, and nobody wants that.
- Fold in Chips: If using, gently fold in your chocolate chips now. Or save them for sprinkling on top. You do you.
- Divide and Conquer: Divide the batter evenly between your two greased ramekins, or pour into your single small dish. They should be about two-thirds full.
- Bake Away! Pop them into your preheated oven and bake for 12-18 minutes. Baking time will vary based on your oven and dish size. You’re looking for a cake that springs back when lightly touched in the center, or when a toothpick inserted comes out with moist crumbs (not wet batter).
- Cool (or not): Let them cool for a few minutes on a wire rack. Or, if you’re impatient like me, grab a spoon and dig in warm. Top with ice cream, whipped cream, or just more chocolate chips. You’ve earned it!
Common Mistakes to Avoid
Listen, we’ve all been there. Here are a few common pitfalls to sidestep on your journey to chocolate cake glory:
- Forgetting to Preheat: Seriously, don’t do it. A cold oven is the enemy of a perfectly risen cake. It’s like trying to run a race without stretching. Rookie mistake!
- Overmixing the Batter: Once the wet and dry ingredients are *just* combined, stop. Stirring too much develops the gluten, making your cake tough and chewy instead of light and fluffy. A few small lumps are a sign of a happy batter.
- Opening the Oven Door Too Early: Resist the urge! Every time you open that door, you let out heat and can cause your cake to sink. Wait until at least the minimum baking time has passed. It’s not a microwave, folks!
- Skipping the Salt: I know, a tiny pinch seems insignificant. But salt balances the sweetness and really makes the chocolate flavor sing. IMO, it’s a non-negotiable.
Alternatives & Substitutions
Feeling adventurous or just missing an ingredient? No stress! Here are some ideas:
- Milk: Any dairy milk works great. For a non-dairy option, almond, soy, or oat milk are perfect substitutes.
- Oil: Vegetable oil is standard, but melted butter or even coconut oil (if you like a hint of coconut flavor) can work in a pinch. Just make sure it’s liquid.
- Cocoa Powder: If you only have Dutch-processed cocoa, it’s fine for this recipe, though natural cocoa powder might give a slightly richer color and flavor here due to the baking powder.
- Add-ins: Get creative! A pinch of cinnamon, a tiny bit of instant espresso powder (enhances chocolate flavor without making it coffee-like), or a dash of orange zest can elevate this cake to new heights.
- No Ramekins? No Problem! A mug works just as well for a single-serving mug cake. Just adjust baking time (usually a bit shorter) and keep an eye on it. Or, use any small oven-safe bowl or even muffin tins (fill 2-3 cups).
FAQ (Frequently Asked Questions)
Got questions? I’ve got (casual) answers!
- “Can I use self-rising flour instead?” Nope! Self-rising flour already has leavening agents. If you use it, omit the baking powder. Better to stick to all-purpose for this one.
- “My cake is dry! What went wrong?” Uh oh! You probably overbaked it. Keep a closer eye on the time next time, and remember that residual heat continues to cook the cake even after it comes out of the oven.
- “Can I make this ahead of time?” You *could*, but honestly, this cake is so quick and easy, it’s best enjoyed warm and fresh. It takes less time to whip up than it does to decide what to watch on Netflix!
- “Do I really need vanilla extract?” Well, technically yes, unless you hate joy. Vanilla extract isn’t just for vanilla flavor; it really rounds out and enhances the chocolate. Don’t skip it!
- “Can I double the recipe?” Absolutely! Just scale all ingredients up, and you can make four small cakes or one slightly larger one. FYI, if you make one larger cake, the baking time will increase.
- “What if I don’t have baking powder, but I have baking soda?” Baking soda needs an acid to activate (like buttermilk or vinegar). Since this recipe doesn’t use those, stick to baking powder for best results.
Final Thoughts
And there you have it! Your very own, incredibly easy, perfectly portioned chocolate cake. Whether it’s for a cozy night in, a spontaneous craving, or just because Tuesday deserves cake, you’ve got this. Now go impress someone—or yourself—with your new culinary skills. You’ve earned it! Enjoy every single, chocolatey bite!

