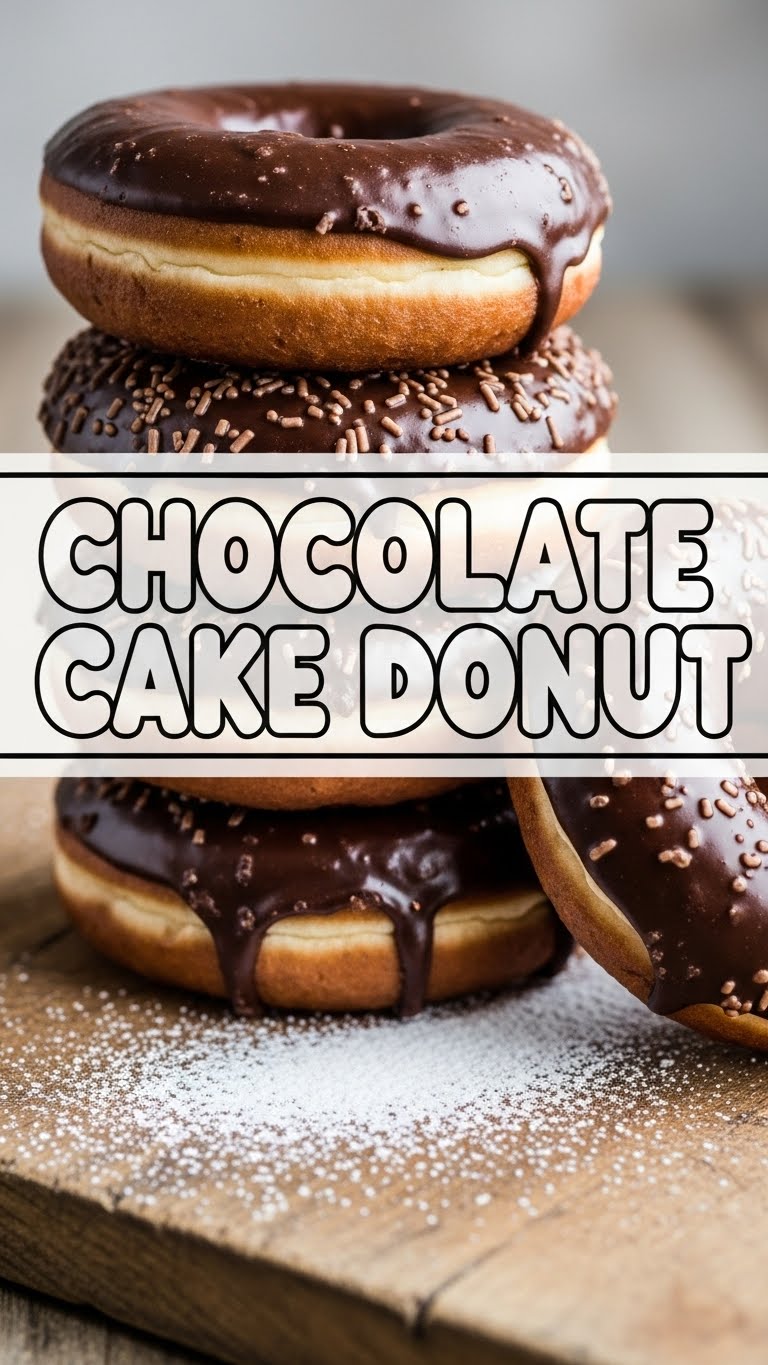
So, you’ve hit that sweet spot in the day where your brain whispers, “Chocolate cake!” but your body is screaming, “Donuts, please, but don’t you dare make me deep-fry anything!” Sound familiar? Good, because you’re in excellent company. Today, we’re diving headfirst into the glorious world of Chocolate Cake Donuts. It’s like your two favorite comfort foods had a super-delicious, no-fuss baby. And trust me, this baby is cute, easy to handle, and smells divine.
Why This Recipe is Awesome
Let’s be real, who needs a complex dessert when you can have something this utterly fantastic with minimal effort? This recipe is basically a love letter to your lazy inner baker. We’re *baking* these bad boys, not frying them, which means less oil, less mess, and less guilt (maybe). Plus, they taste like a fluffy, moist chocolate cake wrapped up in a convenient donut shape, perfect for dunking in your morning coffee or, you know, just eating three in a row while nobody’s looking. It’s idiot-proof, even I didn’t mess it up!
Ingredients You’ll Need
Gather your troops, folks! Here’s what you’ll need to make your chocolatey dreams come true.
- All-Purpose Flour: The unsung hero. About 1 ½ cups.
- Granulated Sugar: For sweetness, obviously. ¾ cup should do it.
- Unsweetened Cocoa Powder: Go for the good stuff, the darker the better! ½ cup.
- Baking Powder: Our lift-off specialist. 1 ½ teaspoons.
- Baking Soda: Its sidekick. ½ teaspoon.
- Salt: A pinch, just to make everything else shine. ¼ teaspoon.
- Large Egg: The binder of dreams. Just one.
- Milk: Any kind works, dairy or non-dairy. ¾ cup.
- Vegetable Oil (or melted unsalted butter): For moisture. ¼ cup.
- Vanilla Extract: Because everything’s better with vanilla. 1 teaspoon.
For the Glaze (because why not?):
- Powdered Sugar: The foundation of all good glazes. 1 cup.
- Unsweetened Cocoa Powder: More chocolate, yay! 2 tablespoons.
- Milk (or cream): Just enough to make it drizzle-worthy, about 2-3 tablespoons.
- Vanilla Extract: Again, because it’s awesome. ¼ teaspoon.
Step-by-Step Instructions
- Preheat & Prep: First things first, get your oven to 350°F (175°C). Then, generously grease your donut pan. Don’t skip this, unless you enjoy a good wrestling match with stuck donuts.
- Whisk the Dry Stuff: In a medium bowl, whisk together the flour, sugar, cocoa powder, baking powder, baking soda, and salt. Get all those lumps out!
- Mix the Wet Stuff: In a separate bowl, whisk the egg, milk, oil (or melted butter), and vanilla extract until they’re all happy and combined.
- Combine Forces: Pour the wet ingredients into the dry ingredients. Stir just until combined. Do not overmix! A few lumps are okay; we’re not aiming for a tough donut.
- Fill ‘Em Up: Spoon or, even better, pipe the batter into the greased donut cavities. Fill them about two-thirds full. You can use a piping bag or just a zip-top bag with the corner snipped off for less mess.
- Bake Time!: Pop them in the preheated oven for 8-10 minutes. They’re done when they spring back lightly when touched.
- Cool Down: Let them cool in the pan for 5 minutes, then carefully transfer them to a wire rack to cool completely. Patience, young padawan!
- Glaze Glory (Optional, but highly recommended): While they cool, whisk together all the glaze ingredients until smooth. Once your donuts are completely cool (this is key!), dip the tops into the glaze, letting any excess drip off.
- Set & Serve: Place the glazed donuts back on the wire rack and let the glaze set for a few minutes. Then, devour!
Common Mistakes to Avoid
- Overmixing the Batter: This is a cardinal sin in donut-making. Overmixing develops the gluten too much, giving you tough, rubbery donuts. Nobody wants that. Stop stirring as soon as the flour streaks disappear.
- Not Greasing the Pan Properly: I warned you! A sticky donut pan is a nightmare. Grease, grease, grease!
- Glazing Hot Donuts: Instant melty mess. Your beautiful glaze will just absorb into the hot donut and disappear. Always wait until they are completely cool.
- Overfilling the Donut Cavities: You’ll end up with donuts that look like they exploded, rather than perfectly round treats. Two-thirds full is the sweet spot.
Alternatives & Substitutions
Feeling adventurous or just missing an ingredient? No stress, I got you!
- No Donut Pan? No problem! Use a muffin tin. You’ll get chocolate cake “muffins” or “donut holes” depending on how much you fill them. Still delicious, just a different shape.
- Dairy-Free? Swap the milk for your favorite non-dairy milk (almond, oat, soy all work great) and use vegetable oil instead of butter. Easy peasy.
- Different Glaze: Don’t love chocolate glaze? Make a simple vanilla glaze with powdered sugar, a splash of milk, and a bit of vanilla extract. Or, ditch the glaze altogether and just dust with powdered sugar. Your donuts, your rules!
- Extra Mix-ins: Want to get wild? Stir in a handful of chocolate chips, mini marshmallows, or even a sprinkle of espresso powder to the batter for an extra kick.
FAQ (Frequently Asked Questions)
- Can I make these gluten-free?
- Absolutely! Just swap the all-purpose flour for a 1:1 gluten-free baking flour blend. Your donuts will still be yummy.
- How long do these chocolate cake donuts last?
- If you manage not to eat them all in one sitting (impressive, IMO), they’ll stay fresh in an airtight container at room temperature for about 2-3 days. They’re best on day one though, FYI.
- Can I freeze these donuts?
- You bet! Freeze them *before* glazing for best results. Wrap them individually in plastic wrap, then pop them into a freezer-safe bag for up to a month. Thaw at room temp, then glaze.
- Do I need a stand mixer for this recipe?
- Nope! A good old whisk and some arm power are all you need. This recipe is designed to be low-fuss.
- Why are my donuts dry?
- Most likely, you overbaked them or overmixed the batter. Remember: just until combined for the batter, and only 8-10 minutes in the oven!
- Can I use margarine instead of butter or oil?
- Well, technically yes, but why hurt your soul like that? Butter or oil generally give a much better texture and flavor in baked goods. If it’s all you have, go for it, but don’t expect the same richness.
Final Thoughts
There you have it, folks! A ridiculously easy, unbelievably delicious recipe for Chocolate Cake Donuts that will make you feel like a baking wizard, even if your most complex culinary skill usually involves ordering takeout. Go forth and impress someone—or just yourself—with your new culinary skills. You’ve earned it! Now if you’ll excuse me, I hear a fresh batch calling my name…

