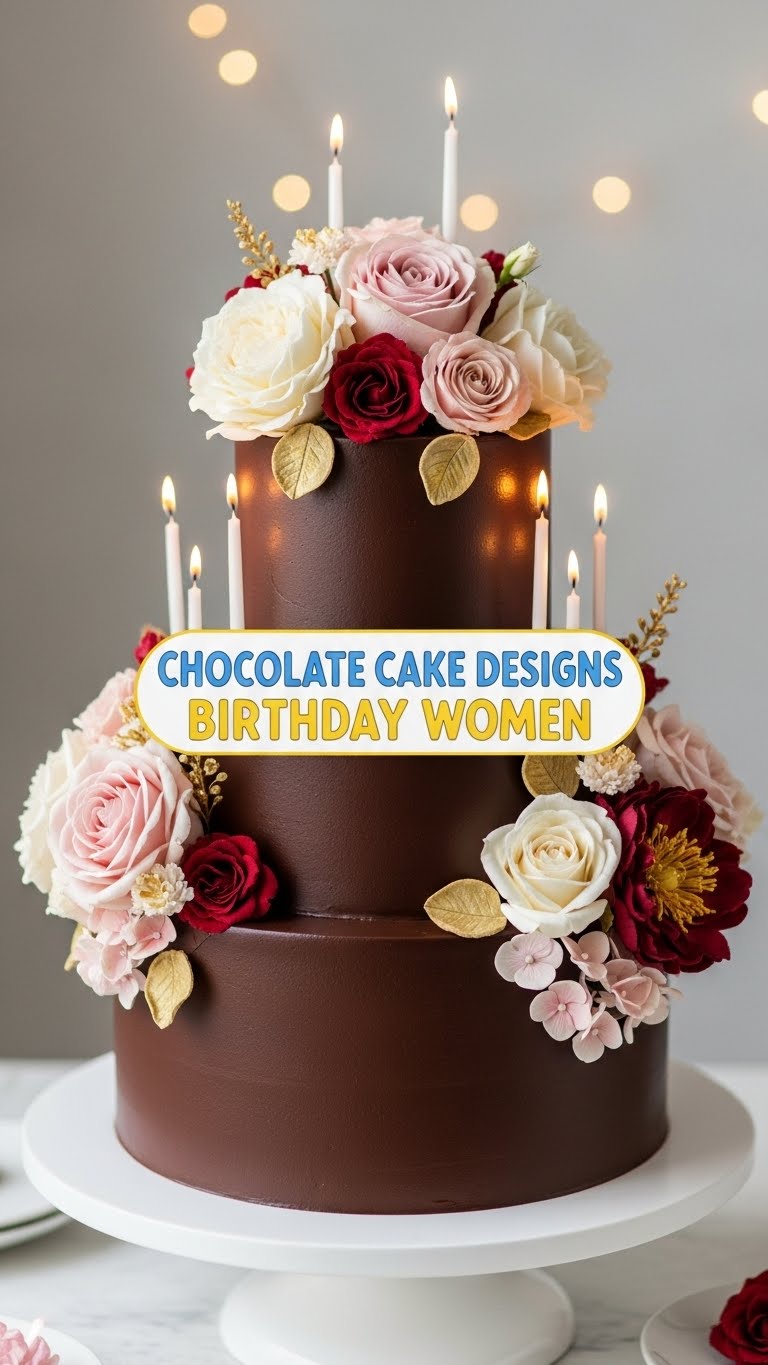
So, it’s her birthday, and you want to bake a showstopper chocolate cake that looks totally fabulous but doesn’t require a culinary degree, a team of sous chefs, or even an entire weekend, right? Totally get it. Because who has time for elaborate soufflés when there’s cake to be eaten and a birthday to celebrate? We’re aiming for that ‘homemade with love but also looks professionally done’ vibe for the amazing women in our lives. Let’s make some magic!
Why This Recipe is Awesome
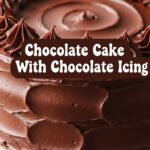
This isn’t just *any* chocolate cake recipe. This is the “I baked this myself, can you believe it?!” cake. It’s rich, ridiculously moist, and has that deep, dark chocolate flavor that makes people close their eyes and sigh contentedly. More importantly, it’s the absolute perfect canvas for whatever fabulous, elegant, or downright playful birthday design you dream up for your favorite lady. Whether it’s a simple sprinkle of edible flowers or a full-on buttercream masterpiece, this cake base will hold up like a champ. Plus, it’s practically foolproof. Yes, even *you* can do it. I mean, if *I* can bake it without setting off the smoke detector, trust me, you’re golden.
Ingredients You’ll Need
Gather your troops! Here’s what you’ll need to create this chocolatey masterpiece:
- 1 ½ cups All-Purpose Flour: The foundational magic dust. Don’t worry, we won’t get fancy with cake flour.
- 1 ½ cups Granulated Sugar: Sweet, sweet joy.
- ¾ cup Unsweetened Cocoa Powder: Go for the good stuff here. Dutch-processed is awesome for a darker cake, but any unsweetened will do. This is where the chocolate power comes from, so no skimping!
- 1 ½ teaspoons Baking Soda: Our lift-off agent. Makes it fluffy!
- 1 teaspoon Salt: Don’t skip this! It enhances all that delicious chocolate flavor.
- 2 Large Eggs: Our binding heroes. Room temperature if you can remember, but no biggie if not.
- ¾ cup Buttermilk: The secret to ultimate moisture and a little tang. If you don’t have buttermilk, don’t fret – see the Alternatives section!
- ¾ cup Vegetable Oil (or melted unsalted butter): Our moisture maestro. Oil makes it super moist, butter adds richness. Your call!
- 1 teaspoon Vanilla Extract: Because why not? It makes everything taste better.
- ¾ cup Boiling Water (or hot coffee): The ultimate secret weapon for depth of flavor and an unbelievably moist crumb. Trust me on this one.
Step-by-Step Instructions
Alright, apron on, good vibes only! Let’s get baking!
- Preheat & Prep: First things first, preheat your oven to 350°F (175°C). Then, grease and flour two 8-inch round cake pans. You can also line the bottoms with parchment paper for extra non-stick insurance.
- Whisk Dry Ingredients: In a large mixing bowl, whisk together the flour, sugar, cocoa powder, baking soda, and salt. Make sure there are no lumps of cocoa, because nobody wants a cocoa surprise later.
- Combine Wet Ingredients: In another bowl, whisk together the eggs, buttermilk, oil (or melted butter), and vanilla extract until well combined.
- Marry Wet & Dry: Pour the wet ingredients into the dry ingredients. Mix on low speed with an electric mixer, or by hand with a whisk, until *just* combined. Do not overmix! Overmixing leads to dry, tough cake, and we are not about that life.
- Add the Secret Weapon: Carefully pour in the boiling water (or hot coffee) into the batter. Whisk until the batter is smooth. It will be thin, and that’s exactly what we want.
- Divide & Conquer: Divide the batter evenly between your two prepared cake pans. Give them a gentle tap on the counter to release any air bubbles.
- Bake It Up: Bake for 30-35 minutes, or until a wooden skewer or toothpick inserted into the center comes out clean or with a few moist crumbs. Don’t open the oven door too early, impatient chef!
- Cool Down: Let the cakes cool in their pans on a wire rack for about 10-15 minutes. Then, carefully invert them onto the wire rack to cool completely. This is crucial for easy frosting!
Common Mistakes to Avoid
Listen up, buttercup! A few rookie errors can turn your masterpiece into… well, a practice run. Avoid these:
- Not Preheating the Oven: Thinking you can skip this step is a rookie mistake. A cold oven equals unevenly baked cake. Patience, grasshopper!
- Overmixing the Batter: This is a biggie. Once the wet and dry ingredients are *just* combined, STOP. Overmixing develops the gluten too much, leading to a dense, chewy cake instead of a light, fluffy one.
- Opening the Oven Door Too Early: Resist the urge to peek! Especially in the first 20 minutes. It causes the temperature to drop and your cake to potentially collapse.
- Not Cooling Cakes Completely: Frosting a warm cake is a recipe for disaster. The frosting will melt, slide off, and you’ll have a chocolatey mess instead of a beautiful design. Seriously, wait until they are stone cold.
- Using Stale Ingredients: Especially baking soda. If it’s old, your cake won’t rise. Give it a fresh start!
Alternatives & Substitutions
Life happens, ingredients run out, or maybe you just want to experiment! Here are some easy swaps:
- No Buttermilk? No Problem! You can make your own! Add 1 tablespoon of white vinegar or lemon juice to a measuring cup, then fill the rest with regular milk until you reach ¾ cup. Let it sit for 5 minutes until it curdles slightly. Voila!
- Coffee vs. Water: Using hot coffee instead of hot water will seriously deepen the chocolate flavor without making the cake taste like coffee. It’s an expert-level hack, IMO. Give it a try if you’re feeling adventurous!
- Oil vs. Butter: While butter adds a lovely richness, vegetable oil often makes cakes incredibly moist. Feel free to use either ¾ cup vegetable oil or ¾ cup melted unsalted butter.
- Gluten-Free Flour: If you or your birthday gal is GF, you can definitely use a 1:1 gluten-free all-purpose flour blend. Just make sure it contains xanthan gum!
- Flavor Boosts: A pinch of espresso powder added to the cocoa powder can really amplify the chocolate. You could also add a touch of almond extract for a subtle flavor twist.
FAQ (Frequently Asked Questions)
Got questions? I’ve got (casual) answers!
- Can I make this cake ahead of time? Absolutely! You can bake the cake layers up to 2-3 days in advance. Once completely cool, wrap them tightly in plastic wrap and store at room temperature. You can even freeze them for up to a month! Just thaw before frosting.
- What kind of frosting should I use for decorating? A classic chocolate buttercream or a sturdy cream cheese frosting works wonderfully for elegant designs. A simple ganache (equal parts hot cream and chocolate) poured over the top is also super chic and easy!
- My cake layers look a little domed. How do I get them flat for stacking? Easy fix! Once cooled, use a serrated knife to carefully level off the tops. You can snack on the scraps, consider it chef’s privilege.
- Can I make cupcakes instead? You bet! This recipe makes about 24-30 cupcakes. Reduce the baking time to around 18-22 minutes. Keep an eye on them!
- How should I store the finished cake? Covered, at room temperature for up to 3 days, or in the fridge for up to a week. If it lasts that long!
- What about making it for a small celebration? Can I halve the recipe? Yup! Halve all the ingredients and bake in two 6-inch pans or one 8-inch pan (adjust baking time accordingly).
Final Thoughts
There you have it! A truly fabulous, moist, and utterly delicious chocolate cake recipe that’s just begging to be decorated for a special birthday woman. This cake is proof that homemade doesn’t have to mean complicated. It’s a labor of love, yes, but one that’s genuinely fun and rewarding. Now go impress someone—or yourself—with your new culinary skills. You’ve earned it!

