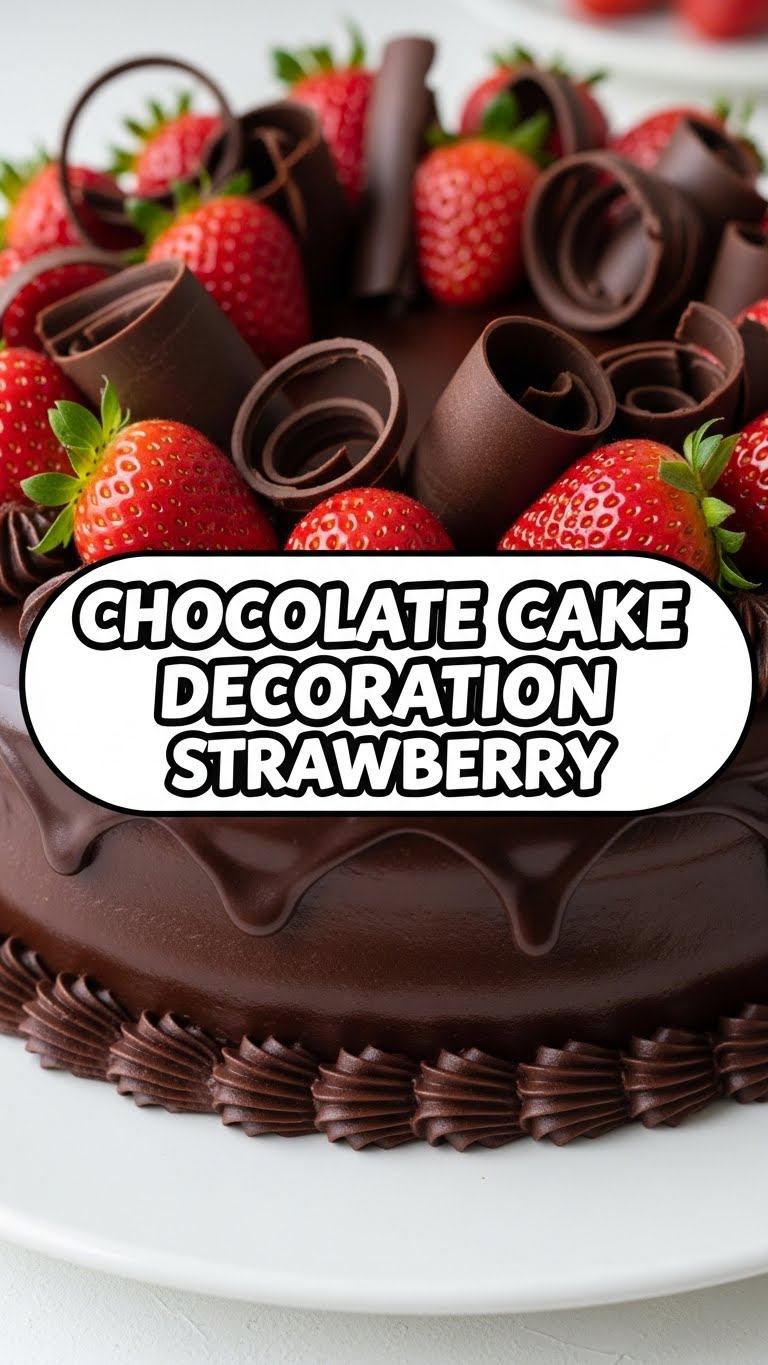
So, you’ve just baked (or, let’s be honest, *acquired*) a magnificent chocolate cake. It smells divine, it tastes even better, but… it looks a bit, well, brown, doesn’t it? Like a delicious, albeit monochrome, lump of cocoa joy. Fear not, my friend! We’re about to transform that unassuming chocolate canvas into a show-stopping masterpiece with the help of our favorite red, juicy pals: strawberries!
Why This Decoration Recipe is Awesome
Because it’s basically magic, but without the need for wands or even basic hand-eye coordination. Seriously, this isn’t some high-stress, precision-piping situation. This is **”make your cake look expensive and impressive with minimal effort”** magic. It’s so idiot-proof, even I’ve managed to pull it off after a glass of wine (or two). Plus, who doesn’t love the fresh, slightly tart contrast of a strawberry cutting through rich chocolate? It’s a flavor party, and everyone’s invited!
Ingredients You’ll Need
- Your Favorite Chocolate Cake: The star of the show! Whether it’s homemade, from a box mix, or a humble store-bought beauty, no judgment here.
- Fresh Strawberries: Pick the prettiest, firmest ones you can find. Think of them as tiny supermodels ready for their close-up. About 1-2 punnets, depending on how “extra” you want your cake to be.
- Optional (but recommended) Chocolate Ganache or Whipped Cream: A thin layer on top helps the strawberries stick and adds another dimension of deliciousness. If you’re feeling fancy, a simple chocolate ganache is surprisingly easy!
- Optional: Powdered Sugar: For that “just snowed on my cake” aesthetic. Totally optional, but oh-so-pretty.
- Optional: Fresh Mint Leaves: A few tiny green leaves can add a pop of color and freshness.
Step-by-Step Instructions
- Prep Your Strawberries: First things first, wash those berries! Give them a good rinse under cold water. Then, and this is crucial, **pat them absolutely dry** with paper towels. We don’t want any watery mishaps messing with our beautiful cake.
- Hull & Slice (or don’t!): Decide on your strawberry style.
- For a rustic look, leave some whole (especially if they’re small and cute), just remove the green hull.
- For elegance, hull them and slice them in half lengthwise.
- For a fanned effect, hull the strawberry and make several vertical slices, stopping just before the stem end, then gently fan them out.
- Frost Your Cake (if using): If you’re adding a layer of ganache or whipped cream, now’s the time. Spread it evenly over the top of your cooled chocolate cake. This provides a lovely sticky base for our strawberries.
- Arrange with Panache: Time to get creative!
- A classic look is to start arranging the sliced halves around the outer edge of the cake, cut-side down, forming a circle. Work your way inwards, overlapping slightly, until the entire top is covered.
- You can also pile whole or fanned strawberries in the center for a more dramatic, heaped effect.
- Mix and match! Place some whole berries, some halves, some fanned. There are no rules, only delicious opportunities.
- The Finishing Touches (Optional):
- For that magical, “straight out of a patisserie” look, use a fine-mesh sieve to lightly dust your decorated cake with powdered sugar.
- Tuck in a few tiny fresh mint leaves here and there for a pop of contrasting green.
- Chill & Serve: If you’re not serving immediately, pop your cake into the fridge for about 15-30 minutes to let everything set, especially if you used ganache or whipped cream.
Common Mistakes to Avoid
- Wet Strawberries: This is the cardinal sin! Wet berries will bleed water, make your frosting runny, and generally cause a soggy mess. **Always pat them dry!**
- Overcrowding: Sometimes less is more. Don’t feel like you need to cover every single millimeter of cake. Let some of that gorgeous chocolate peek through!
- Using Mushy Berries: If a strawberry is looking a bit sad and soft, it’s not going to make your cake look pretty. Save those for a smoothie.
- Decorating Too Far in Advance: While chilling is good, leaving berries on a cake for a full day can make them weep and get soft. Decorate a few hours before serving for peak freshness.
Alternatives & Substitutions
Feeling adventurous? Or maybe you just ran out of strawberries (gasp!):
- Mixed Berries: Blueberries, raspberries, and blackberries are fantastic companions to strawberries. A medley of red, blue, and black on a chocolate background? Hello, stunning!
- Chocolate Shavings or Curls: Before you arrange the strawberries, sprinkle some chocolate shavings on your ganache layer. It adds texture and more chocolatey goodness.
- White Chocolate Drizzle: A quick drizzle of melted white chocolate over the finished cake (and strawberries!) can look super elegant and provide a nice contrast. IMO, it makes everything look extra professional.
- Edible Flowers: If you’re feeling fancy-pants, a few edible flowers can elevate the look even further. Just make sure they’re actually edible!
FAQ (Frequently Asked Questions)
Can I use frozen strawberries? Oh honey, no. Just… no. Frozen strawberries turn into a watery, mushy mess when thawed. Save them for smoothies or compotes, but keep them far away from your beautiful cake decoration project.
How far in advance can I decorate my cake with strawberries? Ideally, about **2-4 hours before serving**. This gives the berries time to look their best without getting too soft or weeping. If you need to do it earlier, keep it chilled in the fridge.
Do I need to hull the strawberries? For aesthetics and ease of eating, yes, it’s best to remove the green hull. It also creates a flat surface if you’re slicing them.
Any tips for making the strawberries extra shiny? You can brush them with a very light glaze made from apricot jam (warm a spoonful with a tiny bit of water and strain). But honestly, their natural sheen is usually gorgeous enough for a home cake, FYI.
What if my cake isn’t perfectly frosted? That’s the beauty of strawberries! They are excellent at hiding minor imperfections. Just arrange them strategically over any bumps or smudges. You’re welcome!
Final Thoughts
See? I told you it wasn’t rocket science! You’ve just turned a humble (yet delicious) chocolate cake into a work of art, all without breaking a sweat or needing to call up that fancy pastry chef you follow on Instagram. Now go forth and impress someone—or yourself—with your new culinary (and decorative) skills. You’ve earned it! Grab a slice and bask in the glory of your gorgeous creation.


