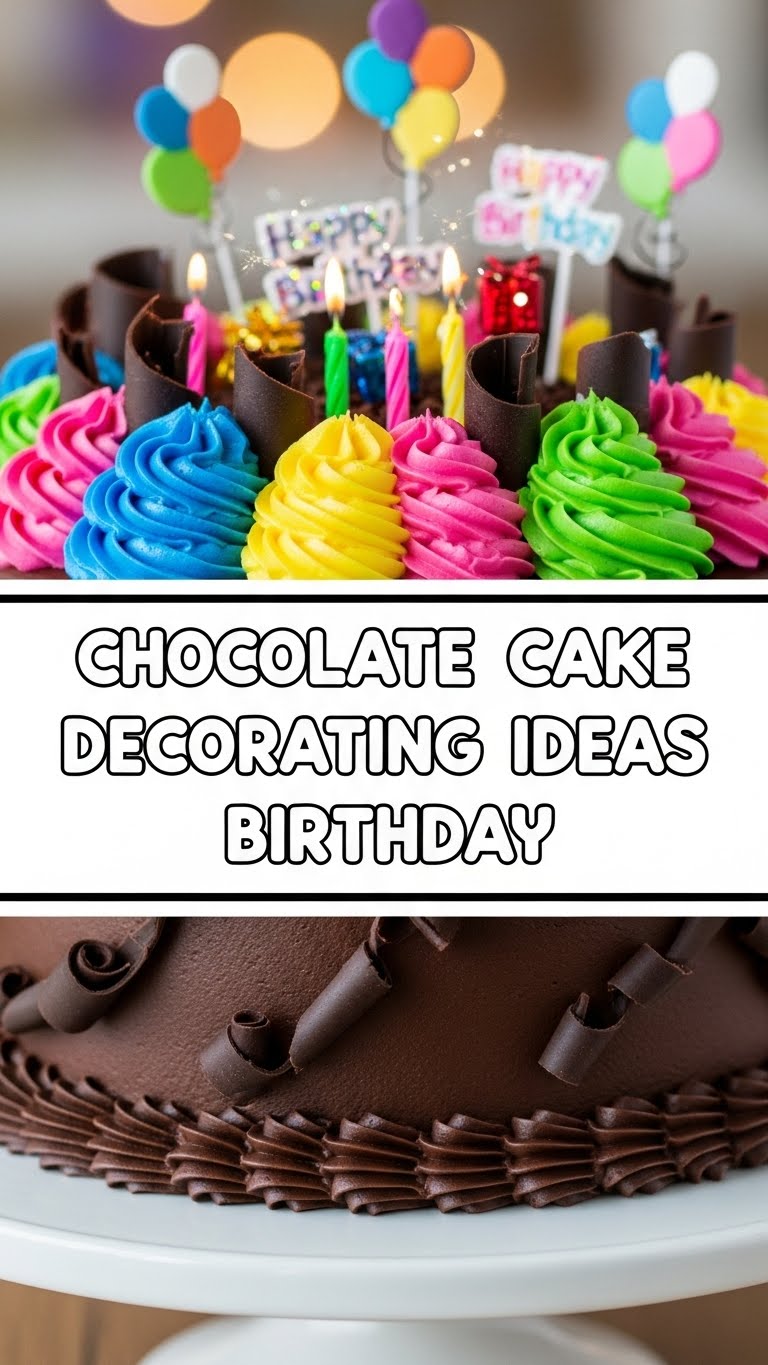
Okay, so you’ve conquered the oven, survived the mixing, and now you’ve got a beautiful (or at least structurally sound) chocolate cake staring back at you. High five! But let’s be real, a naked chocolate cake is like showing up to a party in your pajamas. Comfy? Sure. Impressive? Not so much. It’s time to give that chocolate masterpiece a birthday glow-up! We’re talking show-stopping, “did-you-really-make-that?” decorating ideas that are totally achievable, even if your artistic skills peak at stick figures.
Why These Decorating Ideas Are Awesome
Because nobody wants a boring birthday cake, right? These ideas are your secret weapon against blandness. They’re super versatile, surprisingly easy, and make you look like you spent hours slaving away, when in reality, you probably just scrolled Instagram for inspiration while contemplating if it was too early for wine. Plus, they’re **idiot-proof** – seriously, if I can do it without a major kitchen catastrophe, so can you. The goal here is maximum impact with minimal effort. You’re welcome.
Ingredients You’ll Need (aka Your Decorating Arsenal)
Think of these as your art supplies. Get creative, swap ’em out, or just use what you’ve got. No stress, just deliciousness.
- Your Baked & Cooled Chocolate Cake: Duh. Make sure it’s completely cold, unless you enjoy frosting avalanches.
- Frosting/Icing: Chocolate ganache, classic buttercream, cream cheese frosting – whatever tickles your taste buds. Store-bought is perfectly acceptable, IMO. We’re going for fun, not martyrdom.
- Sprinkles: The glitter of the food world! Get the fancy colorful ones, maybe some metallic jimmies. **More is more** when it comes to sprinkles.
- Chocolate Bars/Chips: For shavings, curls, or just strategically placed chunks. Because you can never have too much chocolate.
- Fresh Berries: Think strawberries, raspberries, blueberries. They add a pop of color and make it look ~fancy~. Plus, fruit makes it healthy, right? (Don’t answer that.)
- Candy/Cookies: Mini chocolate bars, M&Ms, Oreos, Kit Kats, mini peanut butter cups – basically any small, delicious thing you can stick on top.
- Piping Bags & Tips (Optional): If you’re feeling fancy. But don’t sweat it if you don’t have them; a Ziploc bag with the corner snipped works like a charm.
- A Spatula or Butter Knife: For spreading that glorious frosting.
Step-by-Step Instructions: Cake Glow-Up Time!
Chill Your Cake, Champ! This is crucial. A cold cake is a firm cake, and a firm cake doesn’t crumble all over your frosting. Pop it in the fridge for at least 30 minutes before you even *think* about frosting.
Frost It Like You Mean It. Slather on a generous layer of your chosen frosting. Don’t aim for perfection on the first pass; that’s what the crumb coat is for (a thin layer to trap crumbs). Once that’s set (another 10 mins in the fridge), go in for your final, smooth layer. Don’t worry about minor imperfections, our decorations will hide a multitude of sins!
Choose Your Decorating Adventure! Here are a few foolproof ideas:
- The Sprinkle Extravaganza: Once your frosting is on, grab handfuls of sprinkles and just go wild! Press them gently onto the sides and pile them high on top. It’s instantly festive and hides any wobbly frosting lines. **Seriously, you can’t over-sprinkle.**
- Chocolate Overload: Use a vegetable peeler or grater to create beautiful chocolate curls/shavings from a chocolate bar. Pile them on top, or gently press them into the sides of the cake. You can also melt some chocolate, drizzle it artfully (or haphazardly, it’ll still look good) over the top, then let it set.
- Berry Beautiful: Arrange fresh berries in a pretty pattern on top. A ring of strawberries around the edge, or a mix of berries piled in the center. The contrast of the red and purple against the dark chocolate is stunning and makes it look super gourmet.
- Candy Crush: Got a favorite candy bar? Chop it up! Arrange whole Oreos around the perimeter, or cover the entire top with M&Ms. You can even create little “fences” around the cake using Kit Kat bars before filling the center with more candy.
- The Drip Cake (Easy Mode): If your frosting is firm, make a simple ganache (equal parts hot cream and chopped chocolate, stir until smooth). Let it cool slightly until it’s thick but still pourable. Spoon it over the edge of the cake, letting it drip naturally down the sides. Then fill the center with more goodies!
Add a Message (Optional): If you’re feeling brave, use a piping bag with a small round tip (or a Ziploc with a tiny snip) to write “Happy Birthday!” If not, grab some store-bought candles and let them do the talking. No judgment here.
Common Mistakes to Avoid (Unless You Like Cake-tastrophes)
Decorating a Warm Cake: This is literally rule number one. Warm cake + frosting = sad, crumbly, sliding mess. Don’t do it! **Chill that cake!**
Overthinking It: It’s a birthday cake, not a competition for a Michelin star. Imperfections add character, and most people are just stoked there’s cake involved. Have fun with it!
Using Too Much Liquid in Drips: If your ganache or drip material is too thin, it’ll run right off the cake like water. Let it cool and thicken slightly before applying. You want a slow, luscious drip, not a waterfall.
Not Having Enough Frosting: Skimping on frosting is like trying to build a house with half the bricks. You need enough to cover the cake adequately and act as glue for your decorations. Better to have extra than run out!
Alternatives & Substitutions
Life’s too short for rigid rules, especially when it comes to cake! Here are some ideas to swap things out:
No fresh berries? No problem! Gummy bears, chopped nuts, mini marshmallows, edible flowers (make sure they’re food-safe!), or even dehydrated fruit slices work beautifully. Just use what you have that looks cute and is edible, FYI.
Don’t have fancy chocolate bars for shavings? Use chocolate chips! Melt them and drizzle, or just scatter them whole. Heck, you can even crush up some chocolate cookies for a “dirt cake” vibe.
Not a fan of sprinkles? Try toasted coconut flakes for a different texture and taste. Or a dusting of cocoa powder or powdered sugar through a stencil (a paper doily works great!) for an elegant look.
No piping bags? As mentioned, a Ziploc bag with a tiny corner snipped off works in a pinch for writing or small details. For spreading frosting, a simple butter knife or even the back of a spoon will do the trick.
FAQ (Frequently Asked Questions)
Do I need any fancy tools to make these ideas work? Nah, not really! Most of these can be done with a butter knife, a spoon, and your own two hands. While piping bags and offset spatulas are nice, they’re not essential for basic decorating. Your creativity is your best tool!
What if my cake isn’t perfectly flat on top? Psh, who cares? Cover it with frosting, then pile on the decorations! Sprinkles, berries, and candy are excellent at disguising uneven surfaces. Nobody will ever know. It’s our little secret.
How far in advance can I decorate the cake? Most decorated cakes (especially with buttercream) are best made a day or two in advance. If you’re using fresh fruit, add it closer to serving time to prevent it from getting soggy or browning. Store covered in the fridge, of course.
My frosting looks lumpy. Help! Did you chill your cake enough? Lumps can be crumbs. For a smoother finish, do a thin “crumb coat” of frosting, chill it for 15 minutes, then apply your main layer. If the lumps are from your frosting itself, give it another good whip with a mixer or spoon until smooth.
Can I combine different decorating ideas? Um, absolutely! That’s where the real magic happens. A chocolate drip with berries and sprinkles on top? Yes, please! Go wild, combine your favorites, and make it uniquely yours. It’s a birthday, after all!
Final Thoughts
You’ve got this, future cake wizard! Remember, baking and decorating should be fun, not a chore. Don’t stress about perfection; aim for deliciousness and a smile. Whether you go for a chaotic sprinkle explosion or an elegant berry arrangement, your handmade chocolate birthday cake will be a hit. Now go forth and create a masterpiece (or at least something that looks way better than store-bought). You’ve earned those bragging rights!

