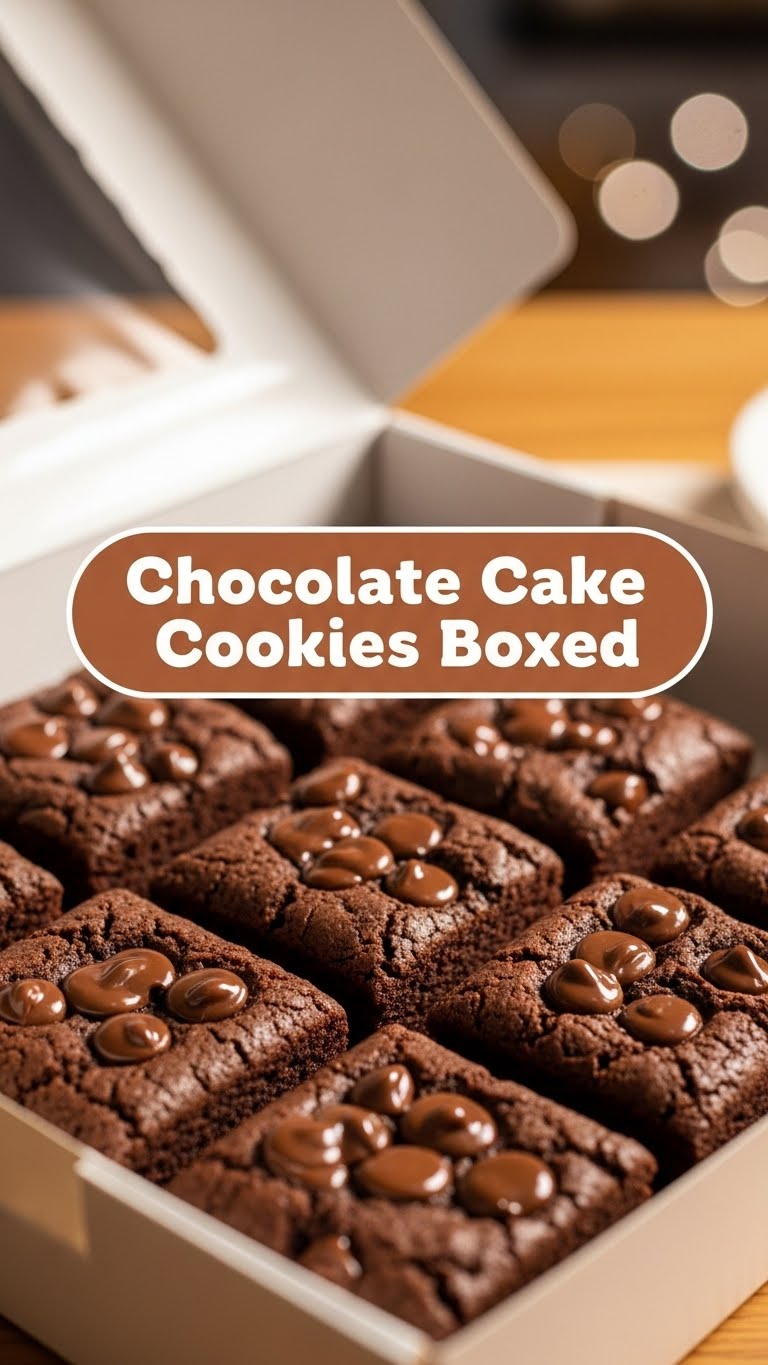
So you’re craving something warm, gooey, and chocolatey but your brain is screaming, “Too much effort!”? I feel you deep in my soul. Like, really, truly feel you. Sometimes, you just want maximum deliciousness for minimum brainpower, and that, my friend, is where our little secret weapon comes in: Chocolate Cake Cookies from a box mix! Get ready to impress everyone (mostly yourself) with how ridiculously easy and yummy these bad boys are.
Why This Recipe is Awesome
Okay, let’s be real. We’re talking about taking a boxed cake mix and transforming it into cookies. It’s basically culinary wizardry, but without having to find a spellbook or a pointy hat. This recipe is an absolute lifesaver for those days when you need a chocolate fix, like, five minutes ago. **It’s practically idiot-proof**, and trust me, if I can make these without setting off the smoke alarm, anyone can. Plus, cleanup is minimal, which, let’s be honest, is half the battle when it comes to baking, right?
Ingredients You’ll Need
Gather ’round, my lazy-gourmet friend. Here’s what you need for pure chocolate cookie bliss:
- **1 box (approx. 15.25 oz) Chocolate Cake Mix:** This is the star of our show. Any brand, any “chocolate” flavor works! Double chocolate, devil’s food, milk chocolate – your call!
- **2 large Eggs:** The humble binders, holding our dreams together.
- **1/2 cup Vegetable Oil:** Or canola oil. This is where the magic happens, giving us that chewy, fudgy texture.
- **1 cup Chocolate Chips (or more, no judgment):** Because more chocolate is always the answer. Semi-sweet, milk, dark – pick your poison!
Step-by-Step Instructions
- **Preheat Your Oven:** Crank that baby up to **350°F (175°C)**. While it’s heating, line a baking sheet with parchment paper. Trust me on the parchment; it makes life so much easier.
- **Mix it Up:** In a large bowl, combine the cake mix, eggs, and vegetable oil. Stir with a spoon or a spatula until just combined. **Don’t overmix!** Overmixing can lead to tough cookies, and we’re aiming for soft and chewy.
- **Fold in the Chips:** Gently fold in your glorious cup of chocolate chips. Or, if you’re like me, maybe a cup and a half. This is your cookie, live your best life!
- **Scoop ’em Out:** Drop rounded tablespoons of dough onto your prepared baking sheet, leaving about 2 inches between each cookie. They’ll spread a bit.
- **Bake Away!** Pop them into the preheated oven for **8-10 minutes**. You want the edges to be set and slightly firm, but the centers still look a little soft. That’s the secret to chewiness!
- **Cool Down:** Let them hang out on the baking sheet for a few minutes before transferring them to a wire rack to cool completely. Or, you know, eat one hot. No one’s watching.
Common Mistakes to Avoid
Even though this recipe is practically foolproof, there are a few rookie errors we can easily dodge:
- **Overmixing the Dough:** I know it’s tempting to keep stirring until it’s perfectly smooth, but stop as soon as everything is incorporated. Remember, tough cookies are sad cookies.
- **Overbaking:** This is the quickest way to turn a delicious, chewy cookie into a dry, sad disk. Keep an eye on them! If the centers look fully set and hard, you’ve gone too far.
- **Not Lining Your Pan:** Sticky situations are best avoided. Parchment paper is your friend, preventing heartbreak and scraping.
- **Eating All the Dough Before Baking:** I mean, it’s a mistake if you actually wanted baked cookies. If raw dough is your goal, then mission accomplished, I guess?
Alternatives & Substitutions
Feeling adventurous? Here are some fun tweaks you can make:
- **Swap the Oil:** You can use melted butter instead of vegetable oil for an even richer flavor. Just let it cool slightly before adding to the mix.
- **Mix-in Madness:** Instead of just chocolate chips, why not try M&Ms, sprinkles, white chocolate chunks, chopped nuts, or even a mix of all of them? Go wild!
- **Flavor Frenzy:** Don’t limit yourself to chocolate cake mix! Try a yellow cake mix with white chocolate chips, a strawberry cake mix with dark chocolate, or a red velvet mix with cream cheese frosting swirls (add the frosting after baking, **FYI**).
- **Pillow Soft:** For an even softer, puffier cookie, you can add 1/4 cup of all-purpose flour to the mix. It thickens the dough a tiny bit.
FAQ (Frequently Asked Questions)
Got questions? I’ve got (casual, possibly sassy) answers!
- **Can I skip chilling the dough?** You *can*, but don’t come crying to me if they spread a little more than you’d like. For perfectly plump cookies, a 15-minute chill can help.
- **How long do these cookies last?** Pfft, like they’re actually going to last more than a day in your house. **IMO**, they’re best devoured warm or within 24 hours. Properly stored in an airtight container, they’ll be good for 3-4 days, but who are we kidding?
- **My cookies came out flat, what happened?** Usually, this means your oven wasn’t hot enough, or your dough was too warm. Next time, double-check your oven temp and maybe chill the dough for 15-20 minutes.
- **Can I make these gluten-free?** Absolutely! Just grab a gluten-free boxed cake mix, and you’re good to go.
- **What if I don’t have parchment paper?** You can grease your baking sheet the old-fashioned way, but just know that cleaning up might be a bit more… sticky.
- **Can I freeze the cookie dough?** Yes! Scoop the dough onto a parchment-lined baking sheet and freeze until firm, then transfer to a freezer bag. Bake from frozen, adding a minute or two to the baking time. Future you will thank past you!
Final Thoughts
See? You just whipped up a batch of delicious cookies with minimal effort and maximum satisfaction. You’re basically a gourmet chef now, don’t let anyone tell you otherwise. So go ahead, grab a warm cookie (or three!), pair it with a cold glass of milk, and bask in your newfound baking glory. You’ve earned it, you beautiful, lazy baker, you!


