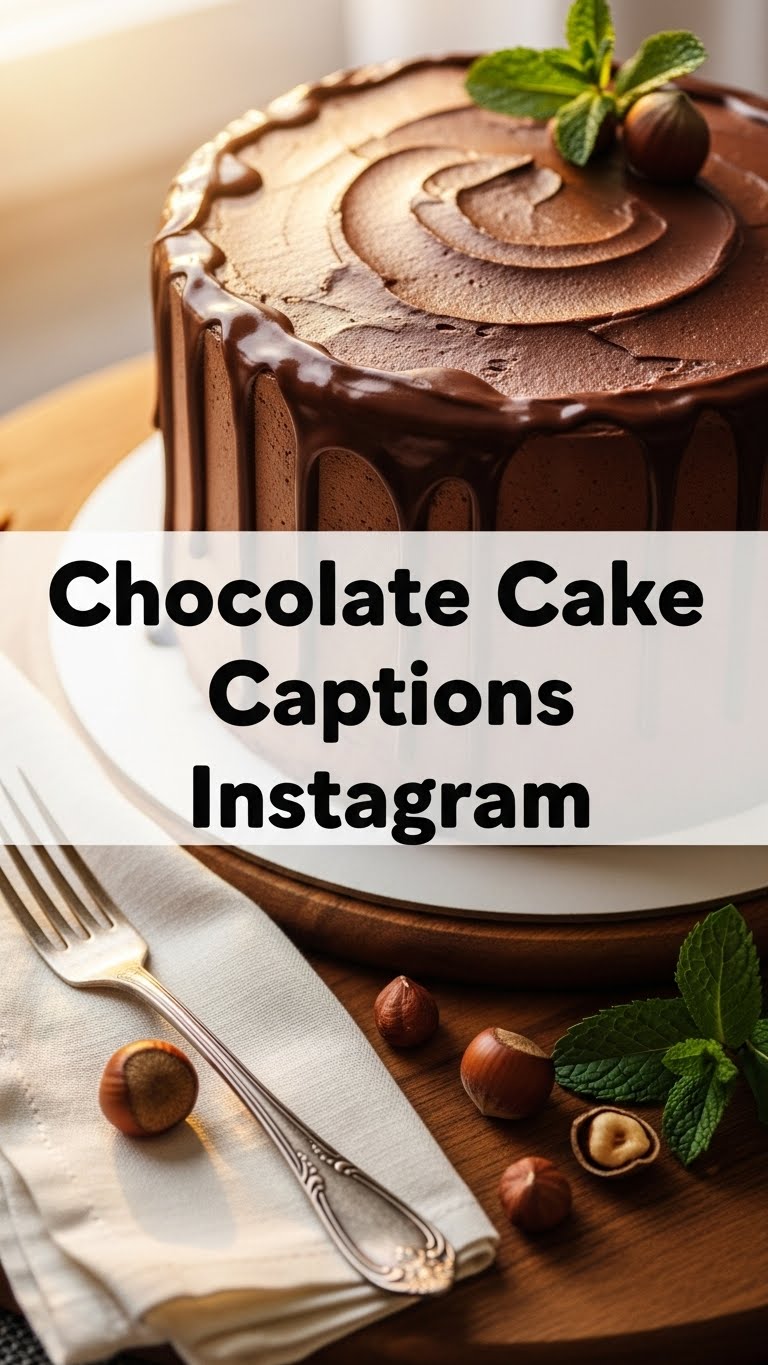
So you’re craving something rich, decadent, and utterly delicious but also kinda want to just chill on the couch with your pet? Same. But what if I told you there’s a chocolate cake recipe so ridiculously easy and SO Instagram-worthy that your biggest problem will be deciding which drool-emoji caption to use? Because let’s be real, if it’s not on Insta, did you even eat it? 😉
Why This Recipe is Awesome
Okay, listen up. This isn’t just *any* chocolate cake. This is ‘I woke up like this, flawless’ level of chocolate cake. It’s a one-bowl wonder, which means minimal dishes (hallelujah!). It’s practically **idiot-proof** – seriously, even I, a seasoned pro at burning toast, nailed this one. Plus, it bakes up super moist, super fudgy, and with that perfect crumb that just screams, ‘Hello, gorgeous! Get in my belly and then on my feed!’
Ingredients You’ll Need
Alright, pantry raid time! Here’s what you need for your future viral sensation:
- 1 ½ cups all-purpose flour (the basic kind, no fancy stuff needed)
- 1 ½ cups granulated sugar (because sweetness is a virtue, my friend)
- ¾ cup unsweetened cocoa powder (the darker the better for that rich chocolate vibe)
- 1 ½ teaspoons baking soda (our little lift-off secret)
- 1 teaspoon salt (don’t skip this, it makes the chocolate taste *more* chocolatey!)
- 1 cup buttermilk (if you don’t have it, I’ll tell you a trick in the FAQ, shhh!)
- ½ cup vegetable oil (or any neutral oil, we’re not picky)
- 2 large eggs (straight from the carton, no special treatment)
- 1 teaspoon vanilla extract (the unsung hero of all baking)
- 1 cup hot water or freshly brewed hot coffee (coffee seriously amps up the chocolate flavor – trust me on this!)
Step-by-Step Instructions
Ready to become a chocolate cake wizard? Let’s do this!
- **Prep Time:** First things first, preheat your oven to **350°F (175°C)**. Grab a 9×13 inch baking pan and either grease it like it’s going to a fancy party or line it with parchment paper. Smart move, right?
- **Dry Mix Master:** In a *large bowl*, whisk together the flour, sugar, cocoa powder, baking soda, and salt. Make sure there are no lumps trying to hide!
- **Wet Mix Whammy:** Add the buttermilk, oil, eggs, and vanilla extract to the dry ingredients. Use an electric mixer (or a strong arm!) and beat on medium speed until everything is just combined and smooth. Don’t overmix!
- **The Hot Surprise:** Carefully pour in the hot water or coffee. Mix on low speed until the batter is smooth and a little runny. This is totally normal, so don’t panic. **It’s supposed to be thin!**
- **Bake It Off:** Pour the batter into your prepared pan. Pop it into the preheated oven and bake for **30-35 minutes**.
- **The Poke Test:** You’ll know it’s done when a toothpick inserted into the center comes out clean or with a few moist crumbs. No wet batter, please!
- **Chill Out:** Let the cake cool completely in the pan on a wire rack. **Seriously, be patient!** Hot cake crumbles. Cold cake slices perfectly for its photoshoot.
Common Mistakes to Avoid
Listen, we’ve all been there. Learn from my chocolate-stained errors:
- **Forgetting to preheat the oven:** Rookie mistake! Your cake needs a hot welcome, not a lukewarm one.
- **Overmixing the batter:** This is a big no-no. It develops too much gluten, making your cake tough. We want tender, not chewy!
- **Opening the oven door constantly:** Resist the urge! Every time you peek, you let out heat and mess with the baking process. Patience, grasshopper.
- **Not letting it cool:** Trying to frost a warm cake is a recipe for a crumbly, melty disaster. **Trust me, it’s worth the wait.**
- **Skipping the salt:** It sounds weird, but salt enhances the chocolate flavor. Without it, your cake might taste a bit flat. Don’t be flat.
Alternatives & Substitutions
Feeling rebellious? Here are some tweaks you can make:
- **No Buttermilk? No Problem!** Mix 1 cup of regular milk with 1 tablespoon of white vinegar or lemon juice. Let it sit for 5-10 minutes until it slightly curdles. Voila! Instant buttermilk. You’re welcome.
- **Oil Swap:** Not a fan of vegetable oil? You can use melted butter for a richer flavor, or even a light olive oil if you’re feeling adventurous (though I prefer neutral for this one).
- **Cocoa Power-Up:** For an even deeper, darker chocolate, use Dutch-processed cocoa powder. Just be aware it reacts differently with baking soda, so some recipes adjust leavening. For *this* recipe, standard unsweetened cocoa is perfectly fine, IMO.
- **Coffee Aversion?** Just use hot water! The coffee just makes the chocolate *pop*, it doesn’t make the cake taste like coffee. But hey, your cake, your rules.
FAQ (Frequently Asked Questions)
Got questions? I’ve got answers, mostly:
- **Can I make this in round cake pans?** Absolutely! Divide the batter between two 8 or 9-inch round pans and reduce the baking time to about 25-30 minutes. Just keep an eye on ’em!
- **My cake looks dry, what gives?** Did you overbake it? Or maybe measure your flour a bit heavy? **Flour accuracy is key** – use a scale if you’re serious!
- **Can I add chocolate chips?** Um, yes please! Toss about a cup into the batter before baking for extra pockets of melty joy. Why wouldn’t you?
- **How long does this cake last?** If you manage not to devour it all in one sitting (impressive!), it’ll stay fresh for 3-4 days at room temp, covered. In the fridge, maybe a week. But honestly, it rarely lasts that long.
- **What kind of frosting should I use?** A simple chocolate buttercream is classic, or a rich ganache if you want to go full luxe. Heck, even a dusting of powdered sugar makes for a pretty picture!
- **Can I use margarine instead of butter/oil?** Well, technically yes, but why hurt your soul like that? Stick to oil for moisture or butter for flavor. Margarine is… fine, I guess, if that’s all you have. But you deserve better!
Final Thoughts
So there you have it! Your new go-to, stress-free chocolate cake recipe. It’s perfect for impressing literally anyone, from your bestie to your significant other, or even just your future self (who will thank you, trust me). Bake it, devour it, and then for heaven’s sake, **take a glorious picture of it!** Now go impress someone—or yourself—with your new culinary skills. You’ve earned it, and your Instagram feed is about to get a whole lot sweeter. Don’t forget to tag me (in spirit, of course)! 😉


