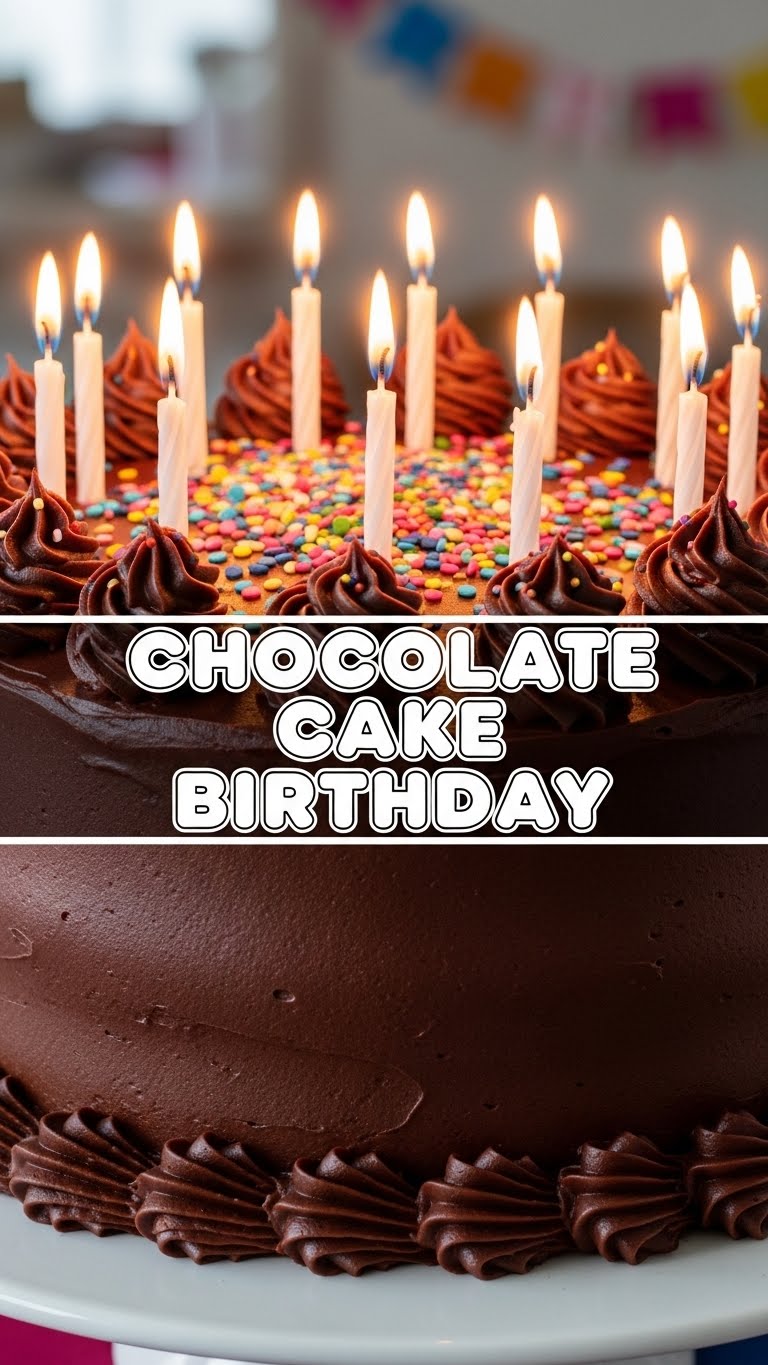
So, your bestie’s birthday is coming up, or maybe you just *really* need chocolate (no judgment here!), and you’re thinking, “Cake! But make it… easy?” Yep, you’ve come to the right place. We’re talking chocolate cake perfection without the kitchen meltdown. Trust me, if I can do it, you absolutely can. This isn’t your grandma’s secret-ingredient-intensive recipe; this is the one you pull out when you want to look like a baking wizard but put in minimal effort. Let’s dive into chocolate heaven!
Why This Recipe is Awesome
Seriously, this isn’t one of those recipes where you need a culinary degree or a kitchen gadget that costs more than your car. This is more like a “can-follow-arrows-on-IKEA-instructions” level of expertise.
- It’s basically a magic trick in your oven. You’ll be amazed at how simple it is to get such a rich, moist, and utterly delicious cake.
- It’s ridiculously **foolproof**. I’m talking even-I-didn’t-mess-it-up foolproof, and my track record with delicate pastries is… not great. You’ll look like a baking god/goddess, and your secret is safe with me. 😉
- No fancy equipment needed, just bowls, whisks, and an oven. See? Told you it was easy!
Ingredients You’ll Need
Get ready to gather your delicious arsenal. Most of these are probably chilling in your pantry already. Score!
- All-Purpose Flour: 1 ¾ cups (210g). The basic building block of joy.
- Granulated Sugar: 1 ¾ cups (350g). Because happiness is sweet, right?
- Unsweetened Cocoa Powder: ¾ cup (65g). The good stuff. Gives us that deep, dark chocolatey soul.
- Baking Soda: 1 ½ teaspoons. Our lift-off agent! Don’t skip it, unless you like hockey pucks.
- Baking Powder: 1 ½ teaspoons. The other half of our dynamic duo for fluffiness.
- Salt: 1 teaspoon. Just a pinch, to make everything pop. Don’t be shy.
- Large Eggs: 2. Happy little binders. Room temperature if you can remember, but no worries if not.
- Milk: 1 cup (240ml). Any kind works! Whole milk gives it extra richness, though. Your call!
- Vegetable Oil: ½ cup (120ml). Or any neutral oil. Keeps things moist and delicious. No butter required here, which is kinda wild, right?
- Vanilla Extract: 2 teaspoons. The secret handshake of good baking. Don’t skimp on quality.
- Boiling Water: 1 cup (240ml). Sounds weird, but it activates the cocoa and makes it super fudgy. **Trust the process!**
For a Quick Chocolate Buttercream (optional, but highly recommended):
- Unsalted Butter: 1 cup (226g), softened
- Powdered Sugar: 3-4 cups (360-480g)
- Unsweetened Cocoa Powder: ½ cup (45g)
- Milk or Cream: 3-4 tablespoons
- Vanilla Extract: 1 teaspoon
- Pinch of Salt
Step-by-Step Instructions
Alright, apron on, game face ready! Let’s make some cake.
- Preheat & Prep: Get that oven cranking to **350°F (175°C)**. Grease and flour two 8 or 9-inch round cake pans. Or line with parchment paper. Whatever makes your heart sing.
- Dry Mix Fun: In a big bowl, whisk together the flour, sugar, cocoa powder, baking soda, baking powder, and salt. Make sure there are no lumpy bits. We want smooth sailing.
- Wet Mix Party: In another medium-sized bowl, whisk together the eggs, milk, oil, and vanilla extract. Get it all nice and combined.
- Combine Forces: Pour the wet ingredients into the dry ingredients. Mix until *just* combined. **Don’t overmix!** Lumps are okay, a tough cake is not.
- Hot Water Magic: Carefully stir in the boiling water. The batter will be thin, and that’s exactly what we want. Seriously, don’t panic. This is where the magic happens for that super moist crumb.
- Bake It Up: Divide the batter evenly between your prepped pans. Pop them in the oven for about **30-35 minutes**, or until a toothpick inserted into the center comes out clean.
- Cool Down: Let those beauties cool in the pans for 10-15 minutes before flipping them onto a wire rack to cool completely. **Patience, young grasshopper!** Don’t even *think* about frosting a warm cake unless you enjoy a melted mess.
- Frosting Time (if using homemade): While the cakes cool, beat the softened butter until creamy. Gradually add powdered sugar and cocoa powder, alternating with milk/cream, until smooth and fluffy. Stir in vanilla and salt. Adjust consistency with more sugar or milk if needed.
- Assemble & Devour: Once cakes are completely cool, frost them generously. Stack ’em up, admire your work, and then dig in!
Common Mistakes to Avoid
Listen, we’ve all made mistakes in the kitchen. Here are a few common cake blunders to dodge:
- Overmixing the Batter: It’s not a smoothie! Mix until *just* combined, or you’ll end up with a dense, sad cake. Lumps are okay, I promise.
- Not Preheating Your Oven: Seriously, don’t skip this. Your cake needs a hot, stable welcome to rise properly.
- Opening the Oven Door Constantly: Resist the urge to peek! Every time you open the door, the temperature drops, and your cake might sink in the middle. Be strong!
- Frosting a Warm Cake: Unless you’re going for a “deconstructed art piece” (which is just a fancy way to say “melted mess”), let the cakes cool down entirely. I’ve been there, it’s not pretty.
Alternatives & Substitutions
Feeling a little rebellious, or just missing an ingredient? No stress, we can tweak a few things!
- Milk: Any milk works! Dairy-free? Almond or oat milk are totally fine here. Just make sure it’s unsweetened if you’re going that route.
- Oil: Vegetable oil, canola oil, even a light olive oil (not extra virgin, though!) will work. It’s all about moisture.
- Coffee Swap: Want to deepen that chocolate flavor without it tasting like coffee? Swap the boiling water for hot brewed coffee. **It won’t taste like coffee, just more intensely chocolatey.** This is, IMO, one of the best baking hacks out there!
- Frosting Cheats: If you’re not into making frosting from scratch (zero shame in that game!), grab a good quality store-bought one. Add a splash of vanilla extract or a pinch of salt to elevate it and make it taste homemade.
FAQ (Frequently Asked Questions)
Got questions? I’ve got casual, slightly sarcastic answers. You’re welcome.
- Can I make this as cupcakes? Absolutely! Just reduce the baking time to about 18-22 minutes. Keep an eye on them—a toothpick test is your best friend here!
- My cake sank in the middle, what happened? Oh, the drama! Usually, it’s either **overmixing**, **opening the oven too early**, or your **baking soda/powder might be old**. FYI, old leavening agents are notoriously unreliable. Check those expiration dates!
- How long does this cake last? Covered at room temperature, it’s usually good for 3-4 days. In the fridge, maybe up to a week. But honestly, will it even last that long? Probably not. 😉
- Do I really need boiling water? Yes, my friend, you really do! It’s the secret sauce for that amazing fudgy texture and intense chocolate flavor. **Don’t skip it!**
- Can I use self-rising flour? Nope, sorry! This recipe relies on specific amounts of leavening agents (baking soda and powder). Using self-rising would mess with the chemistry and give you unpredictable results. Stick to all-purpose.
- Can I make this ahead of time? Totally! Bake the cakes, let them cool completely, then wrap them tightly in plastic wrap (and foil if freezing) and store at room temp for a day or two, or freeze for up to a month. Thaw before frosting!
Final Thoughts
So there you have it, your ticket to chocolate cake glory! Whether it’s for a birthday bash, a Tuesday pick-me-up, or just because you deserve something delicious, this recipe has your back. It’s simple, it’s delicious, and it’s going to make you look like a kitchen rockstar. Now go impress someone—or yourself—with your new culinary skills. You’ve earned it! And maybe send me a slice? Kidding… mostly. Happy baking!


