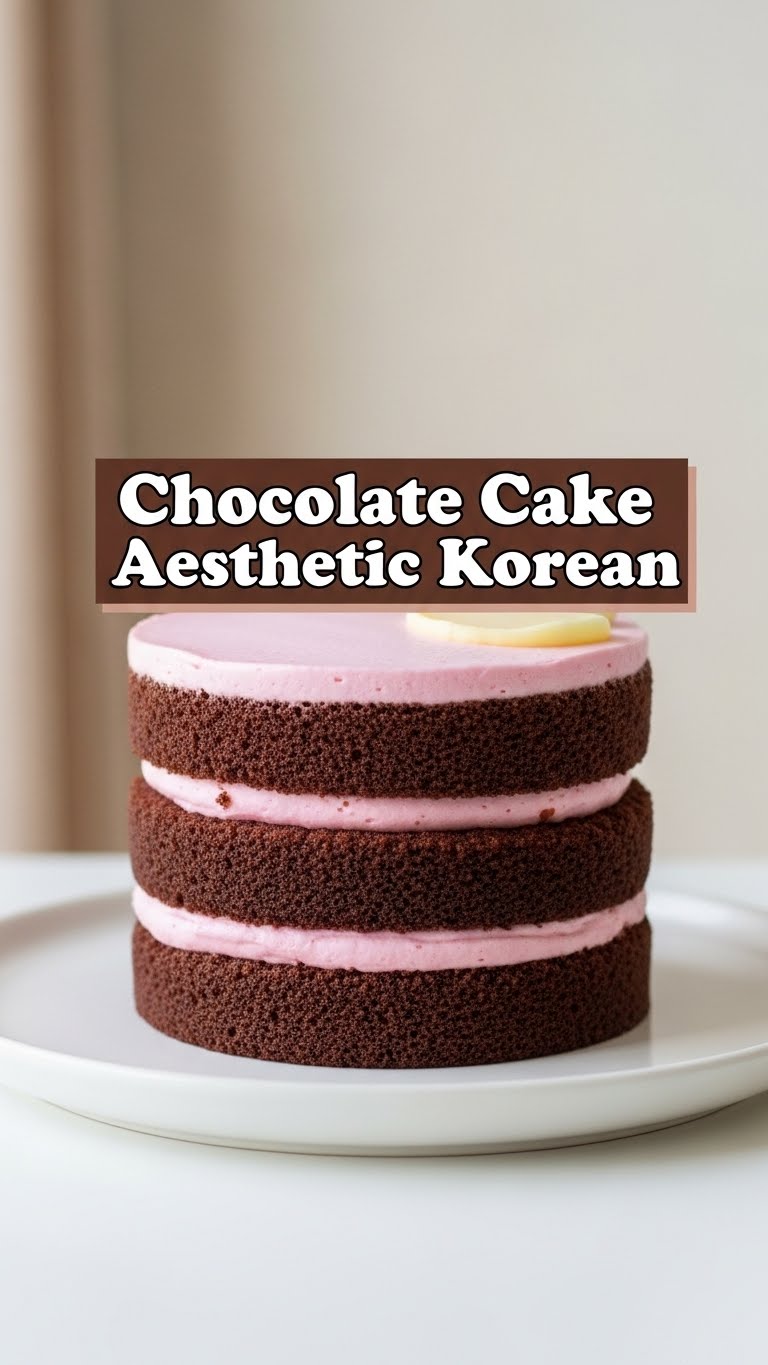
So, you’ve been scrolling through Pinterest or Instagram and those minimalist, chic Korean café desserts have been living rent-free in your head, haven’t they? Specifically, a chocolate cake that looks like it stepped right out of a K-drama – elegant, understated, and probably unbelievably delicious? Same. And guess what? You totally got this. Let’s make one that’s so pretty, you’ll almost feel bad eating it. Almost.
Why This Recipe is Awesome
Okay, let’s be real. We want something that looks like it took hours, but actually takes… less than hours. This chocolate cake is exactly that. It’s unbelievably moist, fudgy, and the “aesthetic” part? That’s all in the simple, elegant frosting and decoration, which, **spoiler alert**, is super easy. No fancy piping skills required, my friend. It’s practically idiot-proof; even I didn’t mess it up, and my track record with delicate desserts is… spotty, to say the least. Plus, it uses ingredients you probably already have in your pantry. Score!
Ingredients You’ll Need
Time to gather your baking squad! Nothing too wild here, just the good stuff.
- All-Purpose Flour: 1 ½ cups. The backbone of your baking dreams. Don’t try to substitute with almond flour unless you’re feeling adventurous (and possibly regretful).
- Granulated Sugar: 1 ½ cups. Because life’s too short for unsweetened cake.
- Good Quality Cocoa Powder: ½ cup. This isn’t the time for that dusty tin from 2005, okay? Go for Dutch-processed if you can, it’s richer.
- Baking Soda: 1 ½ teaspoons. Your cake’s lift-off mechanism.
- Baking Powder: 1 teaspoon. Backup lift-off mechanism. Safety first!
- Salt: 1 teaspoon. Don’t skip it; it balances the sweetness like a pro.
- Large Eggs: 2. Room temperature, please! It makes a difference, trust me.
- Whole Milk: 1 cup. Any milk works, but whole milk is like giving your cake a warm hug. Room temp, too!
- Vegetable Oil (or other neutral oil): ½ cup. For that glorious, moist texture.
- Vanilla Extract: 2 teaspoons. The soul of any good chocolate cake. Don’t skimp.
- Hot Water (or hot coffee for extra depth): 1 cup. This magical liquid activates the cocoa and makes your cake super fudgy. Coffee totally elevates the chocolate, IMO.
For the “Aesthetic Korean” Frosting & Decor:
- Heavy Cream: 1 ½ cups, very cold. We’re making whipped cream, not butter!
- Powdered Sugar: ¼ cup (or to taste). For a little sweetness in that fluffy cloud.
- Vanilla Extract: ½ teaspoon.
- Fresh Berries: Think strawberries, blueberries, raspberries. Pick the prettiest ones, they’re the stars of the show!
- Optional: Mint leaves, edible flowers, or a dusting of extra cocoa powder.
Step-by-Step Instructions
- Get Your Gear Ready: Preheat your oven to 350°F (175°C). Grease and flour two 8-inch round cake pans. You can also line the bottoms with parchment paper for extra non-stick security.
- Dry Mix Magic: In a large bowl, whisk together the flour, sugar, cocoa powder, baking soda, baking powder, and salt. Make sure there are no lumps. We want smooth sailing!
- Wet Mix Whirlwind: In another bowl, whisk together the eggs, milk, oil, and vanilla extract until well combined.
- Combine & Conquer: Pour the wet ingredients into the dry ingredients. Mix on low speed (or by hand) until just combined. Don’t overmix; lumps are not our friends, but overmixing will make your cake tough.
- The Hot Secret: Gradually add the hot water (or coffee) to the batter, mixing until just smooth. The batter will be thin, and that’s perfectly normal!
- Bake It ‘Til You Make It: Divide the batter evenly between your two prepared cake pans. Bake for 28-32 minutes, or until a wooden skewer inserted into the center comes out with only a few moist crumbs.
- Cool Down: Let the cakes cool in the pans for about 10-15 minutes before inverting them onto a wire rack to cool completely. Seriously, **let them cool completely** before even *thinking* about frosting. Impatience is the enemy of aesthetics.
- Whip It Good (for the frosting): While the cakes cool, pour the cold heavy cream, powdered sugar, and vanilla into a chilled bowl. Beat with an electric mixer on high speed until stiff peaks form. Don’t walk away from this; it goes from perfect to grainy in seconds.
- Assemble Your Masterpiece: Once your cakes are fully cooled, place one layer on your serving plate. Spread a generous amount of whipped cream on top. Place the second cake layer on top. Cover the top and sides with a thin, rustic layer of whipped cream. We’re going for natural, not perfectly smooth.
- Aesthetic Time! Arrange your fresh berries on top of the cake. Think artfully scattered, minimalist perfection. Add a few mint leaves or a dusting of cocoa powder for that extra café touch. Voilà!
Common Mistakes to Avoid
- Not letting the cakes cool completely: This is probably the biggest rookie mistake. Hot cake + cold frosting = melty, slidy mess. Just don’t do it.
- Overmixing the batter: You want a tender cake, not a hockey puck. Mix until just combined, then stop.
- Using cold ingredients: Room temperature eggs and milk emulsify better, leading to a smoother batter and a more even bake. Plan ahead!
- Eyeballing measurements: Baking is a science, not an art project (until the decorating stage, of course). Use proper measuring cups and spoons!
- Opening the oven door too early: Your cake needs consistent heat to rise. Resist the urge to peek before the minimum bake time.
- Thinking “more frosting is always better”: For this Korean aesthetic, less is often more. A light, airy touch is what we’re after.
Alternatives & Substitutions
Life happens, ingredients run out, or you just want to shake things up! Here are some ideas:
- No buttermilk? No problem! If you only have regular milk, add 1 tablespoon of white vinegar or lemon juice to your cup of milk and let it sit for 5-10 minutes. Voila, instant buttermilk!
- Coffee vs. Water: If you’re not a coffee fan, just use hot water. The coffee just enhances the chocolate flavor without making it taste like coffee, but it’s totally optional.
- Other Fruits: Don’t limit yourself to just berries! Sliced peaches, cherries, or even kiwi can look super chic. Just pick something fresh and vibrant.
- Dairy-Free Option: You can absolutely make this cake dairy-free. Use your favorite plant-based milk (almond, soy, oat) and for the frosting, look for coconut cream (the thick part from a can of full-fat coconut milk, chilled overnight) or a good quality plant-based heavy cream substitute.
- For a richer frosting: Add 2-3 tablespoons of cream cheese to your whipped cream before beating for a slightly tangy, more stable frosting.
FAQ (Frequently Asked Questions)
Got questions? I’ve got (casual) answers!
- “Can I make this dairy-free?” Yes, totally! Use a good plant-based milk for the cake, and for the frosting, well-chilled full-fat coconut cream (just scoop out the thick part!) works wonders for a whipped cream substitute.
- “How long does this cake keep?” In the fridge, tightly covered, it’ll be delicious for about 3-4 days. Though, if your house is anything like mine, it won’t last that long!
- “Do I *really* need hot water/coffee?” Oh, you betcha! It’s like a secret weapon for unlocking deep cocoa flavor and giving the cake an incredibly moist, tender crumb. Don’t skip it!
- “Can I make cupcakes instead?” Absolutely! This recipe works great for cupcakes. Just adjust the baking time down to about 18-22 minutes, and check for doneness.
- “My cake sunk in the middle! What happened?” Rookie error usually comes down to old leavening agents (baking soda/powder), opening the oven door too early, or incorrect oven temperature. **Make sure your oven thermometer is accurate!**
- “Can I use store-bought frosting for the aesthetic?” *Gasps* Technically, yes, but for *this* aesthetic? Let’s just say homemade whipped cream is your bestie. It’s lighter, less sweet, and perfectly complements the “less is more” vibe we’re going for. Plus, it’s so easy to make!
Final Thoughts
So there you have it, folks! A chocolate cake that tastes heavenly and looks like it could be featured in the trendiest Korean café. This recipe is all about simple elegance, embracing the beauty of fresh ingredients, and making something beautiful without stressing yourself out. Now go impress someone—or yourself—with your new culinary skills. You’ve earned it! Don’t forget to snap a pic before you devour it. Happy baking!


