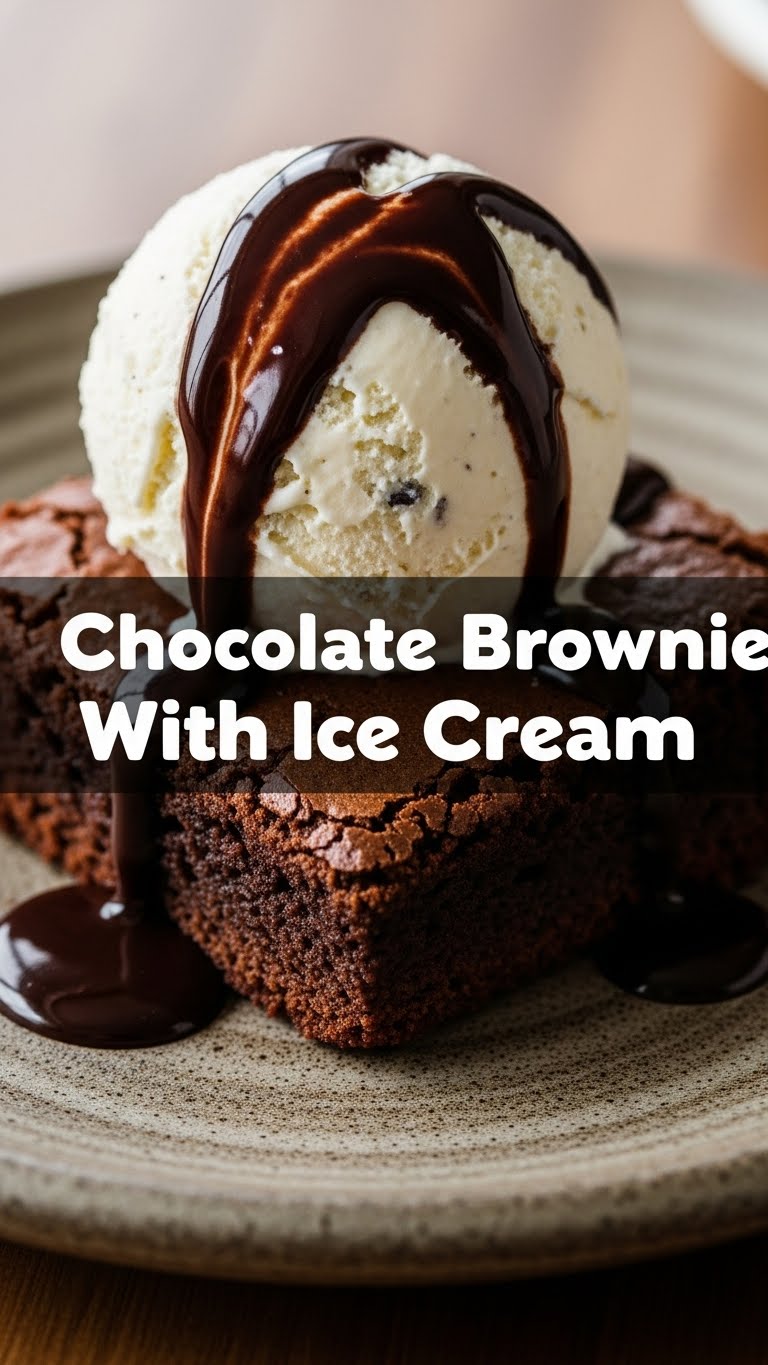
So you’re craving something ridiculously tasty but also kinda too lazy to spend forever in the kitchen, huh? Same. High five! You, my friend, are in the right place because today, we’re diving headfirst into the glorious world of **Chocolate Brownies with Ice Cream**. It’s the ultimate comfort food, the perfect “I just survived Monday” treat, and honestly, an all-around superstar dessert that requires minimal effort for maximum deliciousness.
Why This Recipe is Awesome
Okay, let’s be real. There are a gazillion brownie recipes out there. But this one? This is *the* one. Why? Because it’s practically **idiot-proof**. Seriously, if I, a person who once set off a smoke alarm by making toast, can nail these, you absolutely can too. It’s quick, uses super common ingredients you probably already have, and results in a fudgy, gooey, rich brownie that’s begging for a scoop (or three) of ice cream. Plus, it makes you look like a baking genius without actually having to *be* one. Winning!
Ingredients You’ll Need
Gather ’round, my fellow dessert enthusiasts. Here’s your shopping list (or, more likely, your pantry raid list):
- **1 cup (2 sticks) Unsalted Butter:** The good stuff. Melted, please!
- **2 cups Granulated Sugar:** Because life’s sweet, and so should your brownies be.
- **4 Large Eggs:** Our trusty binders. Room temperature, if you’re feeling fancy (but don’t stress if not!).
- **1 tsp Vanilla Extract:** A splash of liquid gold that makes everything better. Don’t skimp!
- **1 cup All-Purpose Flour:** Just plain old flour, no fancy business.
- **¾ cup Unsweetened Cocoa Powder:** For that deep, dark, chocolatey magic. This isn’t the hot chocolate mix, FYI.
- **½ tsp Salt:** Don’t skip this! It seriously enhances the chocolate flavor.
- **Optional: 1 cup Chocolate Chips or Chunks:** Because sometimes, more chocolate is just… more chocolate.
- **Your Favorite Ice Cream:** The perfect partner in crime. Vanilla is classic, but hey, you do you!
Step-by-Step Instructions
Ready? Let’s get baking! Remember, short and sweet steps, just like our future brownies.
- **Preheat & Prep:** First things first, get that oven nice and toasty. Preheat it to **350°F (175°C)**. Grab a 9×13 inch baking pan, line it with parchment paper (leave an overhang to make lifting easier later!), and give it a quick spray with non-stick goodness.
- **Melt the Good Stuff:** In a large, microwave-safe bowl or a saucepan over low heat, melt your butter. Once melted, stir in the granulated sugar until combined. It doesn’t need to be perfectly dissolved, just mixed.
- **Whisk in the Wet:** Let the butter-sugar mix cool for a minute or two (you don’t want scrambled eggs!). Then, whisk in the eggs one at a time until fully incorporated. Stir in that glorious vanilla extract. You should have a glossy, smooth mixture now.
- **Fold in the Dry:** In a separate bowl, whisk together the flour, cocoa powder, and salt. Now, gently add these dry ingredients to your wet mixture. **Mix *just* until no streaks of flour remain.** If you’re using chocolate chips, fold them in now too.
- **Bake ‘Em Up:** Pour your beautiful brownie batter into your prepared pan, spreading it evenly. Pop it into the preheated oven and bake for about **25-30 minutes**. You’re looking for a slightly crinkly top, and a toothpick inserted into the center should come out with moist crumbs, not wet batter.
- **Cool (Reluctantly) & Serve:** Take those beauties out of the oven and let them cool in the pan on a wire rack. I know, I know, the smell is torture. Once they’re mostly cool (or if you just can’t wait, slightly warm is divine), cut ’em into squares. **Serve warm or at room temperature with a generous scoop of your favorite ice cream.** Pure bliss!
Common Mistakes to Avoid
Even though this recipe is pretty foolproof, there are a few rookie errors that can turn your fudgy dreams into crumbly nightmares. Don’t be that person!
- **Overmixing the Batter:** This is a big no-no! Once you add the flour, mix *just* until combined. Overmixing develops the gluten, leading to tough, cakey brownies instead of the fudgy kind we crave.
- **Overbaking:** This is probably the most common mistake. Brownies continue to cook slightly after they come out of the oven. When in doubt, take them out a minute early rather than a minute late. A gooey center is a sign of perfection, not underdone.
- **Forgetting to Preheat the Oven:** Seriously? Come on! Preheating ensures even baking from the get-go. Otherwise, your brownies will cook unevenly.
- **Cutting Them While Hot:** I know it’s tempting, but resist! Cutting hot brownies is a messy business and they’ll crumble. Let them cool down a bit – at least until they’re warm – for cleaner cuts.
Alternatives & Substitutions
Feeling adventurous? Or maybe you just ran out of something? No worries, we’ve got options!
- **Butter vs. Oil:** You *can* use vegetable oil instead of butter (use the same amount). It will still be moist, but the butter adds a depth of flavor that oil just can’t replicate. IMO, butter is king here.
- **Chocolate Chips:** Feeling wild? Swap out the semi-sweet chips for milk chocolate, dark chocolate, white chocolate, or even peanut butter chips! Walnuts or pecans are also fantastic additions for a little crunch.
- **Flour Power:** Want a gluten-free option? You can usually substitute an equal amount of a 1:1 gluten-free baking flour blend.
- **Ice Cream Flavors:** The world is your oyster! While vanilla is a classic for a reason, try mint chocolate chip, coffee, strawberry, or even a decadent salted caramel ice cream for an extra layer of yum.
FAQ (Frequently Asked Questions)
Got questions? I’ve got (casual) answers!
- **Q: My brownies are cakey, not fudgy! What gives?**
A: Ah, classic overmixing or overbaking, my friend! You probably mixed too much once the flour went in, or left them in the oven too long. Remember: less is more with mixing, and a slightly gooey center is your goal! - **Q: Can I use cocoa powder for hot chocolate instead of unsweetened?**
A: Oof, no! Hot chocolate mix has sugar and milk solids, which will seriously mess with the recipe’s balance. Stick to unsweetened cocoa powder for the best results. - **Q: How do I store leftover brownies?**
A: If you manage to have leftovers (a rare occurrence in my house), store them in an airtight container at room temperature for up to 3-4 days. They also freeze beautifully for a quick future treat! - **Q: What’s the best way to get clean cuts?**
A: Let them cool completely (or at least mostly!). Use a sharp knife and wipe the blade clean with a damp cloth after each cut. Pro tip: warm the knife under hot water first for extra smooth slices! - **Q: Can I make these in a smaller pan?**
A: You can, but you’ll need to adjust the baking time. A smaller, thicker batch will take longer. Just keep an eye on them and use the toothpick test. - **Q: My brownies have a weird, dry top layer. What happened?**
A: That usually happens if your oven temp is too high, causing the top to cook too quickly, or if your butter-sugar mixture was too hot when you added the eggs. Slow and steady wins the race!
Final Thoughts
Alright, you kitchen wizard, you’ve officially got the power to create pure chocolatey happiness. This brownie recipe isn’t just about baking; it’s about making something ridiculously good that brings a smile to your face (and anyone lucky enough to share them with you). So go forth, bake these beauties, and bask in the glory of your culinary prowess. Now go impress someone—or yourself—with your new skills. You’ve earned it!


