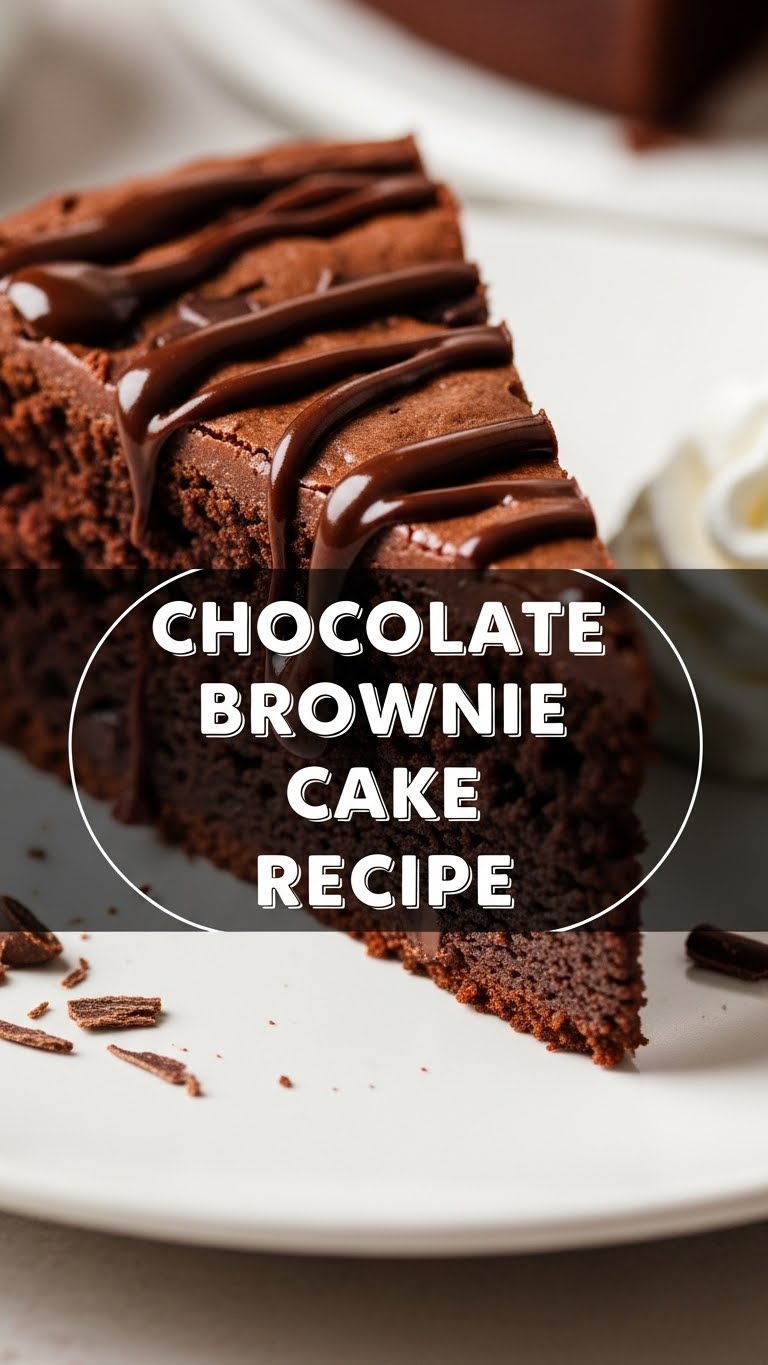
So, you’ve got that chocolate craving hitting hard, but the idea of a complicated bake makes you want to just order takeout? Been there, done that, bought the T-shirt. Good news, my friend! We’re about to dive into the magical world of **Chocolate Brownie Cake** – a bake so easy, so ridiculously good, you’ll wonder why you ever bothered with those fussy, high-maintenance desserts.
Why This Recipe is Awesome
Seriously, this isn’t just a brownie; it’s a brownie that decided to level up and become a cake, but without all the fussy cake drama. It’s rich, fudgy, decadent, and honestly, **foolproof**. Yes, even *you* can make this without setting off the smoke detector. It’s got that perfect crinkly top, a gooey center, and a flavor that just screams “hug me.” Plus, it uses basic pantry staples, so you probably don’t even need to make a special grocery run. It’s basically a hug in cake form, and who doesn’t need more of those?
Ingredients You’ll Need
Gather ’round, fellow chocolate fiend! Here’s what you’ll need to make your brownie cake dreams a reality:
- 1 cup (2 sticks or 226g) Unsalted Butter: The good stuff, not that weird yellow spread. Butter makes everything better, period.
- 2 cups (400g) Granulated Sugar: Sweetness overload, just how we like our brownies.
- 4 Large Eggs: Room temp is best, but if you forget, don’t panic. We’re not Michelin star chefs here.
- 1 teaspoon Vanilla Extract: Because plain chocolate is good, but vanilla chocolate is *chef’s kiss*.
- 1 cup (120g) All-Purpose Flour: The glue that holds our chocolate dreams together.
- ¾ cup (75g) Unsweetened Cocoa Powder: Go dark or go home, baby! Dutch-processed is awesome here.
- ½ teaspoon Salt: Yes, even in dessert. It makes everything taste more like… everything. Trust me.
- 1 cup Chocolate Chips (optional, but not really): Because more chocolate is *always* the answer. Semi-sweet or dark, your call!
Step-by-Step Instructions
- Prep Time! First things first, get your oven preheated to 350°F (175°C). Then, grab an 8×8 inch baking pan. Grease it up and flour it, or, for easy removal (you’re a smarty pants!), line it with parchment paper leaving an overhang.
- Melt It Down. In a large microwave-safe bowl (or a double boiler, if you’re feeling extra fancy), melt the butter. Once it’s liquid gold, stir in the granulated sugar until it’s all combined and looking glossy.
- Egg-cellent Addition. Whisk in the eggs, one at a time, until each is fully incorporated. Seriously, take your time with this part. Then, stir in the vanilla extract. Mix it all up until it’s smooth and beautiful.
- Dry Mix Fun. In a separate, medium-sized bowl, whisk together the flour, cocoa powder, and salt. Make sure there are no lumps; nobody likes a lumpy brownie, FYI.
- Combine Forces. Gradually add the dry ingredients to the wet ingredients, mixing until *just* combined. **DO NOT OVERMIX!** That’s how you get tough, chewy brownies, and we want fudgy. Fold in your chocolate chips now, if you’re using them.
- Pour & Bake. Pour the glorious batter into your prepared pan and spread it evenly. Bake for 25-30 minutes. **A toothpick inserted into the center should come out with moist crumbs, not wet batter.** A little gooey is good, but totally wet means it needs more time. Don’t overbake, or you’ll regret it!
- Cool Down. This is the hardest step, IMO. Let your masterpiece cool completely in the pan before attempting to slice it. I know, I know, it smells amazing, but patience is a virtue here.
Common Mistakes to Avoid
We’ve all been there, trust me. Here are a few traps to sidestep on your journey to brownie cake perfection:
- Overmixing the batter: Hello, brick-like brownies! Mix until just combined, then back away slowly. You want to mix flour as little as possible once it’s wet.
- Overbaking: Dry brownies are a crime against humanity. Keep an eye on that toothpick test! If it comes out clean, you’ve gone too far.
- Not greasing your pan: A sticky situation you definitely don’t want. Use parchment paper for extra insurance and an easy lift-out.
- Cutting it warm: Patience, my friend, patience! Letting it cool completely allows the brownies to set, making for cleaner, neater slices and a better texture.
Alternatives & Substitutions
Feeling creative? Here are some tweaks you can make to this already stellar recipe:
- Butter: Can you use margarine instead? Well, technically yes, but why hurt your soul like that? Your brownies might miss out on some richness and flavor. I’d stick with butter for the best result.
- Chocolate Chips: Feeling adventurous? Add nuts (walnuts or pecans are classic!), dried cranberries, a swirl of peanut butter, or even some chopped candy bars. Go wild!
- Cocoa Powder: For an even darker, more intense brownie, use Dutch-processed cocoa powder. It really deepens the chocolate flavor.
- Gluten-Free: Swap the all-purpose flour for a good quality 1:1 gluten-free baking blend. Most work great in this kind of recipe, so it’s an easy switch!
FAQ (Frequently Asked Questions)
Got questions? I’ve got answers (and maybe a little sass):
- “Can I make this in a different sized pan?” Yep! An 8×8 pan makes thicker, fudgier brownies. A 9×13 will make them thinner and might require less baking time, so keep an eye on them! Adjust accordingly.
- “My brownies came out dry. What happened?” Probably overbaked them, friend. Or maybe you measured your flour incorrectly (fluff and scoop!). Next time, pull them out when the toothpick still has a few moist crumbs attached.
- “Can I add frosting?” Um, YES! It’s a brownie *cake*, remember? A simple chocolate ganache, a cream cheese frosting, or even a dollop of whipped cream would be absolutely divine. Go big or go home!
- “How long do these last?” If you can resist eating them all in one day (good luck!), they’ll stay good in an airtight container at room temperature for 3-4 days. In the fridge? A week. (But seriously, they never last that long.)
- “Can I use melted chocolate instead of cocoa powder?” Absolutely! For an even fudgier, richer texture, swap out some of the cocoa for good quality melted dark chocolate. You might need to slightly reduce the butter or flour to maintain consistency.
- “Do I really need to let them cool completely?” **YES!** Unless you enjoy crumbly, messy brownies that fall apart the second you look at them. Cooling lets them set properly and develop that perfect fudgy texture. Trust me on this one.
- “Can I freeze these?” You bet! Wrap individual slices tightly in plastic wrap, then foil, and store in an airtight container. Thaw at room temp. Great for emergency chocolate cravings!
Final Thoughts
See? I told you it was easy! Now you’ve got this glorious, fudgy brownie cake masterpiece ready to devour. You’re practically a professional baker now, so pat yourself on the back. Go on, share it with someone you love, or just lock yourself in a room and enjoy every single bite. No judgment here. You’ve earned it!


