So, you’ve got that undeniable chocolate craving hitting harder than a Monday morning alarm, but the thought of baking from scratch feels like climbing Mount Everest in flip-flops, huh? Yeah, me too. This, my friend, is where our secret weapon comes in: the humble, yet mighty, chocolate box cake. But we’re not just making a box cake; we’re giving it a glow-up worthy of a magazine cover. Get ready to bake like a boss without actually being one. 😉
Why This Recipe is Awesome
Because let’s be real, life’s too short for complicated baking when a chocolate craving strikes. This recipe takes that trusty box mix and turns it into something so moist, so rich, and so ridiculously easy, your friends will think you secretly have a pastry chef chained in your kitchen. It’s practically idiot-proof – even I didn’t mess it up, and my track record with ovens is… let’s just say “eventful.” Plus, it saves you from the existential dread of sifting flour and measuring a gazillion ingredients. Instant gratification, folks!
Ingredients You’ll Need
Gather your weapons, chef! Here’s what we’re wrangling for this chocolate masterpiece:
- 1 box (standard size) chocolate cake mix: Your trusty sidekick. Any brand will do, but I’m partial to the darker chocolate versions for maximum impact.
- 1 cup milk: Whole milk is my go-to for extra richness, but 2% works in a pinch. Don’t even think about skim milk unless you want a sad, watery cake.
- 1/2 cup sour cream or plain Greek yogurt: This is our secret moisture booster! Don’t skip it. It sounds weird, but trust the process.
- 1/2 cup vegetable oil (or melted butter/coconut oil): For that luscious, tender crumb.
- 3 large eggs: Room temperature, please! They mix better and give a lighter texture.
- 1 teaspoon vanilla extract: Elevates all the chocolatey goodness. Think of it as the cake’s best accessory.
- 1/2 cup mini chocolate chips (optional, but highly recommended): Because more chocolate is always the answer.
- For the frosting: Your favorite canned chocolate frosting (don’t judge, we’re keeping it easy!) OR make your own if you’re feeling ambitious.
Step-by-Step Instructions
- Preheat Power: First things first, get that oven screaming hot to 350°F (175°C). Grease and flour (or spray with baking spray) your chosen baking pan(s) – a 9×13 inch, two 8 or 9-inch rounds, or a Bundt pan all work.
- The Mix Master: In a large bowl, dump the dry cake mix. Yep, all of it.
- Liquid Gold: Now, add the milk, sour cream/yogurt, oil, eggs, and vanilla extract. Seriously, just throw it all in there.
- Whisk Away: Grab your electric mixer (or a strong arm and a whisk) and beat on low speed for about 30 seconds to combine everything. Then crank it up to medium and beat for another 2 minutes. Scrape down the sides of the bowl midway to make sure everything’s incorporated. We want a smooth, lump-free batter.
- Chocolate Chip Drop (if using): Gently fold in those mini chocolate chips if you’re going for extra decadence.
- Pour & Bake: Pour the glorious batter into your prepared pan(s). Pop it in the preheated oven.
- The Waiting Game: Baking times vary by pan size, but generally: 9×13 will be around 30-35 minutes, round cakes 28-32 minutes, and Bundt cakes 35-45 minutes. You’ll know it’s done when a toothpick inserted into the center comes out clean, or with just a few moist crumbs.
- Cool Down Crew: Let the cake cool in the pan for about 10-15 minutes before inverting it onto a wire rack to cool completely. Patience is a virtue here, my friend. Don’t rush this step!
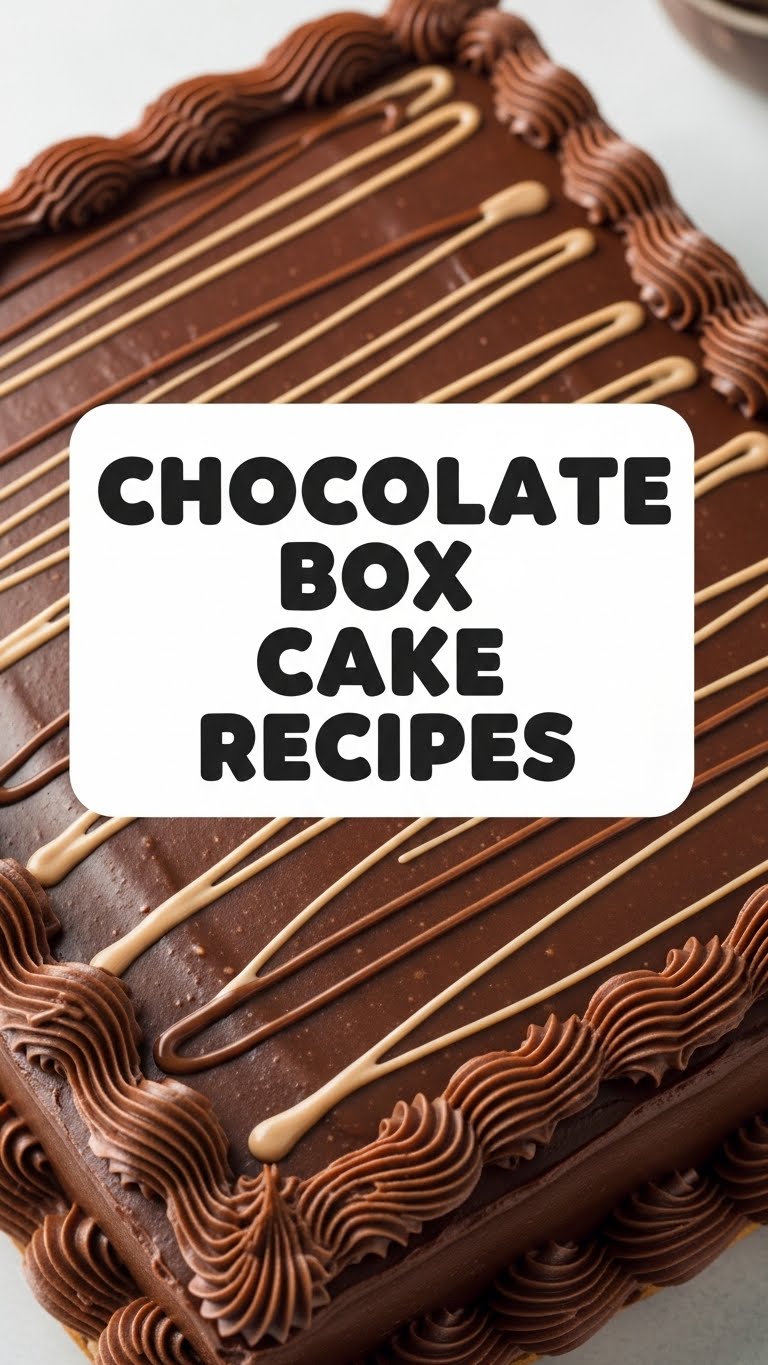
- Frosting Frenzy: Once your cake is totally cool (like, no warmth whatsoever), slather on your favorite chocolate frosting. Go wild!
Common Mistakes to Avoid
Baking is simple, but there are a few banana peels to watch out for:
- Skipping the Preheat: Rookies often think this step is optional. It’s not! A cold oven means uneven baking and a dense cake. Don’t do it.
- Overmixing the Batter: Beat until just combined and smooth. Overmixing develops the gluten too much, leading to a tough, dry cake. Nobody wants a rubbery cake, right?
- Ignoring Room Temp Eggs: Cold eggs don’t emulsify as well with other ingredients. Take them out of the fridge 30 minutes before, or give them a quick warm bath.
- Poking Your Cake Too Soon: Opening the oven door every five minutes to check on it can cause the cake to sink in the middle. Resist the urge!
- Frosting a Warm Cake: This is a one-way ticket to a soupy, melted mess. Ensure your cake is completely cool before frosting, or you’ll regret it. Trust me on this.
Alternatives & Substitutions
Feeling adventurous? Or just realized you’re out of something crucial? No worries, I got you:
- Milk Alternatives: Almond milk or oat milk can work if you’re dairy-free, but they might make the cake slightly less rich. Just a heads up!
- Sour Cream Swap: Plain Greek yogurt is a fantastic 1:1 substitute. If you’re really in a bind, some folks use mayonnaise (yes, really!), but that’s a bit too wild for my taste.
- Oil Varieties: Canola, sunflower, or melted coconut oil are all fair game for vegetable oil. Melted unsalted butter also adds a lovely flavor, but it can make the cake a tad denser.
- Flavor Boosters: Want to go next level? Add a teaspoon of instant espresso powder to the mix – it won’t make it coffee-flavored, but it seriously deepens the chocolate notes. Or a splash of almond extract for a subtle, sophisticated twist.
- Frosting Flair: Not a fan of store-bought? Whip up a quick ganache (chocolate + hot cream) or a homemade buttercream. Or even just a dusting of powdered sugar if you’re feeling minimalist chic.
FAQ (Frequently Asked Questions)
- Can I make this into cupcakes? Absolutely! Line a cupcake tin, fill each liner about two-thirds full, and bake for 18-22 minutes. You’ll get about 24 cupcakes. Easy peasy!
- What if my cake sinks in the middle? Oh, the dreaded sinkhole! This usually means it was underbaked, or you opened the oven door too often. Next time, give it a few more minutes in the oven.
- Can I freeze this cake? Heck yes! Once cooled and unfrosted (or lightly frosted), wrap it tightly in plastic wrap, then foil. It’ll keep for up to 3 months. Thaw it in the fridge overnight before frosting and serving.
- My cake is dry, what went wrong? Usually, dry cake equals overbaked cake. Or maybe you skimped on the oil or sour cream. Remember: low and slow is better than high and dry.
- Can I use margarine instead of butter? Well, technically yes, but why hurt your soul like that? Butter just tastes better, IMO. If you absolutely must, you can, but don’t say I didn’t warn you about the flavor impact.
- Can I add other mix-ins? Get creative! Chopped nuts, dried fruit, or even a swirl of peanut butter before baking could be fun. Just don’t go overboard, you’re not making a kitchen sink cake.
Final Thoughts
And there you have it, folks! Your new go-to chocolate cake recipe that tastes like a million bucks but only costs you about 30 minutes of actual effort (and some serious bragging rights). Go ahead, whip up this beauty and watch the smiles appear. You just elevated a humble box mix into something spectacular, and honestly, that’s a superpower worth celebrating. Now go impress someone – or, more importantly, yourself – with your new culinary skills. You’ve earned it, superstar!


