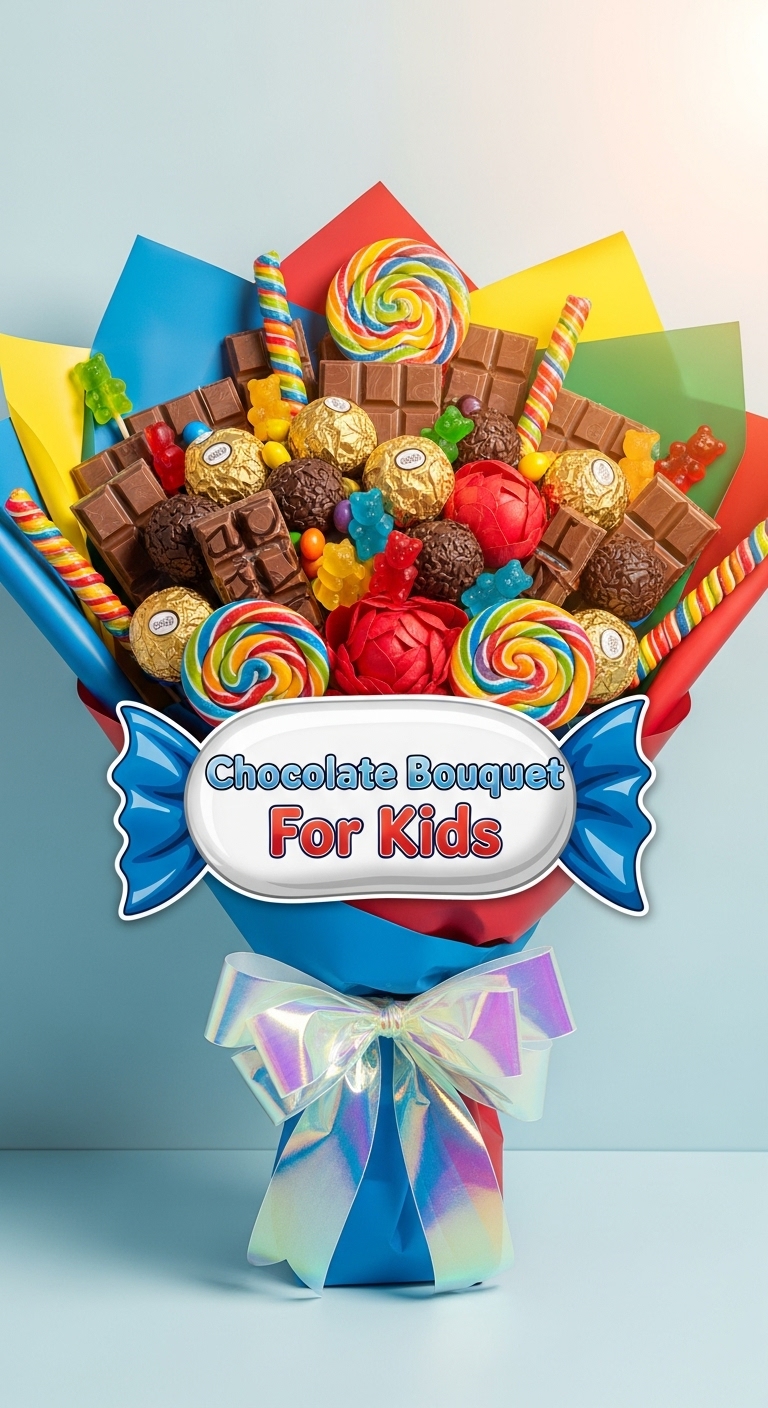
So, you’re looking for a way to be the coolest person in a kid’s life without actually, you know, doing *too* much work? And maybe you have a secret stash of chocolate that needs a purpose beyond… well, just being a secret stash? 😉 You’ve come to the right place, my friend. Forget boring old birthday cakes; we’re making a **Chocolate Bouquet for Kids**! It’s basically edible art, and it’ll make you look like a domestic goddess/god without breaking a sweat.
Why This Recipe is Awesome
Let’s be real, this isn’t just a recipe; it’s a life hack disguised as a craft project. Why is it awesome? First off, it’s ridiculously easy. Seriously, if you can melt chocolate and stick things on a stick, you’re golden. Secondly, it’s a showstopper. You walk in with this bad boy, and suddenly you’re the hero. Plus, it’s customizable – got a picky eater? No problem! And did I mention it involves copious amounts of chocolate? Yeah, it’s pretty much a win-win-win situation. **It’s idiot-proof, even I didn’t mess it up**, and that’s saying something.
Ingredients You’ll Need
Alright, let’s gather our weapons of deliciousness. You don’t need a fancy pantry for this; just some basic goodies.
- **Chocolate (lots of it!):** Grab a mix! Milk chocolate, dark chocolate, white chocolate – whatever floats your boat (or the kid’s boat, more accurately). I usually go for about 2-3 large bars or bags of chocolate chips.
- **Dippables:** This is where the fun begins! Think marshmallows, fresh strawberries (washed and dried!), pretzel rods, large cookies (like Oreos or digestive biscuits), or even mini donuts. Pick a variety!
- **Skewers:** Wooden or bamboo skewers. Get a decent length, like 8-10 inches.
- **Fun Sprinkles & Toppings:** Rainbow sprinkles, chocolate shavings, crushed nuts (if no allergies!), edible glitter, mini M&Ms – go wild!
- **Ribbon:** A nice, colorful ribbon to tie it all together.
- **Cellophane Wrap:** The kind florists use. Makes it look professional, trust me.
- **A Container/Vase:** Something sturdy to hold your bouquet. A small pot, a pretty tin, or even a sturdy cardboard box decorated by the kids themselves.
- **Floral Foam or Styrofoam Block:** To stick your skewers into and keep them upright. Alternatively, a heavy bag of jelly beans works in a pinch (and adds more treats!).
- **Optional: Butter or Coconut Oil:** A tiny bit (1 tsp per cup of chocolate) helps make the melted chocolate smoother for dipping.
Step-by-Step Instructions
- **Prep Your Dippables:** Make sure all your fruits are washed and thoroughly dried. Anything wet will make your chocolate seize – a fancy word for “turn into a clumpy mess.” Stick your marshmallows, strawberries, cookies, etc., onto the skewers. Leave a good amount of skewer free at the bottom for sticking into your base.
- **Melt the Chocolate:** Break up your chocolate and melt it. You can do this in a microwave (in 30-second bursts, stirring in between, **don’t burn it!**) or over a double boiler. If using butter or coconut oil, stir it in now until smooth. Keep it in a narrow, deep bowl for easier dipping.
- **Dip ‘Em Good:** Hold a skewer by the undipped end and dunk your chosen treat into the melted chocolate. Twist and turn to get an even coating. Let any excess drip off.
- **Sprinkle Time!** Immediately after dipping (before the chocolate sets), sprinkle your chosen toppings onto the chocolate-coated treats. Get creative!
- **Let ‘Em Set:** Gently place the skewers into a tall glass or a piece of styrofoam so they can stand upright without touching each other. Let the chocolate harden completely. You can pop them in the fridge for 10-15 minutes if you’re impatient (like me!). **This is a crucial step!**
- **Build Your Bouquet Base:** Place your floral foam or styrofoam block into your chosen container. Make sure it’s snug.
- **Assemble the Bouquet:** Start by sticking the longest skewers (usually the ones with the bigger items) into the center of the foam. Work your way outwards, arranging the different treats to create a pleasing, full bouquet shape. Mix up colors and textures.
- **Wrap It Up:** Once you’re happy with the arrangement, gather your cellophane wrap. Carefully wrap it around the entire bouquet, gathering it at the base of the container. Secure it tightly with your colorful ribbon in a pretty bow.
Common Mistakes to Avoid
- **Wet Fruit:** Seriously, I cannot stress this enough. **Water + melted chocolate = disaster.** Dry those strawberries like your life depends on it!
- **Overheating Chocolate:** Microwave at full power for 2 minutes straight? Nope! **Low and slow is the way to go.** Burnt chocolate is a sad, clumpy, unsalvageable mess.
- **Flimsy Skewers:** Using those super thin toothpicks for heavy cookies? That’s a recipe for a collapsing treat. **Invest in sturdy skewers.**
- **No Setting Time:** Trying to arrange gooey, wet chocolate-covered treats? You’ll just make a mess and ruin the pretty sprinkles. **Patience, young padawan!**
- **Eating All The Dippables Before You Start:** Rookie mistake, but one I’m often guilty of. **Have some self-control, or buy extra!**
Alternatives & Substitutions
This recipe is super flexible, so feel free to experiment! Here are a few ideas:
- **Chocolate Types:** Can’t find white chocolate? Use candy melts in different colors for an even more vibrant bouquet. **FYI, they melt super smoothly.**
- **Dippables Galore:** Instead of cookies, try mini brownies, Rice Krispie treats (cut into shapes!), or even small lollipops. Anything that can be skewered and dipped is fair game.
- **Base Filler:** If you don’t have floral foam, a sturdy block of styrofoam works. Or, as mentioned, a bag of individually wrapped candies or jelly beans can be used to fill the container and hold the skewers. More treats, anyone?
- **Decorations:** No sprinkles? Crush up some leftover cereal (like fruity pebbles!) for a colorful crunch. Melt a different color of chocolate and drizzle it over the set treats for extra flair.
- **Theme It Up:** Making it for a birthday? Use themed cookie cutters for your dippable items. Christmas? Use red and green sprinkles. The possibilities are endless!
FAQ (Frequently Asked Questions)
- **Q: Can I use chocolate syrup for dipping?** A: Oh, honey, no. Just… no. Chocolate syrup is not going to harden; it’ll just make a sticky mess. Stick to actual melting chocolate or chocolate chips.
- **Q: How far in advance can I make this?** A: Ideally, assemble it the day you plan to give it. The chocolate-dipped items will stay fresh for 2-3 days if stored properly (cool, dry place, or fridge if it’s fruit). Fruit-based ones are best consumed on the day!
- **Q: Do I need special melting chocolate?** A: While “candy melts” or “tempering chocolate” are great, regular good-quality chocolate chips or baking bars work perfectly fine. Just be gentle with the melting process.
- **Q: Can the kids help?** A: Absolutely! This is one of the best parts. Let them help stick things on skewers, dip (with supervision if chocolate is hot!), and especially with the sprinkling. **It’s a fantastic activity for little hands!**
- **Q: What if my chocolate gets too thick while I’m dipping?** A: Just gently reheat it for a few seconds (microwave or double boiler) and stir. A tiny bit of coconut oil can also help thin it out.
- **Q: How do I store the finished bouquet?** A: If you’re not gifting it immediately, keep it in a cool, dry place away from direct sunlight. If you have fresh fruit, pop the whole thing (carefully!) into the fridge.
Final Thoughts
There you have it, folks! Your very own Chocolate Bouquet, ready to make any kid (or adult, let’s be honest) squeal with delight. It’s fun, it’s tasty, and it proves you’re a culinary wizard without actually having to *be* one. So go forth, melt some chocolate, and spread some joy. Now go impress someone—or yourself—with your new culinary skills. You’ve earned it!


