Ever feel like your sweet tooth is staging a hostile takeover, but your energy levels are staging a sit-in? Yeah, me too. Especially when the craving is for something ridiculously decadent like, say, a Chocolate Black Forest Cake. But who has hours to slave away, right? Good news, buttercup, I’ve got your back. This isn’t your grandma’s “spend-all-day-in-the-kitchen-and-still-somehow-mess-it-up” kind of recipe. This is the “I made this *and* watched three episodes of my favorite show” kind of awesome. Let’s get baking!
Why This Recipe is Awesome
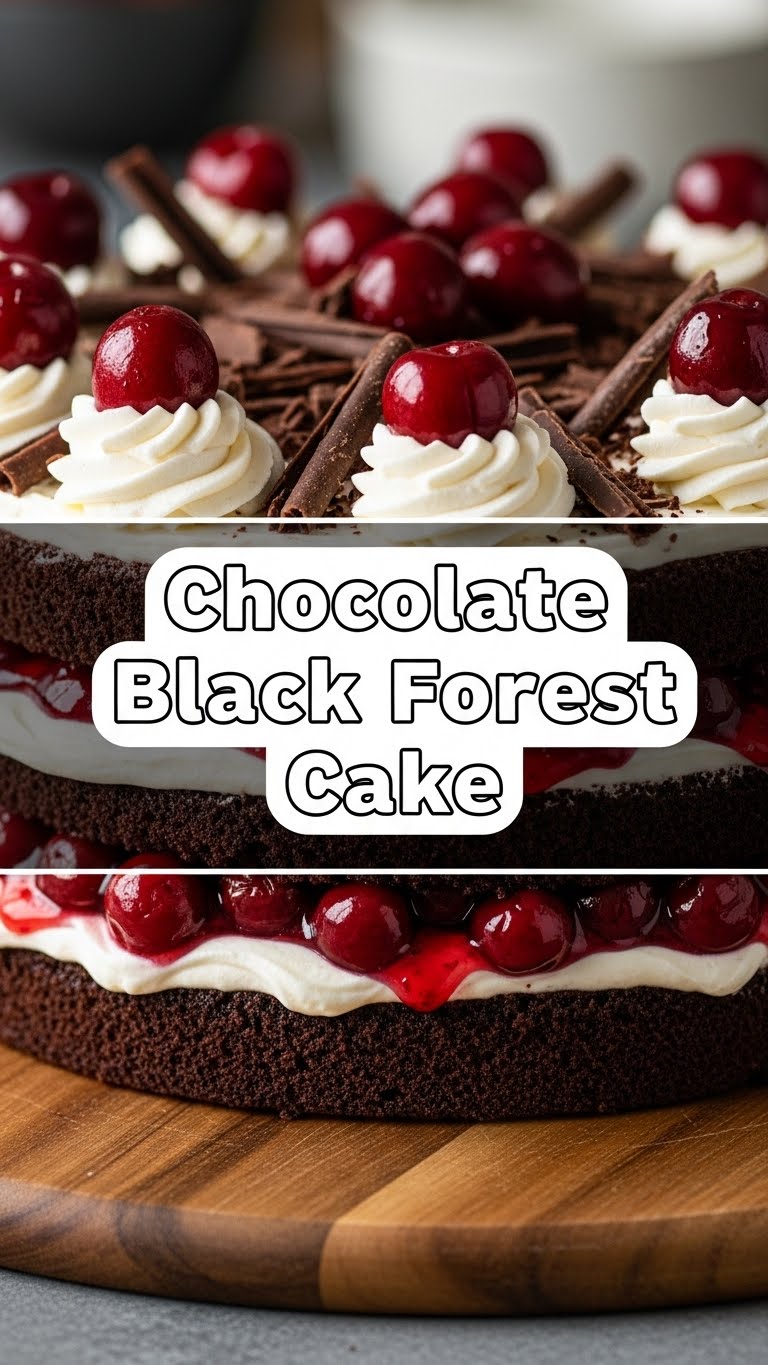
Okay, so let’s be real: Black Forest Cake sounds fancy AF. Like, “I need a chef’s hat and a French accent” fancy. But guess what? It’s actually a total pushover. This recipe is surprisingly simple, uses ingredients you probably already have (or can grab easily), and tastes like you spent a fortune at a fancy patisserie. **It’s practically fail-proof.** Seriously, if I can pull this off without setting off the smoke alarm, you’re golden. Plus, it’s got chocolate, cherries, and whipped cream. What’s not to love? It’s basically a party in your mouth, and you’re the VIP.
Ingredients You’ll Need
Get ready to raid your pantry (or make a quick dash to the store).
For the Cake:
- 1 ½ cups All-Purpose Flour: The basic building block. Don’t overthink it.
- ¾ cup Unsweetened Cocoa Powder: Dutch-processed if you want that extra dark, dramatic look. Otherwise, regular works just fine for a chocolatey hug.
- 1 ¾ cups Granulated Sugar: Because life is sweet, and so should your cake be.
- 1 ½ teaspoons Baking Soda: Our lift-off crew. Makes it fluffy.
- ¾ teaspoon Baking Powder: Baking soda’s trusty sidekick.
- 1 teaspoon Salt: Just a pinch, don’t go full salt lick. Balances all that sweetness.
- 2 Large Eggs: Room temp, please! They play nicer with other ingredients.
- 1 cup Whole Milk: Full-fat for ultimate richness, no skim milk slander here.
- ½ cup Vegetable Oil: Or canola. This is our secret weapon for super moist cake. Shhh.
- 2 teaspoons Vanilla Extract: The good stuff, not the imitation sadness. Big flavor boost.
- 1 cup Hot Water (or hot coffee): To bloom the cocoa and make it extra chocolatey. **Trust me on this one!**
For the Cherry Filling:
- 2 (15 ounce) cans Pitted Sour Cherries: Drained, but **save about ½ cup of that juice!** We’re not letting flavor go to waste.
- ¼ cup Granulated Sugar: Adjust to taste. Those cherries can be sassy.
- 2 tablespoons Cornstarch: Our thickening agent. Don’t skip, unless you like soup on your cake.
- 2-3 tablespoons Kirsch (Cherry Brandy): Totally optional but highly recommended for the *authentic* Black Forest vibe. If not, just use more cherry juice!
For the Whipped Cream Frosting:
- 3 cups Heavy Whipping Cream: The colder the better, straight from the fridge.
- ½ cup Powdered Sugar: (Confectioners’ sugar) makes it smooth and sweet.
- 1 teaspoon Vanilla Extract: Again, the good stuff.
For Garnish:
- Chocolate Shavings: Make your own with a potato peeler and a chocolate bar, or buy them if you’re feeling fancy/lazy.
- A few extra cherries: For that magazine cover look.
Step-by-Step Instructions
Alright, apron on, let’s do this!
- Prep Your Battleground: Preheat your oven to 350°F (175°C). Grease and flour two 8-inch round cake pans. Or, even better, line the bottoms with parchment paper for easy release. You’ll thank me later.
- Dry Mix Madness: In a large bowl, whisk together the flour, cocoa powder, sugar, baking soda, baking powder, and salt. Make sure there are no lumpy surprises.
- Wet Mix Wonderland: In another medium bowl, whisk together the eggs, milk, vegetable oil, and vanilla extract until well combined.
- Combine & Conquer: Pour the wet ingredients into the dry ingredients. Mix on low speed with an electric mixer (or by hand with a whisk) until just combined. Don’t overmix! Now, slowly add the hot water (or coffee) and mix until the batter is smooth. It will be thin – that’s totally normal and a good thing for moistness!
- Bake It ‘Til You Make It: Divide the batter evenly between your prepared cake pans. Bake for 30-35 minutes, or until a wooden skewer inserted into the center comes out clean. Let them cool in the pans for about 10 minutes before turning them out onto a wire rack to cool completely. **Patience, young grasshopper!**
- Cherry Blossom Time: While the cakes cool, let’s tackle that cherry filling. In a medium saucepan, combine the drained cherries, the ½ cup reserved cherry juice, sugar, and cornstarch. Cook over medium heat, stirring constantly, until the mixture thickens and gets all glossy. Remove from heat and stir in the Kirsch, if using. Let it cool completely.
- Whip It Good: Time for the cloud-like frosting! In a very cold bowl (pop it in the freezer for 10 mins first!), with cold beaters, whip the heavy cream, powdered sugar, and vanilla extract on high speed until stiff peaks form. Don’t walk away during this step, it can go from perfect to butter in seconds!
- Assemble Your Masterpiece: Once the cakes are completely cool, place one cake layer on your serving plate. If you used Kirsch in the filling, you can brush a little extra on the cake layer for an extra boozy kick. Spread half of your cooled cherry filling over the cake. Then, spoon about a third of the whipped cream on top of the cherries and spread it gently. Carefully place the second cake layer on top. Repeat with the remaining cherry filling and another third of the whipped cream. Finally, frost the top and sides of the entire cake with the remaining whipped cream. Garnish with chocolate shavings and those extra cherries.
Common Mistakes to Avoid
We’re all human, but let’s try to avoid these rookie errors, shall we?
- Overmixing the Batter: This is a cardinal sin! Overmixing develops gluten, leading to a tough, dry cake. Mix until *just* combined.
- Not Cooling Cakes Completely: Thinking you can rush it? Nope! Warm cakes and whipped cream are a recipe for a melty, sliding disaster. Be patient!
- Skipping the Kirsch (If You Have It): I get it, not everyone has cherry brandy lying around. But if you do, don’t be shy! It adds an incredible depth of flavor that really makes it a Black Forest Cake.
- Not Chilling Your Cream & Bowl for Whipping: Your heavy cream needs to be COLD. Your bowl and beaters too. This is key for stiff, stable whipped cream. Otherwise, you’ll be left with a sad, soupy mess.
- Being Scared of the Hot Water/Coffee: It thins the batter, yes, but it also blooms the cocoa, making the chocolate flavor so much richer. Embrace the liquid!
Alternatives & Substitutions
Flexibility is key, my friend. Here are some swap-outs:
- Kirsch: If you’re booze-free or just don’t have it, simply use extra cherry juice or a splash of rum extract for a hint of flavor.
- Sour Cherries: Can’t find them? Use sweet cherries, but you’ll want to reduce the sugar in the filling significantly. Frozen pitted cherries also work; just thaw and drain them well.
- Vegetable Oil: You can use melted butter, but the cake might be slightly less moist. It’ll still be delicious, just a different texture vibe.
- Heavy Whipping Cream: For a dairy-free version, try full-fat canned coconut cream (chilled overnight, scoop out the thick cream). Whipping can be a bit trickier, but it’s doable!
- Chocolate Shavings: No time to shave? A generous dusting of cocoa powder or even mini chocolate chips will do the trick.
- Gluten-Free: Swap the all-purpose flour for a 1:1 gluten-free baking blend. Results might vary slightly, but it often works well in chocolate cakes!
FAQ (Frequently Asked Questions)
Got questions? I’ve got (casual) answers!
- Can I make this cake ahead of time? Absolutely! You can bake the cake layers a day or two in advance and wrap them tightly. The cherry filling can also be made a day ahead. Assemble the cake closer to serving for the freshest whipped cream.
- What if my whipped cream isn’t stiffening? Help! Did you chill your bowl and cream? Are you using heavy whipping cream (not half-and-half)? If it’s still being stubborn, try adding a tiny pinch of cream of tartar – it can act as a stabilizer.
- Can I use regular cocoa powder instead of Dutch-processed? Yep! The cake will be a slightly lighter color and have a bit more of a classic chocolate flavor. Dutch-processed gives it that deeper, darker, less bitter cocoa taste.
- How do I get neat chocolate shavings for garnish? Super easy! Take a bar of chocolate (chilled slightly), turn it on its side, and use a vegetable peeler to shave off curls. Voila!
- My cake layers came out really thin. What gives? Did you use the right size pans (8-inch)? If you used larger pans, the layers will naturally be thinner. You could always double the recipe for a taller, more dramatic cake!
- How long does Black Forest Cake last? Kept covered and refrigerated, it’s generally good for 3-4 days. The whipped cream will start to lose its perkiness after a couple of days, though.
- Is this *really* easy, or are you just saying that? Seriously, it is! The steps are straightforward, and while there are a few components, none of them are individually complicated. You got this!
Final Thoughts
So there you have it, folks! Your very own, incredibly delicious, and surprisingly unfussy Chocolate Black Forest Cake. You just conquered a classic, and you didn’t even break a sweat (well, maybe a little, if your kitchen is as hot as mine). Now go impress someone—or yourself—with your new culinary skills. You’ve earned it! Don’t forget to take a pic before you devour it all. Happy baking!


