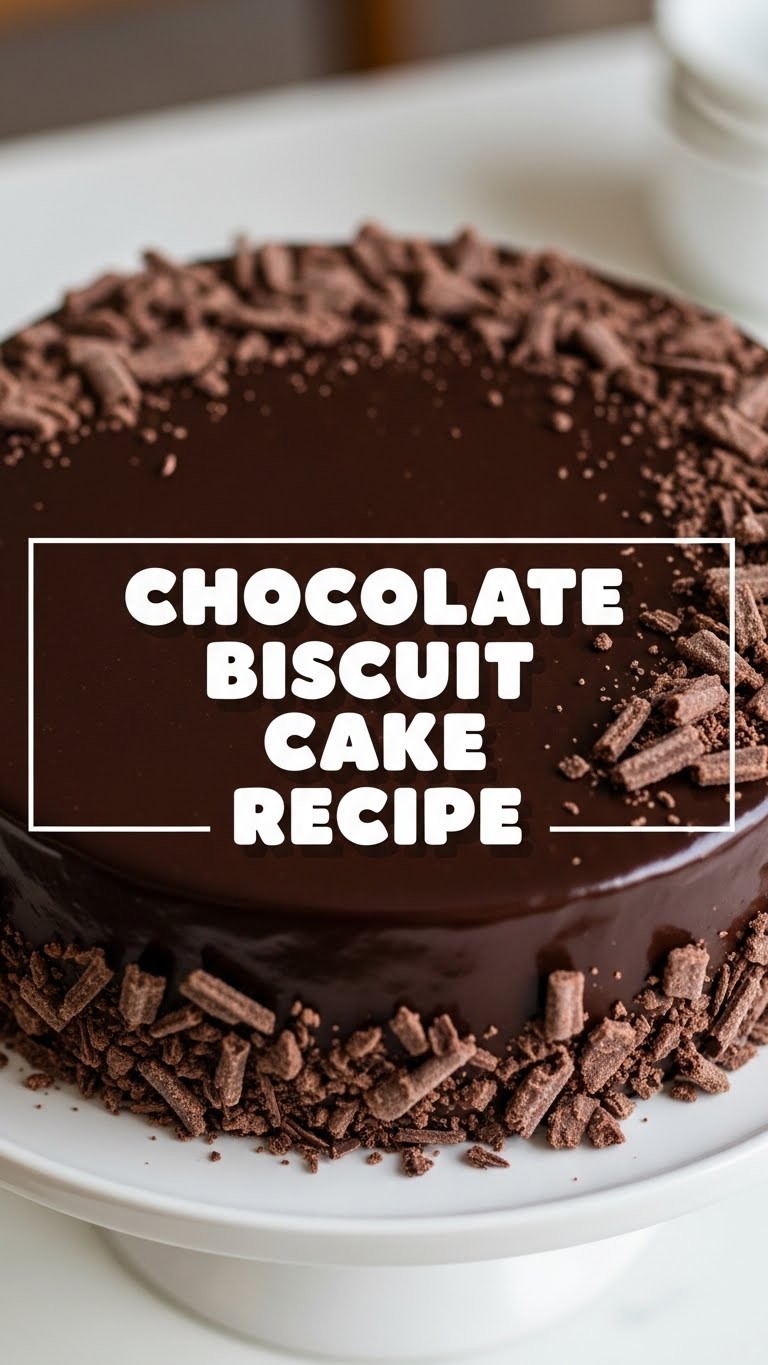
So you’re craving something tasty but too lazy to spend forever in the kitchen, huh? Same. What if I told you there’s a magical dessert out there that requires zero baking, minimal fuss, and tastes like a chocolate dream? Enter the Chocolate Biscuit Cake, your new best friend.
Why This Recipe is Awesome
Okay, first off, no oven needed. Let that sink in. You heard right. This isn’t just a cake; it’s a testament to the fact that deliciousness doesn’t need to involve preheating, rising agents, or the terrifying possibility of a cake sinking in the middle. It’s truly idiot-proof; even I didn’t mess it up (and trust me, I’ve had my share of kitchen catastrophes).
Plus, it’s quick, makes you look like a domestic god/goddess, and disappears faster than my paycheck. Seriously, what’s not to love about a dessert that practically makes itself?
Ingredients You’ll Need
Gather your troops, folks! Here’s what you’ll need for your chocolatey masterpiece:
- Biscuits: About 250g (think digestive, rich tea, or even hobnobs for extra oat-y goodness). The crunch is key!
- Butter: 125g, good quality, unsalted. Because butter makes everything better, duh.
- Caster Sugar: 75g. Just a touch of sweetness to balance things out. Don’t go overboard, we have chocolate for that.
- Cocoa Powder: 3-4 tablespoons, unsweetened. The darker, the better for that rich, chocolatey punch.
- Dark Chocolate: 200g, good quality, minimum 70%. This is where the magic happens, so splurge a little! Chop it roughly.
- Milk (or cream): 2-3 tablespoons. A splash to bring it all together, or skip for a super dense cake if you’re feeling adventurous.
- Optional Toppings: Sprinkles, more melted chocolate, chopped nuts, desiccated coconut. Because why not live a little?
Step-by-Step Instructions
- Prep Your Tin: First things first, line an 8-inch square or round tin with parchment paper. This makes life so much easier later, trust me. Let some paper hang over the sides for easy lifting.
- Crush Those Biscuits: Place your biscuits in a large zip-lock bag and get out some aggression! Smash them with a rolling pin (or a sturdy mug) until you have a mix of crumbs and chunks. Don’t go too fine; those glorious chunks add texture.
- Melt the Good Stuff: In a saucepan over low heat, or in a microwave-safe bowl, melt the butter, caster sugar, and cocoa powder together. Stir until smooth and the sugar has dissolved. Don’t let it boil, just gently melt.
- Add the Chocolate: Remove the pan from the heat and stir in your chopped dark chocolate until it’s completely melted and glossy. If it looks a little too thick, add a tiny splash of milk or cream to loosen it up.
- Combine the Magic: Pour the luscious melted chocolate mixture over your crushed biscuits. Fold gently with a spatula until all the biscuits are well coated and looking utterly irresistible.
- Press and Chill: Tip the mixture into your prepared tin. Press it down firmly and evenly with the back of a spoon or your hands (lightly greased if you want to avoid sticky fingers). You want it compact, like a delicious brick.
- Patience, Young Grasshopper: Pop it into the fridge for at least 3-4 hours, or even better, overnight. Chilling is non-negotiable! This is where it firms up and becomes sliceable.
- Decorate & Devour: Once firm, lift it out of the tin using the parchment paper. Drizzle with more melted chocolate, sprinkle on whatever takes your fancy, slice into generous pieces, and prepare to be amazed!
Common Mistakes to Avoid
Nobody’s perfect, but we can try to avoid the obvious pitfalls, right?
- Not Chilling Long Enough: Impatience is the enemy of a good biscuit cake. You’ll end up with a crumbly, sad mess that refuses to hold its shape. Give it time! Your fridge is your friend here.
- Over-Smashing Biscuits: A few chunks are good, actually! Too much powder and it loses its delightful, satisfying crunch. Aim for a mix of sizes.
- Using Cheap Chocolate: This is a chocolate cake, for crying out loud! Skimping here is like buying a Ferrari and putting budget tires on it. Just don’t. Good quality chocolate makes all the difference.
- Forgetting to Line the Tin: Unless you enjoy chiseling cake out of metal, line that tin. Seriously. You’ll thank yourself later, promise.
Alternatives & Substitutions
Feeling creative? Here are a few ways to mix things up:
- Biscuits: Any plain, crunchy biscuit works wonders. Shortbread? Hobnobs? Ginger nuts for a little kick? Go wild! Just avoid anything too soft or cream-filled, as they’ll get mushy.
- Chocolate: You can totally mix dark and milk chocolate for a sweeter profile, or even use white chocolate for a different twist. IMO, dark chocolate gives it that real depth and sophisticated vibe.
- Flavour Boosts: Add a teaspoon of vanilla extract, a pinch of sea salt, or even a splash of orange zest to the chocolate mixture for an extra “oomph!” A little espresso powder can also deepen the chocolate flavour.
- Boozy Twist: Feeling adult? A tablespoon of rum, brandy, or even a coffee liqueur in the chocolate mix can be incredibly delicious. (Adults only, obviously!)
FAQ (Frequently Asked Questions)
- Can I use margarine instead of butter? Well, technically yes, but why hurt your soul like that? Butter just tastes better and provides a richer texture, let’s be real.
- How long does it last? In an airtight container in the fridge, it’s good for 5-7 days. Though, honestly, mine never makes it past day two!
- Can I freeze it? Absolutely! Wrap it tightly in cling film, then foil, and freeze for up to a month. Thaw in the fridge before serving. Perfect for emergency dessert cravings!
- What if I don’t have a rolling pin? No worries! A sturdy mug, a heavy can, or even your clean fists (while the biscuits are in a bag!) will do the trick for crushing biscuits. Get creative!
- My mixture is too dry, what happened? You might have over-crushed your biscuits into too fine a powder, or didn’t use quite enough liquid. Add another tiny splash of milk/cream to bind it together until it’s just right.
- Is this actually a “cake”? Look, it’s got “cake” in the name, it’s served in slices, and it’s utterly delicious. That’s good enough for me, okay? Don’t overthink it!
Final Thoughts
See? I told you it was easy peasy! Now go impress someone—or yourself—with your new culinary skills. You’ve earned it! FYI, this isn’t just a dessert; it’s a mood enhancer. So go on, get your chocolate on, and let me know how it goes! Happy no-baking!


