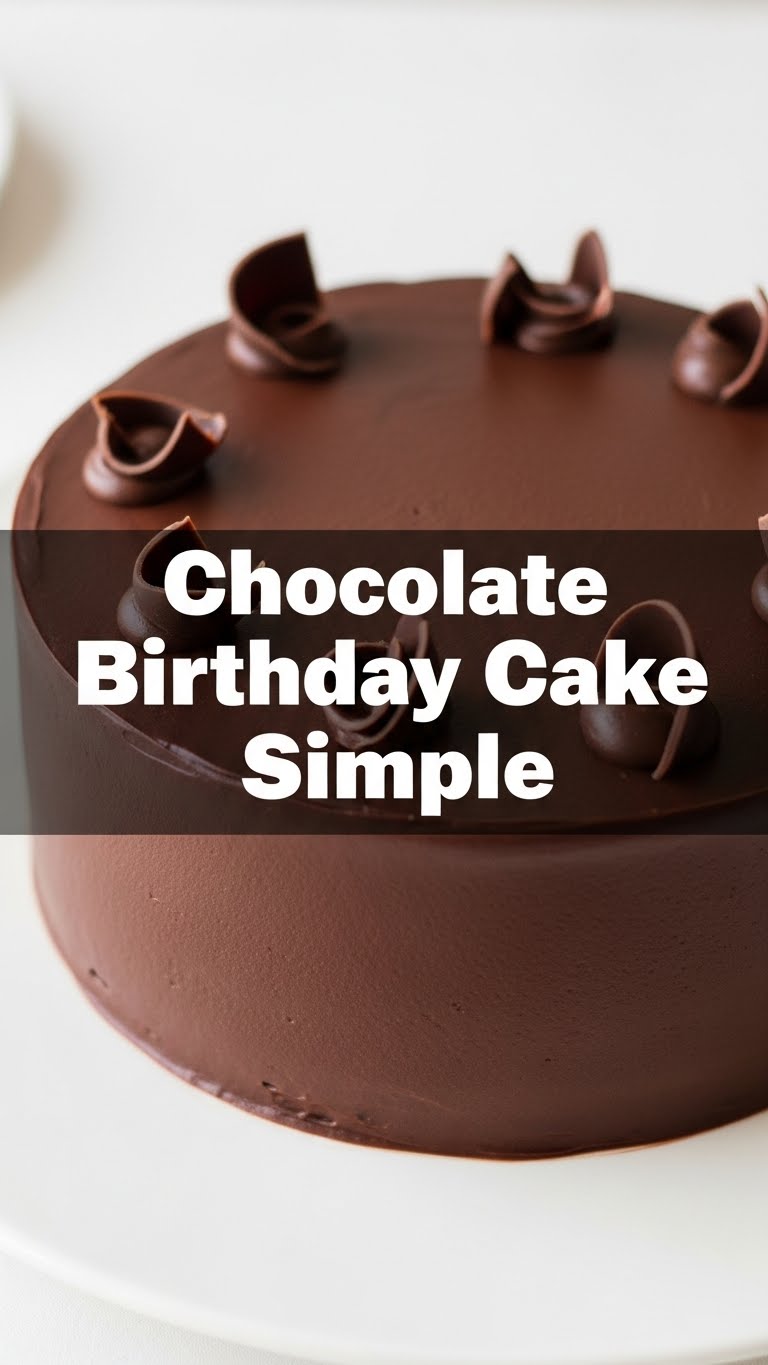
Ever have that sudden, undeniable craving for chocolate cake, but the thought of a complicated recipe makes you wanna just eat the raw batter and call it a day? Yeah, me too. I mean, who has time for fussy steps and a million bowls when all you really want is a slice of chocolatey bliss, like, yesterday? Well, my friend, you’re in luck. Because today, we’re making a **Chocolate Birthday Cake Simple** that’s so easy, you’ll wonder if it’s actually magic.
Why This Recipe is Awesome
This isn’t your grandma’s “spend-all-day-in-the-kitchen” kind of cake. Oh no. This is the “I need chocolate NOW and I want it to be easy” kind of cake. It’s practically **idiot-proof**. Seriously, even *I* managed not to screw this up, which is saying something. It’s moist, rich, fudgy, and comes together with minimal effort and maximum reward. Plus, it looks impressive enough to fool everyone into thinking you’re a master baker. Win-win!
Ingredients You’ll Need
Gather your troops! Here’s what you’ll need to assemble this chocolatey dream. Keep it simple, keep it fun!
- **1 ½ cups All-Purpose Flour:** Because we’re not fancy today, just getting the job done.
- **1 ½ cups Granulated Sugar:** The good stuff, to make it sweet and happy.
- **¾ cup Unsweetened Cocoa Powder:** For that deep, dark chocolatey goodness. Don’t cheap out here!
- **1 ½ teaspoons Baking Soda:** The magic puff-up agent.
- **½ teaspoon Baking Powder:** Baking soda’s trusty sidekick, ensuring maximum lift.
- **1 teaspoon Salt:** Just a pinch, to balance the sweetness and really make that chocolate sing. Don’t skip it, trust me.
- **2 large Eggs:** Happy little protein binders, room temperature if you can remember.
- **¾ cup Milk:** Any kind works, but whole milk makes it extra lush. Also room temperature, if you’re feeling fancy.
- **½ cup Vegetable Oil (or Melted Unsalted Butter):** For moisture beyond your wildest dreams. Butter gives better flavor, obviously.
- **2 teaspoons Vanilla Extract:** A generous splash for that ‘oomph’ factor.
- **¾ cup Boiling Water (or Hot Coffee):** The secret weapon! This is for super moist cake. Coffee really deepens the chocolate flavor.
For the Frosting (Optional, but highly recommended, duh):
- **½ cup (1 stick) Unsalted Butter, softened:** The base of all good things.
- **2 cups Powdered Sugar:** Sifted, unless you like lumpy frosting (you don’t).
- **½ cup Unsweetened Cocoa Powder:** Again, the good stuff.
- **¼ cup Milk (or more, as needed):** To get that perfect creamy consistency.
- **1 teaspoon Vanilla Extract:** Because more vanilla is always a good idea.
Step-by-Step Instructions
- **Preheat & Prep:** First things first, get that oven hot! **Preheat your oven to 350°F (175°C).** Grease and flour a 9-inch round cake pan (or line the bottom with parchment paper for easy release – you choose your adventure).
- **Dry Mix Magic:** In a large bowl, whisk together your dry ingredients: flour, sugar, cocoa powder, baking soda, baking powder, and salt. Give it a good whisk to make sure there are no lumpy bits trying to hide.
- **Wet Mix Wonders:** In a separate medium bowl, whisk together the eggs, milk, oil (or melted butter), and vanilla extract. Give it a good swirl until everything is nicely combined.
- **Combine Forces:** Pour the wet ingredients into the dry ingredients. Mix with a spatula or whisk until *just* combined. **Seriously, don’t overmix!** A few small lumps are okay, really. Overmixing is the enemy of a tender cake.
- **The Secret Weapon:** Carefully pour the boiling water (or hot coffee) into the batter. Stir gently until everything is incorporated. The batter will be thin, almost like soup, and that’s exactly what we want. This is the magic for a super moist cake!
- **Bake It Up:** Pour the thin batter into your prepared cake pan. Pop it into the preheated oven and bake for 30-35 minutes, or until a wooden skewer or toothpick inserted into the center comes out clean. **Keep an eye on it!** Ovens can be quirky.
- **Cool Down:** Let your gorgeous cake cool in the pan for 10-15 minutes. This helps it firm up. Then, carefully invert it onto a wire rack to cool completely. **Patience, young grasshopper.** Don’t rush this step!
- **Frosting Fun (The Best Part):** Once the cake is COMPLETELY cool (I mean it!), make your frosting. In a medium bowl, beat softened butter until creamy. Gradually add the sifted powdered sugar and cocoa powder, alternating with splashes of milk and the vanilla extract. Beat until light, fluffy, and spreadable. Then, slather it generously all over your cake. Because what’s cake without frosting?
Common Mistakes to Avoid
Nobody wants a sad cake, so let’s dodge these common pitfalls with a dash of humor!
- **Overmixing:** This is the arch-nemesis of a tender, moist cake. Mix until *just* combined, then stop. Lumps are your friends here, mostly. Resist the urge to make it perfectly smooth!
- **Not preheating the oven:** Rookie mistake! Your cake won’t rise properly and will bake unevenly if it goes into a cold oven. Always preheat!
- **Opening the oven door too early:** Resist the urge to peek! The cake needs that stable temperature to rise. Wait at least 25 minutes before even thinking about cracking that door.
- **Not letting it cool completely before frosting:** Hello, melted frosting disaster! Seriously, wait. Go watch an episode of your favorite show, paint your nails, meditate – just don’t touch that frosting until it’s stone cold.
Alternatives & Substitutions
Life happens, and sometimes you don’t have exactly what the recipe calls for. No stress!
- **Dairy-Free:** Easy peasy! Swap regular milk for almond, soy, or oat milk. Use a plant-based butter or just stick with oil (vegetable or canola work great!).
- **Gluten-Free:** Use a 1:1 gluten-free all-purpose flour blend. Your mileage may vary slightly, but it often works wonderfully for this type of cake!
- **Coffee Hater?** No problem! Just use boiling water instead of hot coffee. The coffee doesn’t make it taste like coffee, it just enhances the chocolate flavor and makes it super rich. Trust me on this, or don’t, whatever.
- **No Vanilla Extract?** Sacrilege! But fine, if you *must*, it’ll still be chocolatey. Just a bit less… va-va-voom. Consider adding a tiny pinch of instant espresso powder for depth if you have it.
FAQ (Frequently Asked Questions)
Got questions? I’ve got (casual) answers!
- **Can I make this in a 9×13 pan?** Yep! It’ll be a bit thinner, so adjust baking time down a bit, maybe 25-30 minutes. Just keep an eye on it, as oven temps vary.
- **Why use boiling water/hot coffee?** Great question! It “blooms” the cocoa powder, bringing out more intense chocolate flavor, and also helps create that super moist texture. It’s a little bit of kitchen science, basically.
- **My cake sunk in the middle, what happened?** Boo! Usually, it’s either **overmixing** (see above!), **opening the oven door too early**, or your **baking soda/powder is old**. Check those expiration dates – seriously, they lose their oomph!
- **Can I halve the recipe?** Absolutely! Just halve all ingredients and use a smaller pan (e.g., a 6-inch round). Perfect for a small gathering or just a Tuesday night craving.
- **Can I make this ahead of time?** Oh, for sure! The unfrosted cake can sit wrapped tightly at room temp for up to 2 days, or even frozen for up to a month. Just frost it on D-Day (delivery day, get it?).
- **Can I use margarine instead of butter?** Well, technically yes, you *can*, but why hurt your soul like that? Butter just tastes better. IMO, it makes a big difference in flavor and texture, especially in the frosting.
Final Thoughts
See? I told you it was simple. You’ve just whipped up a show-stopping (yet secretly effortless) chocolate cake that’s perfect for birthdays, Tuesdays, or any day ending in “y.” It’s delicious, it’s easy, and it proves you don’t need to be a Michelin-star chef to make something truly satisfying.
Now go impress someone – or yourself – with your new culinary skills. You’ve earned it! And maybe save a slice for me? Happy baking, my friend!


