Okay, so someone’s birthday is coming up, or maybe you just had a really good Tuesday and decided it deserves a cake. Whatever the reason, you’re eyeing that glorious, decadent chocolate birthday cake but dreading the kitchen apocalypse, right? Trust me, I get it. My default setting is “order takeout,” but even I can manage this beauty. And honestly, it’s so good, you’ll wonder why you ever paid a fortune for one that tastes like sadness.
Why This Recipe is Awesome
First off, let’s just say this isn’t one of those fussy, delicate recipes that requires a culinary degree and a deep understanding of French patisserie. Nah. This bad boy is **idiot-proof**. Seriously, if I, a person who once set off the smoke alarm making toast, can pull this off, you’re golden. It’s moist, chocolatey, and gives off serious “I tried really hard” vibes without actually trying that hard. Plus, it’s a total crowd-pleaser. Your friends will be begging for the recipe, and you can totally pretend it’s a family secret passed down through generations of chocolate wizards. Wink, wink.
Ingredients You’ll Need
Get ready to raid your pantry! Most of these are probably already hanging out in there.
- **1 ¾ cups all-purpose flour:** The sturdy foundation of our chocolate dreams.
- **1 ¾ cups granulated sugar:** For that sweet, sweet joy. Don’t skimp, it’s a birthday cake!
- **¾ cup unsweetened cocoa powder:** This is where the magic happens. Make sure it’s good quality; your taste buds will thank you.
- **1 ½ teaspoons baking soda:** Our rising star.
- **¾ teaspoon salt:** To balance out all that sweetness. Think of it as the cake’s unsung hero.
- **1 cup buttermilk:** Or make your own! (See Alternatives for how – it’s super easy, trust.)
- **½ cup vegetable oil:** Or canola, or any neutral oil. It keeps things moist.
- **2 large eggs:** Room temp, please! They mix better.
- **1 teaspoon vanilla extract:** The unsung hero of almost every dessert.
- **1 cup boiling water:** Yes, *boiling*. It makes the cocoa bloom and gives incredible depth of flavor. Don’t skip this, it’s a game-changer.
For the Easy Chocolate Frosting (because every cake needs a killer outfit):
- **½ cup (1 stick) unsalted butter:** Softened, but not melted. We’re looking for spreadable, not liquid.
- **3 cups powdered sugar:** The fluffy stuff. Sift it if you’re feeling fancy (or lazy, like me, and don’t bother).
- **½ cup unsweetened cocoa powder:** More chocolate, less problems.
- **¼ cup milk (or cream):** A little liquid to get things moving.
- **1 teaspoon vanilla extract:** Obvs.
- **Pinch of salt:** Again, for balance.
Step-by-Step Instructions
- **Preheat Power-Up:** Get your oven cranked up to **350°F (175°C)**. Grease and flour two 9-inch round cake pans. Or, even easier, line them with parchment paper circles. Future you will thank you for this.
- **Dry Mix Magic:** In a large bowl, whisk together the flour, sugar, cocoa powder, baking soda, and salt. Make sure there are no lumpy bits, unless you like surprise flour bombs in your cake.
- **Wet Mix Wonder:** In another bowl, whisk together the buttermilk, oil, eggs, and vanilla extract until well combined.
- **Combine & Conquer:** Pour the wet ingredients into the dry ingredients. Mix on low speed (or by hand with a whisk) until *just* combined. **Do not overmix!** Overmixing leads to tough cakes, and nobody wants a sad, tough cake.
- **Hot Chocolate Boost:** Carefully pour in the boiling water. The batter will be thin – don’t panic! This is exactly what we want. Stir until smooth.
- **Pan Divide:** Divide the batter evenly between your two prepared cake pans. Give them a gentle tap on the counter to release any air bubbles.
- **Bake Off!** Bake for **30-35 minutes**, or until a wooden skewer inserted into the center comes out clean. Start checking at 30 minutes.
- **Cool Down Crew:** Let the cakes cool in their pans for about 10-15 minutes. Then, carefully invert them onto a wire rack to cool completely. **Patience is a virtue here!** Don’t try to frost a warm cake unless you want a melted, crumbly mess.
- **Frosting Frenzy:** While the cakes are cooling, let’s make that glorious frosting. Beat the softened butter in a bowl until creamy. Gradually add the powdered sugar and cocoa powder, alternating with the milk and vanilla, beating until smooth and fluffy. Add that pinch of salt. If it’s too thick, add a tiny bit more milk; too thin, a bit more powdered sugar.
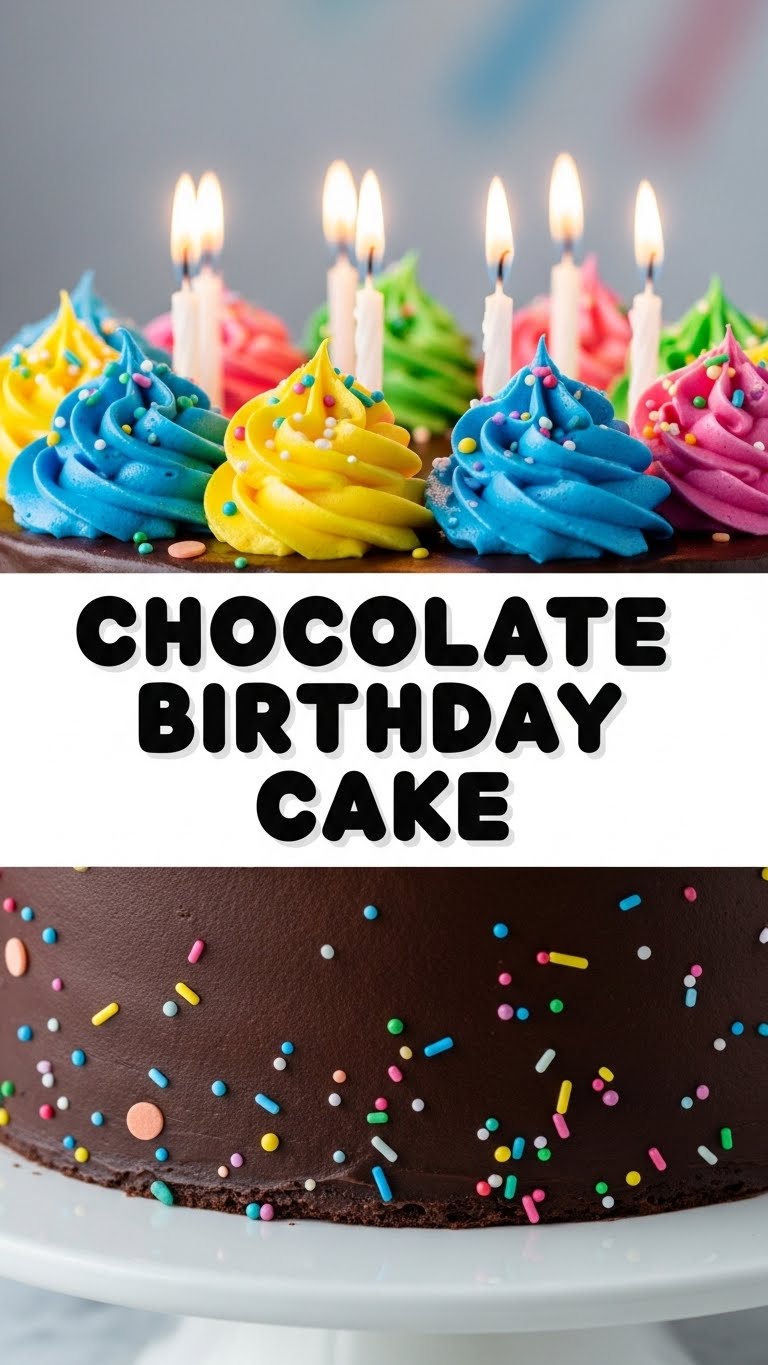
- **Assemble Your Masterpiece:** Once the cakes are *completely* cool, place one layer on your serving plate. Spread about a third of the frosting on top. Place the second layer on, then slather the rest of the frosting all over the top and sides. Decorate with sprinkles, candles, or just a spoon. You do you!
Common Mistakes to Avoid
- **Overmixing the Batter:** I said it once, I’ll say it again: **overmixing is the enemy of tender cake**. As soon as you see no more dry streaks, stop!
- **Not Greasing and Flourishing Pans Properly:** Or using parchment paper. Skipping this step is a fast track to a cake stuck to the pan, leading to tears and frustration. Don’t be that person.
- **Frosting a Warm Cake:** This is like trying to ice skate uphill. It won’t work, and you’ll end up with a soupy, crumb-filled disaster. **Patience, young padawan!**
- **Ignoring the Boiling Water:** That boiling water really does something special to the cocoa. Don’t swap it for cold water and expect the same rich flavor. It’s a key ingredient, **FYI**.
- **Not Using Room Temperature Eggs:** Seriously, room temperature ingredients emulsify better, leading to a smoother, more even batter. Plan ahead, it makes a difference.
Alternatives & Substitutions
- **Buttermilk Blues?** No buttermilk? No problem! Add **1 tablespoon of white vinegar or lemon juice to a measuring cup**, then fill the rest of the way to 1 cup with regular milk. Let it sit for 5 minutes. Voila! Instant buttermilk.
- **Oil Swap:** You can use melted butter instead of vegetable oil for a slightly different flavor profile, but the oil usually makes for a moister cake. Your call, chef!
- **Frosting Fancy:** Not feeling the classic chocolate buttercream? Try a chocolate ganache (heavy cream + chocolate, melted together) for a super decadent drip, or even a cream cheese frosting for a tangy twist. Go wild!
- **Dairy-Free Option:** For a dairy-free cake, use your favorite non-dairy milk (like almond or soy) for the “buttermilk” hack, and a dairy-free butter alternative for the frosting.
FAQ (Frequently Asked Questions)
Got questions? I’ve got answers (mostly humorous ones).
- **”Can I make this cake ahead of time?”** Oh, absolutely! The unfrosted cake layers can be wrapped tightly in plastic wrap and stored at room temperature for a day, or even frozen for up to a month. Just thaw before frosting. You’re basically a time-traveling baker!
- **”What if I don’t have two 9-inch pans?”** No worries! You can bake it in a 9×13 inch pan. Just adjust the baking time – it’ll likely be around 35-40 minutes, but start checking earlier. Or, make cupcakes! Because who doesn’t love a mini cake?
- **”Can I use margarine instead of butter in the frosting?”** Well, technically yes, but why hurt your soul like that? Butter just tastes better, IMO. If you must use margarine, choose a high-quality stick margarine for baking.
- **”My cake cracked on top! Is it ruined?”** Honey, no cake is ruined unless it’s actively on fire. A cracked top means nothing once it’s covered in glorious frosting. It just adds character!
- **”How long does this cake last?”** If stored properly (covered at room temperature or in the fridge), it’s best for 3-4 days. But let’s be real, it probably won’t last that long. It’s too delicious.
Final Thoughts
So there you have it! A chocolate birthday cake recipe that’s ridiculously easy, utterly delicious, and surprisingly impressive. You’ve just leveled up your baking game without breaking a sweat (or at least, not too much sweat). Now go impress someone—or yourself—with your new culinary skills. You’ve earned it! Grab a slice, put your feet up, and pat yourself on the back. You’re a baking superstar!


