Ever have one of those days where your sweet tooth screams “feed me!” but your energy levels are whispering “nah, just lie down”? Yeah, me too. This is why we need recipes that deliver maximum deliciousness with minimum fuss. And today, my friend, we’re diving headfirst into a chocolatey, berrylicious hug of a cake that’s so easy, you’ll wonder if you cheated. (Spoiler: You didn’t. You just mastered cake sorcery.)
Why This Recipe is Awesome
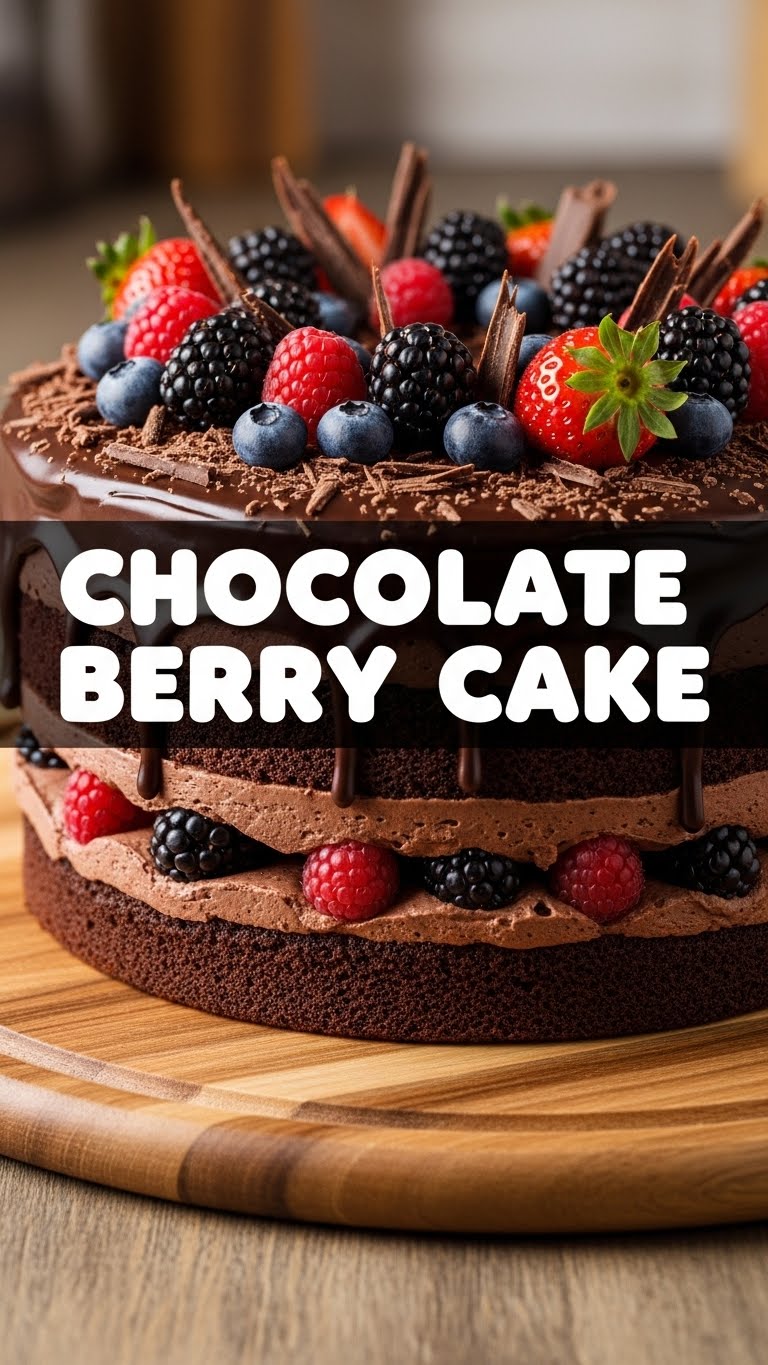
Let’s be real, you’re not here for a lecture on molecular gastronomy. You want cake. Fast. And fantastic. This Chocolate Berry Cake delivers on all fronts. It’s so simple, even your cat could probably follow the instructions (if they had opposable thumbs and an interest in baking beyond knocking things off the counter). We’re talking one-bowl magic for the cake, minimal fuss, and a show-stopping appearance that screams “I spent hours on this!” (You didn’t. Shhh.) It’s rich, it’s moist, it’s got that delightful tang from the berries cutting through the chocolate. Basically, it’s a party in your mouth, and everyone’s invited.
Ingredients You’ll Need
Gather your troops! Most of these are probably chilling in your pantry already. No fancy-pants ingredients here, promise.
- 1 ½ cups all-purpose flour (the regular stuff, no judgment)
- 1 ½ cups granulated sugar (because sweetness is key)
- ¾ cup good quality unsweetened cocoa powder (don’t skimp here, your taste buds will thank you)
- 1 ½ teaspoons baking soda (for that glorious rise)
- 1 teaspoon baking powder (double trouble for lift!)
- 1 teaspoon salt (enhances all the flavors, don’t skip!)
- 2 large eggs (room temp, if you’re feeling fancy, but not essential)
- ¾ cup whole milk (or whatever milk you have, non-dairy works too!)
- ½ cup vegetable oil (canola, sunflower, whatever neutral oil floats your boat)
- 1 teaspoon vanilla extract (pure stuff, please!)
- ¾ cup hot water or hot coffee (coffee seriously amps up the chocolate flavor – trust me on this, it’s not a coffee cake!)
For the Berry Whipped Cream Frosting:
- 2 cups heavy cream (aka whipping cream, your new best friend)
- ½ cup powdered sugar (confectioners’ sugar, because lumps are no fun)
- 1 teaspoon vanilla extract (more vanilla, always more vanilla)
- 2 cups mixed fresh berries (raspberries, blueberries, sliced strawberries – the more colorful, the better!)
Step-by-Step Instructions
- Preheat & Prep: First things first, preheat your oven to 350°F (175°C). Grease and flour two 8-inch round cake pans or one 9×13 inch pan. If you’re feeling extra, line the bottoms with parchment paper. This prevents sticking and crying.
- Dry Mix Magic: In a large bowl (see? One bowl!), whisk together the flour, sugar, cocoa powder, baking soda, baking powder, and salt. Make sure there are no lumpy bits.
- Wet Wonders: Add the eggs, milk, oil, and vanilla extract to the dry ingredients. Beat with an electric mixer (or a whisk if you’re feeling strong) on medium speed for about 2 minutes until everything is just combined and relatively smooth. Don’t overmix!
- Hot Liquid Love: Carefully stir in the hot water or coffee. The batter will be thin – don’t panic! That’s exactly how it should be. This is where the magic happens, making your cake super moist.
- Bake It Up: Divide the batter evenly between your prepared cake pans. Bake for 30-35 minutes for round pans, or 35-40 minutes for a 9×13, or until a wooden skewer inserted into the center comes out clean.
- Cool Down: Let the cakes cool in the pans for about 10-15 minutes before inverting them onto a wire rack to cool completely. This is crucial! Patience, young padawan.
- Whip It Good (the cream, that is): While the cakes are chilling, grab a large bowl and your cold heavy cream, powdered sugar, and vanilla. Beat on high speed until stiff peaks form. Don’t walk away, it happens faster than you think, and nobody wants butter.
- Assemble Your Masterpiece: Once the cakes are completely cool, place one layer on your serving plate. Spread about half of the whipped cream evenly over it, then scatter about half of your glorious mixed berries. Top with the second cake layer. Spread the remaining whipped cream and pile on the rest of the berries.
- Serve & Enjoy: Slice it up and bask in the glory. You earned it!
Common Mistakes to Avoid
- Not Preheating the Oven: Rookie mistake! Your oven needs to be at the correct temperature from the start for an even bake. It’s not a microwave, folks.
- Overmixing the Batter: Once the ingredients are just combined, stop! Overmixing develops the gluten too much, leading to a tough, dry cake. Nobody wants that.
- Opening the Oven Door Too Early: Resist the urge! Opening the door before the cake is mostly set can cause it to sink in the middle. Be strong!
- Not Cooling Completely: I know, I know, you’re excited. But frosting a warm cake is a recipe for a sliding, melting disaster. Let it cool completely. Seriously.
- Whipping Cream to Butter: Keep an eye on that heavy cream! It goes from fluffy to grainy to butter pretty quickly. Stop when it holds stiff peaks.
Alternatives & Substitutions
Feeling adventurous or missing an ingredient? No stress, we got you!
- Flour Power: If you’re gluten-free, a 1:1 gluten-free baking mix usually works great in this recipe.
- Milk Swap: Any non-dairy milk (almond, soy, oat) can easily sub in for whole milk.
- Oil for Butter: If you prefer butter, melt ½ cup unsalted butter and use it in place of the oil. It might give a slightly different texture, but still delicious.
- Berry Blast: Don’t have mixed berries? Use just raspberries, sliced strawberries, or even pitted cherries. Frozen berries work too – just don’t thaw them fully or they’ll get mushy.
- Coffee Haters: If you’re not a coffee fan (gasp!), just use hot water. The coffee just enhances the chocolate, it doesn’t make it taste like coffee.
- Extra Indulgence: Want more chocolate? Fold in about a cup of chocolate chips into the batter before baking. You’re welcome.
- Frosting Fun: Not a whipped cream fan? A cream cheese frosting would also be divine here! Or just a simple chocolate ganache.
FAQ (Frequently Asked Questions)
Got questions? I’ve got answers, mostly with a dose of humor.
Q: Can I use store-bought frosting?
A: Well, technically yes, you can. But freshly whipped cream is like a fluffy, cloud-like hug for your taste buds. Why deny yourself that joy?
Q: Can I make this cake ahead of time?
A: You can bake the cake layers a day in advance and store them, wrapped tightly, at room temperature. The whipped cream is best made and assembled right before serving for optimal fluffiness and freshness, IMO.
Q: What if I don’t have fresh berries?
A: Frozen berries are totally fine! Just don’t thaw them completely before adding them to the cake, or they’ll get a bit watery and mushy. A slight thaw is okay, but keep ’em mostly frosty.
Q: My cake sank in the middle! What happened?!
A: Oh, the dreaded sinkhole! This usually happens if you opened the oven door too early, overmixed the batter, or your baking powder/soda is past its prime. Check those expiry dates, people!
Q: Can I use margarine instead of oil/butter?
A: You could, but… why? Margarine doesn’t always have the best flavor or texture compared to oil or real butter. For a truly delicious cake, stick to the good stuff. Your soul will thank you.
Q: How long does this cake last?
A: With the fresh berries and whipped cream, it’s best enjoyed within 2-3 days, stored in the fridge. But honestly, it rarely lasts that long in my house. Just sayin’.
Final Thoughts
And there you have it! A Chocolate Berry Cake that looks fancy but is secretly your new easy-peasy dessert BFF. You’ve just created a masterpiece without breaking a sweat (or a bank account). So go on, grab a slice (or two, I’m not judging), pour yourself something delicious, and pat yourself on the back. You’ve earned it! Now go impress someone—or yourself—with your new culinary skills. Happy baking, my friend!


