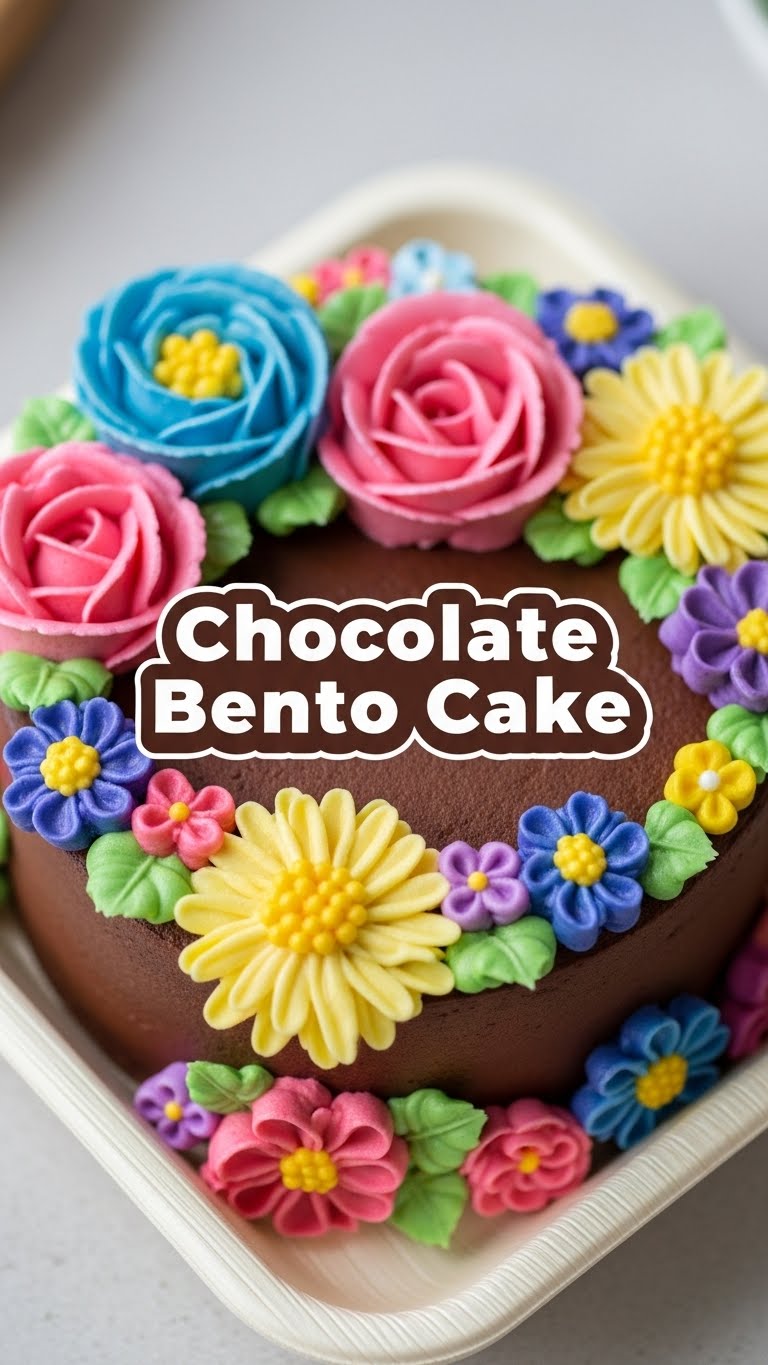
So you’re craving something tasty but too lazy to spend forever in the kitchen, huh? Same. Honestly, who has the energy for a full-on, multi-tiered masterpiece when all you really want is a perfectly portioned slice of chocolatey bliss without the commitment? That’s where our hero, the Chocolate Bento Cake, swoops in!
Why This Recipe is Awesome
Let’s be real, this isn’t just a recipe; it’s a lifestyle choice. This Chocolate Bento Cake is basically the culinary equivalent of that perfectly curated tiny apartment: small, stylish, and exactly what you need without any unnecessary fuss. Here’s why you’ll be obsessed:
- It’s practically **idiot-proof**. And believe me, if I didn’t mess it up, neither will you.
- It’s the perfect size. No giant leftovers tempting you for days (unless you want them, in which case, make two!). It’s all about portion control, or rather, portion appropriateness.
- Looks fancy, tastes gourmet, but requires minimal effort. Your friends will think you spent hours slaving away, when in reality, you were probably binging a show.
- It’s chocolate. Do I even need to elaborate? It’s pure, unadulterated happiness in cake form.
- **Instant gratification!** This little beauty bakes up relatively quickly, meaning less waiting and more eating.
Ingredients You’ll Need
Gather your troops, folks! Most of these are probably chilling in your pantry already. If not, a quick trip to the store won’t break the bank.
For the Cake:
- 1 cup (120g) All-Purpose Flour: The basic building block of joy.
- ½ cup (50g) Unsweetened Cocoa Powder: Make sure it’s good stuff, no dusty old relics from the back of the cupboard!
- 1 teaspoon Baking Soda: The bubbly magic maker.
- ½ teaspoon Baking Powder: Baking soda’s trusty sidekick, ensuring a light crumb.
- ¼ teaspoon Salt: Just a pinch, because flavor balance is everything.
- ¾ cup (150g) Granulated Sugar: Sweetness level: perfect.
- 1 large Egg: Room temperature, please! They behave better and mix smoother.
- ½ cup (120ml) Milk: Any kind works, dairy or plant-based, we’re not picky.
- ¼ cup (60ml) Vegetable Oil: For that super moist, tender crumb – don’t skimp!
- 1 teaspoon Vanilla Extract: The Beyoncé of flavorings.
- ½ cup (120ml) Hot Water or Hot Coffee: Our secret weapon for intensely rich chocolate flavor. Trust me on the coffee – you won’t taste coffee, just super-duper chocolate.
For the Chocolate Buttercream Frosting:
- ½ cup (113g) Unsalted Butter: Softened, like your heart will be after one bite.
- 1 ½ cups (180g) Powdered Sugar (Confectioners’ Sugar): Sifted, please! We don’t want lumpy frosting.
- ¼ cup (25g) Unsweetened Cocoa Powder: More chocolate, because why not?
- 2-3 tablespoons Heavy Cream or Milk: To get that perfect swoosh-able consistency.
- ½ teaspoon Vanilla Extract: Yep, again!
Step-by-Step Instructions
Alright, apron on, game face ready! Let’s bake this adorable little thing.
- Get Prepped: Preheat your oven to 180°C (350°F). Lightly grease and flour a small bento cake pan (typically 4-6 inches round or square) or even a couple of mini loaf pans if you’re feeling artisanal.
- Dry Mix Magic: In a medium bowl, whisk together your flour, cocoa powder, baking soda, baking powder, salt, and granulated sugar. Give it a good whisk to break up any lumps and ensure everything is evenly distributed.
- Wet Mix Wonders: In a separate bowl, whisk together the egg, milk, vegetable oil, and vanilla extract until well combined.
- Combine & Conquer: Pour the wet ingredients into the dry ingredients. Mix with a whisk or spatula until just combined. Don’t overmix! A few small lumps are totally fine.
- The Secret Weapon: Now, carefully stir in the hot water or hot coffee. The batter will be quite thin, almost like a thick soup, but don’t panic – that’s exactly what we want for a super moist cake.
- Bake It Up: Pour the batter into your prepared bento cake pan. Bake for 20-25 minutes, or until a toothpick inserted into the center comes out with moist crumbs, not wet batter. **Don’t overbake!**
- Cool Down: Let the cake cool in the pan for about 10-15 minutes before carefully inverting it onto a wire rack to cool completely. This is crucial for frosting!
- Frosting Fun: While your cake is chilling out, make the frosting. In a medium bowl, beat the softened butter with an electric mixer until creamy. Gradually add the sifted powdered sugar and cocoa powder, beating until combined.
- Fluffy Time: Add 2 tablespoons of heavy cream (or milk) and vanilla extract. Beat on medium-high speed until the frosting is light and fluffy. If it’s too thick, add more cream a teaspoon at a time; too thin, add a bit more sifted powdered sugar.
- Decorate & Devour: Once the cake is completely cool (seriously, no warm cake and frosting situations!), spread or pipe the chocolate buttercream over the top and sides. Get creative with sprinkles, chocolate shavings, or just keep it simple and elegant. Then, dig in!
Common Mistakes to Avoid
Nobody’s perfect, but we can avoid some common cake catastrophes, right? Here’s a quick list of “don’ts” that I’ve learned the hard way:
- Overmixing the batter: Seriously, don’t do it. Mix until just combined. Overmixing develops the gluten too much, leading to a tough, dry cake. Nobody wants a hockey puck.
- Not preheating the oven: Patience, young padawan! A properly preheated oven ensures even baking and proper leavening. Otherwise, your cake might sink.
- Overbaking: Dry cake is a sad cake. Start checking at the 20-minute mark and pull it out as soon as the toothpick test passes.
- Frosting a warm cake: Unless you’re aiming for a chocolate soup situation all over your countertop, let that cake cool completely. Like, completely completely.
- Using cold butter for frosting: Lumpy frosting is not the vibe. Ensure your butter is properly softened for that silky-smooth consistency.
Alternatives & Substitutions
Life’s too short for rigid recipes, so here are a few swap-outs if you’re feeling adventurous or just missing an ingredient:
- Hot Coffee: If you’re really not a coffee person (even though you won’t taste it, just rich chocolate!), feel free to use just hot water. But seriously, **FYI**, the coffee just intensifies the chocolate flavor, it doesn’t make it taste like a mocha.
- Vegetable Oil: Melted butter can work in a pinch, but the oil gives a distinctly moist crumb that’s hard to beat. IMO, stick with the oil if you can!
- Milk: Any dairy or non-dairy milk (almond, soy, oat) will work just fine.
- Frosting Flavors: Not a chocolate buttercream purist? Try a cream cheese frosting for a tangy twist, or even a simple ganache (equal parts chocolate and hot cream) for something super decadent.
- No Bento Pan? No Problem! Use a regular 6-inch round cake pan (bake time might be slightly longer), or even bake in cupcake liners in a muffin tin for adorable mini bento-sized cupcakes!
FAQ (Frequently Asked Questions)
Got questions? I’ve got (casual and hopefully helpful) answers!
- “Can I make this cake ahead of time?” Absolutely! The cake itself can be baked a day in advance and stored, well-wrapped, at room temperature. Frost closer to serving for the freshest look.
- “My frosting is too thin/thick, help!” Frosting rescue 101: Too thin? Add more sifted powdered sugar, a tablespoon at a time. Too thick? Add more heavy cream or milk, a teaspoon at a time, until you hit that perfect spreadable consistency.
- “What exactly is a bento cake pan?” It’s just a fancy name for a small cake pan, usually 4-6 inches in diameter or square. They’re perfect for personal-sized cakes or if you’re not feeding a whole party. If you don’t have one, a small oven-safe dish can work!
- “Can I add mix-ins to the batter?” Oh, you absolutely can! Chocolate chips, sprinkles, even a handful of chopped nuts if you’re feeling wild. Just don’t go overboard and weigh down the batter.
- “Is this recipe gluten-free friendly?” You could try substituting a 1:1 gluten-free all-purpose flour blend, but baking results can vary with GF flours. I haven’t personally tested it, so proceed with caution and maybe keep a backup cookie nearby!
- “Why do my eggs need to be at room temperature?” Room temperature eggs emulsify better with other ingredients, creating a smoother, more uniform batter and a lighter, fluffier cake. It’s a small step, but it makes a difference!
Final Thoughts
Boom! You just made a ridiculously cute and undeniably delicious Chocolate Bento Cake. See? That wasn’t so scary, was it? Now you’ve got this tiny, impressive dessert that screams “I know what I’m doing in the kitchen!” (even if it only took you about an hour). Go impress someone—or yourself, which is arguably more important—with your new culinary skills. You’ve earned it!
Happy baking, my friend!


