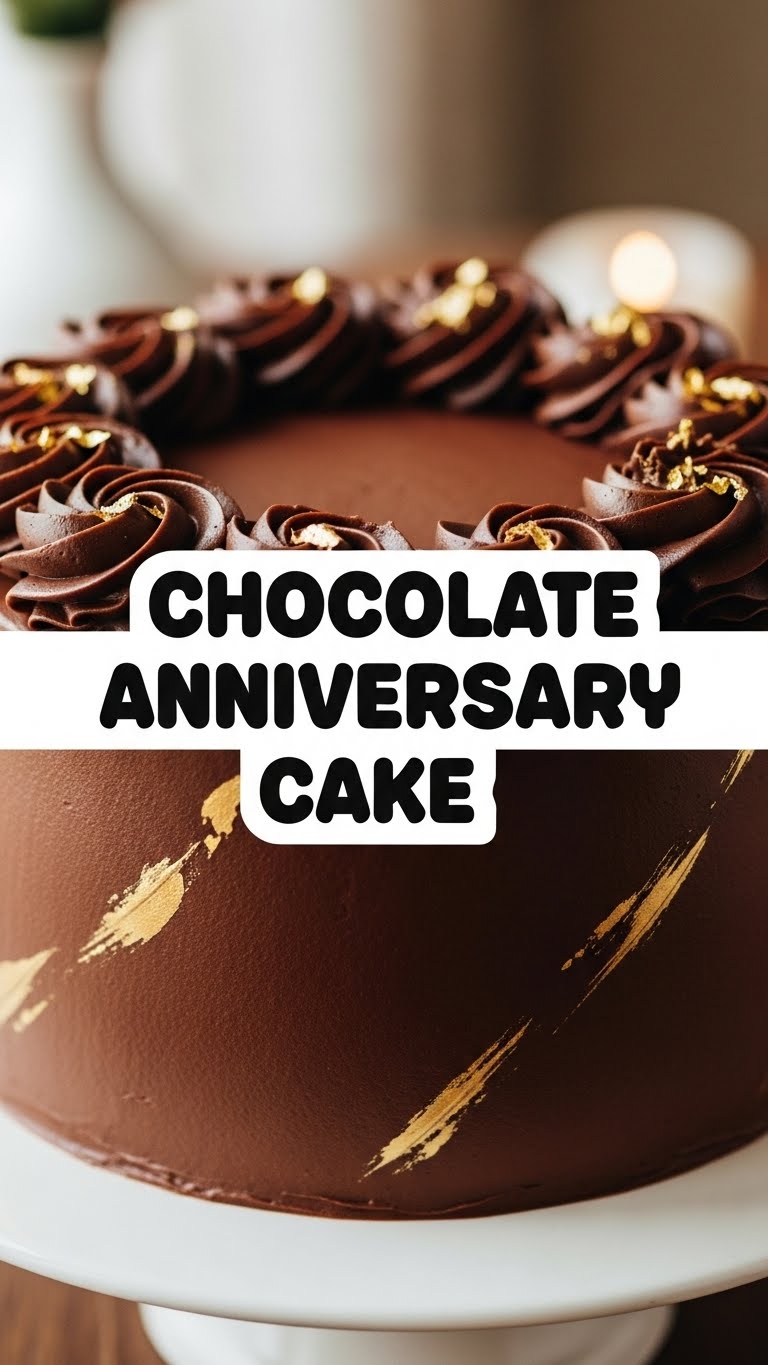
So, another year, another reason to celebrate (and eat cake!), right? Especially when it’s for *your* anniversary. You want it to be special, memorable, and absolutely delicious, but, like, not “spend all day slaving away and stress-eating raw batter” special. I totally get it. This isn’t just *any* chocolate cake; it’s *the* Chocolate Anniversary Cake – designed to make you look like a culinary genius without actually demanding genius-level effort. Ready to dive in?
Why This Recipe is Awesome
Let’s be real, you’ve got better things to do than babysit a finicky cake. This recipe is your new best friend because it’s practically idiot-proof. Seriously, it’s so straightforward, even your cat could supervise (and probably do a better job preheating the oven than some people I know). It delivers maximum ‘wow factor’ with minimum ‘panic attack’ factor, making it perfect for not messing up your special day… or your kitchen. Plus, it’s fudgy, moist, and ridiculously chocolatey. It’s basically a hug in cake form. What’s not to love?
Ingredients You’ll Need
Time to gather your edible arsenal! Don’t worry, nothing too exotic here. We’re keeping it simple, classic, and delicious.
- All-Purpose Flour: 2 cups. Because who needs a *special* flour for a cake, really?
- Granulated Sugar: 2 cups. Sweetness overload, in the best way.
- Unsweetened Cocoa Powder: ¾ cup. Good quality, please! This is where the magic happens. Dutch-processed if you’re feeling fancy (and know what that means).
- Baking Soda: 2 teaspoons. Our secret weapon for that perfect rise.
- Baking Powder: 1 teaspoon. Teamwork makes the dream work!
- Salt: 1 teaspoon. Don’t skip it; it balances all that sweet goodness.
- Milk: 1 cup. Whole milk is best for richness, but any kind will do.
- Vegetable Oil: ½ cup. Keeps things moist and lovely.
- Large Eggs: 2. Room temp is ideal, they mix better.
- Vanilla Extract: 2 teaspoons. The soul of almost any dessert. Use the good stuff!
- Boiling Water: 1 cup. Yes, boiling! It’s a game-changer for chocolate cakes.
For the Fudgy Chocolate Buttercream Frosting:
- Unsalted Butter: 1 cup (2 sticks), softened. Real butter, folks. Your anniversary deserves better than anything else.
- Unsweetened Cocoa Powder: ¾ cup. Again, quality matters!
- Powdered Sugar (Confectioners’ Sugar): 3-4 cups, sifted. To avoid lumpy frosting – major party foul.
- Milk or Heavy Cream: ⅓ cup. Add more if needed, tablespoon by tablespoon.
- Vanilla Extract: 1 teaspoon. More vanilla, because why not?
Step-by-Step Instructions
Alright, apron on, game face on, let’s bake some happiness!
- Prep Your Stage: Preheat your oven to 350°F (175°C). Seriously, preheat it! Grease and flour two 9-inch round cake pans. Or, even better, line the bottoms with parchment paper and grease the sides. This prevents sticking and future heartbreak.
- Dry Mix Magic: In a large bowl, whisk together the flour, sugar, cocoa powder, baking soda, baking powder, and salt. Make sure there are no lumpy bits.
- Wet Mix Whisk: In another medium bowl, whisk together the milk, oil, eggs, and vanilla extract until well combined.
- Combine & Conquer: Pour the wet ingredients into the dry ingredients. Mix on low speed (or by hand with a whisk) until *just* combined. Don’t overmix! A few tiny lumps are okay.
- The Hot Secret: Carefully pour the boiling water into the batter. Stir gently until everything is smooth and the batter is thin. It might look a bit runny, but trust the process.
- Pan It Up: Divide the batter evenly between your two prepared cake pans.
- Bake It Off: Bake for 30-35 minutes, or until a wooden skewer inserted into the center comes out clean. Keep that oven door shut for the first 25 minutes!
- Cool Down: Let the cakes cool in the pans for about 10-15 minutes. Then, carefully invert them onto a wire rack to cool completely. **They MUST be fully cool before frosting!**
- Frosting Time! While the cakes cool, beat the softened butter in a large bowl with an electric mixer until creamy. Add the cocoa powder, then gradually add the powdered sugar, alternating with the milk/cream and vanilla. Beat until smooth, light, and fluffy. If it’s too thick, add a tiny bit more milk; too thin, add more powdered sugar.
- Stack & Swirl: Once cakes are completely cool, place one layer on your serving plate. Spread a generous amount of frosting on top. Place the second layer on top, then frost the top and sides of the entire cake. Get creative with your swirls, or keep it smooth – it’s your masterpiece!
Common Mistakes to Avoid
Nobody’s perfect, but we can avoid some classic cake catastrophes:
- Thinking you don’t need to preheat the oven: Rookie mistake! Your oven needs to be ready for its close-up, otherwise, your cake won’t rise properly.
- Overmixing the batter: For the love of all that is fluffy, **do not overmix!** You’ll end up with a tough, dense cake instead of a light, airy one. Mix until just combined, then stop.
- Opening the oven door too soon: Patience, grasshopper. Resist the urge to peek during baking, especially in the first 25 minutes, unless you *like* deflated, sad-looking cakes.
- Frosting a warm cake: This is a recipe for a chocolatey disaster zone. Your frosting will melt, slide, and make a huge mess. **Wait until the cakes are COMPLETELY cool.** Seriously.
- Forgetting the salt: It might seem insignificant, but salt enhances the chocolate flavor and balances the sweetness. Don’t skip it!
Alternatives & Substitutions
Feeling adventurous or missing an ingredient? No stress, we’ve got options!
- Milk: Any milk works, even non-dairy if you’re into that. Almond milk, oat milk – just don’t tell the cows. But for ultimate richness, whole milk is king.
- Oil: Vegetable oil, canola oil, or even a light olive oil will work. Just don’t use extra virgin olive oil unless you want a grassy-flavored cake, which… maybe not.
- No Boiling Water? You can use hot coffee instead of boiling water for an even deeper chocolate flavor. It’s a pro move!
- Frosting Variations: Not feeling the buttercream? Go for a simple chocolate ganache (equal parts hot cream and chopped chocolate, stir until smooth). Or, if you prefer something tangy, a cream cheese frosting would be amazing!
- Add-ins: Fold in a cup of chocolate chips for extra gooeyness, or some chopped nuts for crunch. A splash of Kahlúa or rum (1-2 tablespoons) in the batter or frosting can also add a grown-up twist.
FAQ (Frequently Asked Questions)
Got questions? I’ve got (casual and hopefully helpful) answers!
Q: Can I use margarine instead of butter for the frosting?
A: Well, technically yes, but why hurt your soul like that? **Real butter gives the best flavor and texture.** Margarine often has too much water, which can make your frosting less stable. If you must, use a high-quality stick margarine.
Q: My cake layers are sticking to the pan! What gives?
A: Did you grease and flour adequately? Or better yet, did you use parchment paper on the bottom? **Parchment paper is your best friend here!** Also, make sure the cake cools slightly in the pan before inverting.
Q: Can I make this cake ahead of time?
A: Absolutely! You can bake the cake layers a day in advance. Once fully cooled, wrap them tightly in plastic wrap and store at room temperature. Frost the day of serving for the freshest look.
Q: What if I don’t have buttermilk? Can I still make this?
A: You can make a DIY buttermilk! Add 1 tablespoon of white vinegar or lemon juice to a measuring cup, then fill the rest with regular milk until you reach 1 cup. Let it sit for 5-10 minutes until it slightly curdles. Voila!
Q: My frosting is too thick/thin. Help!
A: Too thick? Add more milk/cream, one teaspoon at a time, until it’s the right consistency. Too thin? Add more sifted powdered sugar, one tablespoon at a time, until it thickens up. It’s an art, not a science, sometimes!
Q: How long does this cake last?
A: This cake, if properly covered, will last 3-4 days at room temperature. If it’s warm where you are, or if you prefer, you can store it in the fridge for up to a week. Just bring it to room temp before serving for the best flavor and texture.
Final Thoughts
And there you have it, champ! You just whipped up a show-stopping Chocolate Anniversary Cake that’s going to impress anyone lucky enough to get a slice (or, let’s be honest, you’ll probably eat half yourself, and that’s okay too!). This isn’t just a cake; it’s a testament to your newfound (or rediscovered) baking prowess. So, take a bow, grab a fork, and enjoy the fruits of your not-so-laborious labor. Now go impress someone—or yourself—with your new culinary skills. You’ve earned it!

