So you’re craving something that screams “fancy dessert” but whispers “I barely lifted a finger,” huh? And it involves chocolate AND strawberries? My friend, you’ve come to the right place. We’re about to make some seriously delicious magic without the meltdown. Get ready to impress your taste buds (and maybe a few lucky friends) with a cake so good, they’ll think you secretly hired a pastry chef. Shhh, it’ll be our little secret!
Why This Recipe is Awesome
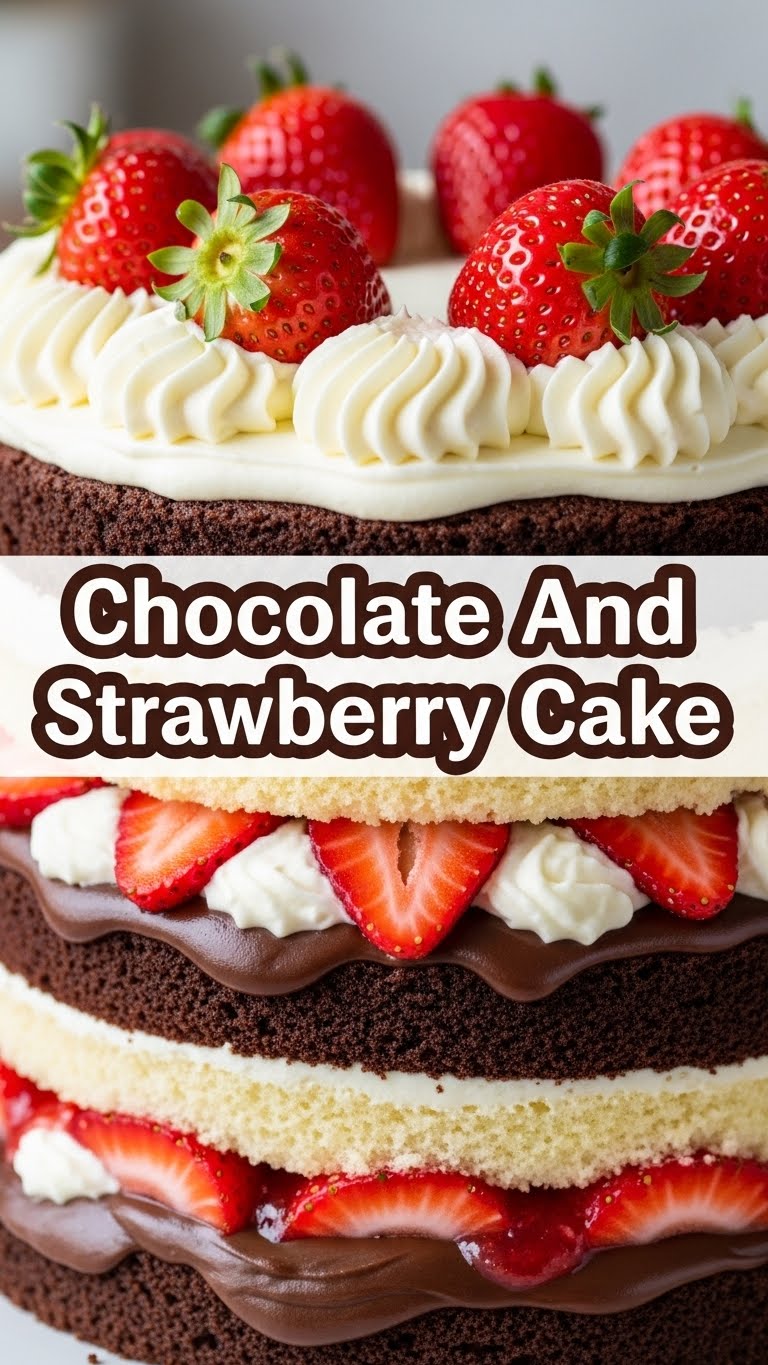
Okay, let’s be real. Most “impressive” cakes require a diploma in advanced patisserie and a stress ball. Not this one! This Chocolate and Strawberry Cake is your secret weapon for looking like a kitchen goddess (or god) with minimal effort. It’s **idiot-proof**, I swear. I even managed not to mess it up, which, frankly, is a miracle. It’s rich, it’s decadent, it’s got that perfect balance of sweet and tart, and it practically bakes itself. Plus, chocolate and strawberries? Name a more iconic duo. I’ll wait.
Ingredients You’ll Need
Gather ’round, my fellow kitchen adventurer! Here’s what you’ll need to transform into a baking superstar. No need for obscure spices or unicorn tears, promise.
- For the Cake:
- 1 ¾ cups all-purpose flour (because who has time for special flours, am I right?)
- 2 cups granulated sugar (sweetness overload, in the best way!)
- ¾ cup good quality unsweetened cocoa powder (this isn’t the time for compromise, people!)
- 1 ½ teaspoons baking soda (the magic fairy dust that makes it rise)
- 1 teaspoon baking powder (more magic dust!)
- 1 teaspoon salt (to balance all that sweetness)
- 1 cup buttermilk (or regular milk + a splash of vinegar/lemon juice – hack alert!)
- ½ cup vegetable oil (or any neutral oil)
- 2 large eggs (the binders of our delicious destiny)
- 1 teaspoon vanilla extract (because vanilla makes everything better)
- 1 cup hot water (this makes the cake super moist, **don’t skip it!**)
- For the Frosting:
- 1 cup (2 sticks) unsalted butter, softened (room temp is key, folks!)
- 3-4 cups powdered sugar (aka confectioners’ sugar)
- ½ cup good quality cocoa powder (again, no skimping here!)
- ½ cup heavy cream (or milk for a lighter frosting, but cream is divine)
- 1 teaspoon vanilla extract
- A pinch of salt (always, always a pinch of salt!)
- For the Topping:
- 1-2 lbs fresh strawberries, hulled and sliced or whole (the prettier, the better, for ✨aesthetic purposes✨)
- Optional: A few chocolate shavings or drizzles for extra pizzazz
Step-by-Step Instructions
Alright, apron on, game face ready! Let’s get baking. Follow these steps, and you’ll be basking in chocolatey strawberry glory in no time. Promise.
- Get Your Oven Ready. Preheat your oven to 350°F (175°C). Grease and flour two 8 or 9-inch round cake pans. Don’t be shy; really get in there! Nobody likes a stuck cake.
- Mix the Dry Stuff. In a large bowl, whisk together the flour, sugar, cocoa powder, baking soda, baking powder, and salt. Make sure there are no lumpy bits.
- Combine the Wet Stuff. In a separate medium bowl, whisk together the buttermilk, oil, eggs, and vanilla extract until well combined.
- Bring Them Together. Pour the wet ingredients into the dry ingredients. Mix on low speed (or by hand) until just combined. Don’t overmix, or your cake will be tough!
- Add the Hot Water. Slowly pour in the hot water and mix until the batter is smooth. Yes, the batter will be thin – that’s totally normal and makes for a super moist cake.
- Bake It Up! Divide the batter evenly between your prepared cake pans. Bake for 30-35 minutes, or until a wooden skewer inserted into the center comes out clean.
- Cool Down. Let the cakes cool in the pans for about 10-15 minutes before inverting them onto a wire rack to cool completely. **This is crucial!** Frosting a warm cake is a one-way ticket to a melted mess.
- Whip Up the Frosting. While the cakes cool, beat the softened butter in a large bowl until creamy. Gradually add the powdered sugar, cocoa powder, heavy cream, vanilla, and salt. Beat on medium-high speed until light and fluffy. If it’s too thick, add a tiny bit more cream; too thin, add more powdered sugar.
- Assemble Your Masterpiece. Once the cakes are completely cool, place one layer on your serving plate. Spread a generous layer of frosting on top. Arrange some sliced strawberries over the frosting. Place the second cake layer on top, and then cover the entire cake with the remaining frosting.
- Decorate and Devour. Arrange the remaining fresh strawberries on top of your cake. Get fancy with whole ones, sliced ones, whatever makes your heart sing! Add chocolate shavings if you’re feeling extra. Slice, serve, and accept all the compliments!
Common Mistakes to Avoid
Even the pros make mistakes, but you don’t have to make these! Learn from my past (chocolate-stained) errors.
- Overmixing the Batter: I repeat, do NOT overmix! You want a tender cake, not a hockey puck. Mix until just combined, and then step away from the mixer.
- Not Greasing/Flouring Your Pans Properly: Forgetting this crucial step is a rookie mistake that leads to frustration and a cake stuck to the pan. Take the extra minute, trust me.
- Frosting a Warm Cake: This is a recipe for disaster, literally. Frosting melt-down. Big no-no. **Patience, young padawan!** Let those cakes cool completely.
- Eyeballing Ingredients in Baking: While cooking is an art, baking is a science. Measurements matter. **Follow the recipe** for the best results.
- Opening the Oven Door Too Early: Resist the urge to peek! Opening the door too soon can cause your cake to sink in the middle. Wait until at least ¾ of the baking time has passed.
Alternatives & Substitutions
Feeling adventurous? Or maybe you’re just out of buttermilk. No worries, I got you!
- No Buttermilk? No Problem! You can easily make your own. Just pour 1 tablespoon of white vinegar or lemon juice into a measuring cup, then fill it up to the 1-cup mark with regular milk. Let it sit for 5-10 minutes until it curdles a bit. Voila!
- Dairy-Free? You Bet! Use plant-based milk (almond, soy, oat) and dairy-free butter for both the cake and frosting. Ensure your chocolate is also dairy-free.
- Gluten-Free Cake? Yes! Swap the all-purpose flour for a 1:1 gluten-free baking flour blend. Make sure it contains xanthan gum.
- Different Berries? Go Wild! While chocolate and strawberry are the OG power couple, feel free to play matchmaker with other berries. Raspberries? Blackberries? You do you! Just make sure they’re fresh.
- Frosting Variations: Not a fan of chocolate buttercream? Try a simple vanilla buttercream, cream cheese frosting, or even a rich chocolate ganache. It’s your cake, your rules!
FAQ (Frequently Asked Questions)
Got questions? I’ve got answers! (Mostly.)
- Can I make this cake ahead of time? Absolutely! It’s actually better the next day, IMO, as the flavors meld. Just store it properly, covered, at room temp for a day, or in the fridge for up to 3-4 days.
- Why did my cake sink in the middle? Could be a few things: overmixing, oven door opened too early, wrong leavening agents, or too much liquid. **Don’t panic**, it still tastes good even if it’s a little dip-in-the-middle!
- How do I store leftovers? If there *are* any leftovers (a big IF!), store them covered, at room temp for a day or two (if it’s not too hot), or in the fridge for up to 5 days. Bring to room temp before serving for best flavor.
- Can I use frozen strawberries? For decorating, stick to fresh. For adding to the batter (though this recipe doesn’t call for it), yes, but ensure they’re thawed and drained really well to avoid excess moisture.
- My cake is dry! Help! You probably overbaked it. Every oven is different, so **start checking earlier than the recipe suggests** with a toothpick. Also, ensure your ingredients were fresh (especially baking soda/powder).
- Is unsweetened or Dutch-processed cocoa better? Dutch-processed gives a darker, milder chocolate flavor. Unsweetened (natural) is more acidic and works differently with baking soda. I usually go for **Dutch-processed for richer color and flavor** in this type of cake.
Final Thoughts
So there you have it, folks! Your very own Chocolate and Strawberry dream cake, born from a little effort and a lot of love (and maybe a few chocolate smudges on your face). Go forth, bake, impress, and most importantly, devour every single crumb. You deserve this moment of pure, unadulterated joy. Now go on, get baking! You’ve earned it!


