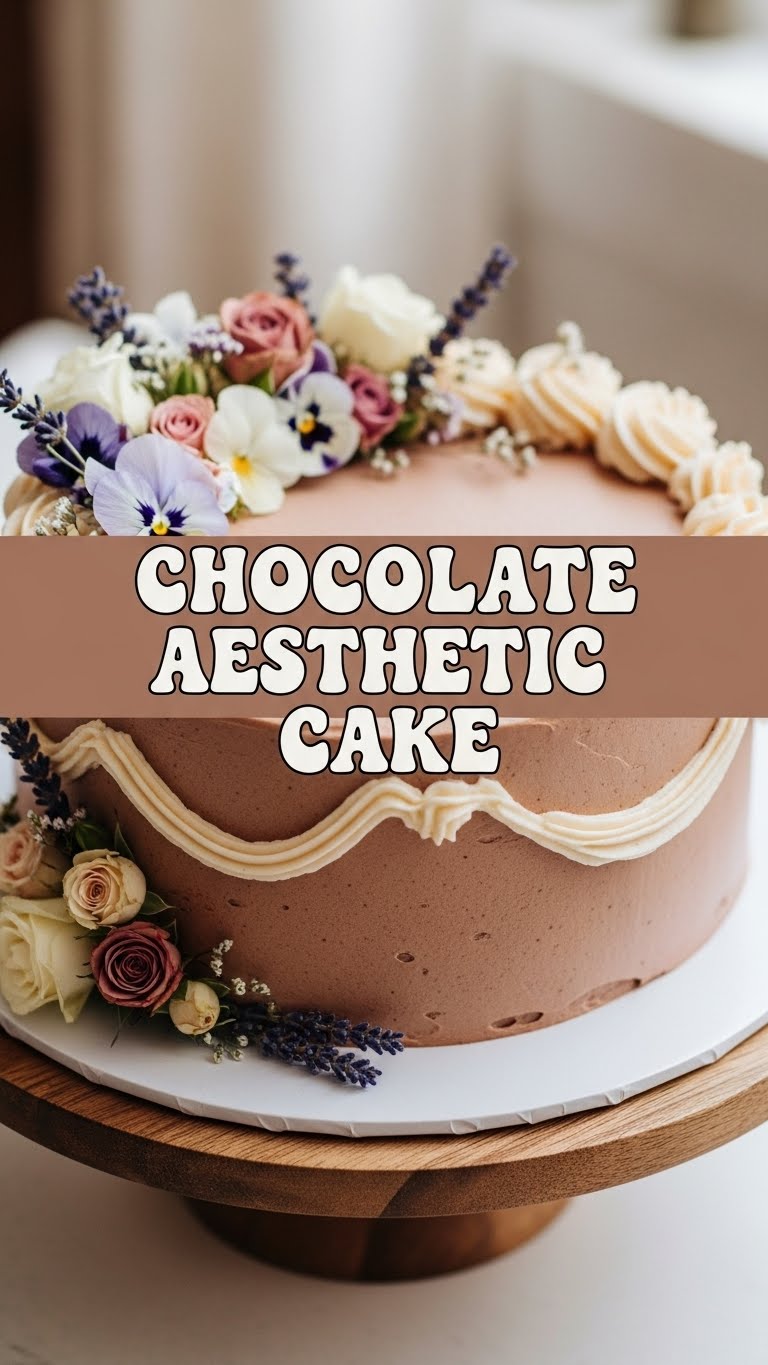
Alright, my fellow dessert enthusiast, let’s talk cake. Specifically, a chocolate cake that looks like you spent hours on it, but *spoiler alert*… you totally didn’t. 😉 We’re going for maximum aesthetic, minimum effort here, because who has time for complicated bakes when there’s Netflix to watch and existential crises to ponder? This isn’t just a cake; it’s a statement. A delicious, chocolatey, “I’m fancy but lazy” statement.
Why This Recipe is Awesome
Look, I get it. Baking can be intimidating. Recipes sometimes make you feel like you need a chemistry degree and the patience of a saint. But this isn’t that kind of recipe. This is the “I woke up like this” of chocolate cakes – effortlessly gorgeous and ridiculously delicious. **It’s genuinely foolproof.** Seriously, even I, a person who once set off the smoke detector making toast, didn’t mess this up. It’s rich, moist, super chocolatey, and presents beautifully, making you look like a culinary wizard without all the hocus pocus.
Ingredients You’ll Need
Gather your troops! Here’s what you need to conquer this chocolate masterpiece:
- All-Purpose Flour: (2 cups) The unsung hero of many a bake-sale victory.
- Granulated Sugar: (2 cups) Sweetness incarnate. Because, well, it’s cake.
- Good Quality Cocoa Powder: (3/4 cup, unsweetened) None of that dusty stuff from the back of the pantry, please! This is where your chocolate aesthetic truly shines.
- Baking Soda: (2 teaspoons) The magic puff-up fairy.
- Baking Powder: (1 teaspoon) Her trusty sidekick.
- Salt: (1 teaspoon) Because even chocolate needs a little sass to balance the sweetness.
- Eggs: (2 large) Room temperature, if you’re feeling fancy (and you should!).
- Milk: (1 cup) Whole milk works best, for that extra richness.
- Vegetable Oil: (1/2 cup) Keeps it moist and dreamy. Canola or sunflower oil works too.
- Vanilla Extract: (2 teaspoons) The perfume of the gods. Don’t skip this!
- Boiling Water or Hot Coffee: (1 cup) This is the secret weapon for deep, dark chocolate flavor. Coffee amplifies the chocolate without making it taste like coffee, FYI.
- For the Frosting:
- Unsalted Butter: (1 cup / 2 sticks, softened) Softened, but not melted. We’re not making soup here.
- Powdered Sugar: (3-4 cups) Sifted, unless you like lumpy frosting (you don’t).
- Good Quality Cocoa Powder: (1/2 cup) Again, no compromises.
- Milk or Cream: (3-4 tablespoons) For creamy dreamy consistency.
- Vanilla Extract: (1 teaspoon) Because, always.
- Pinch of Salt: Just a tiny one!
Step-by-Step Instructions
Let’s get this show on the road! Remember, short and sweet steps are your friend.
- Preheat & Prep: Set your oven to 350°F (175°C). Grease and flour two 8 or 9-inch round cake pans. Or, even better, line the bottoms with parchment paper. Trust me on this.
- Mix Dry: In a large bowl, whisk together the flour, sugar, cocoa powder, baking soda, baking powder, and salt. Give it a good whisk until no sneaky lumps remain.
- Add Wet (Almost All): To the dry ingredients, add the eggs, milk, oil, and vanilla extract. Beat with an electric mixer on medium speed for about 2 minutes. The batter will be thick, but don’t panic!
- The Secret Ingredient: Carefully pour in the boiling water or hot coffee. It will seem super thin, but that’s exactly what we want. Stir until just combined. Don’t overmix!
- Bake Time: Divide the batter evenly between your two prepared pans. Bake for 30-35 minutes, or until a toothpick inserted into the center comes out clean.
- Cool Down: Let the cakes cool in their pans for about 10-15 minutes before inverting them onto a wire rack to cool completely. Patience, young padawan!
- Frosting Frenzy: While the cakes cool, let’s make that glorious frosting. Beat the softened butter in a bowl until light and fluffy. Gradually add the sifted powdered sugar and cocoa powder, alternating with splashes of milk/cream and the vanilla and salt. Beat until smooth and spreadable. Add more milk/cream for a thinner consistency or more powdered sugar for a thicker one.
- Assemble Your Masterpiece: Once the cakes are completely cool (this is crucial!), place one layer on your serving plate. Spread a generous amount of frosting on top. Place the second layer on, and then cover the whole cake with the remaining frosting. Go wild with your aesthetic vision – smooth it out for sleekness or swirl it for texture!
Common Mistakes to Avoid
Nobody’s perfect, but we can try to avoid these rookie errors, right?
- Thinking you don’t need to preheat the oven: Rookie mistake! Your cake won’t rise properly, and you’ll end up with a sad, dense disc.
- Overmixing the batter: We’re making cake, not bread. Overmixing develops gluten, which leads to tough cake. Mix until just combined, then stop!
- Not letting cakes cool completely before frosting: This is a cardinal sin. You’ll end up with melted frosting and a sliding cake. Be patient!
- Ignoring the quality of cocoa powder: If you use cheap, bland cocoa, your “Chocolate Aesthetic Cake” will just be “Chocolate… Meh Cake.” Invest a little!
Alternatives & Substitutions
Life happens, ingredients run out. No stress, we got options!
- No whole milk? Skim or 2% will work, though it might be slightly less rich. Or, if you have buttermilk, even better! (Just sub it for the regular milk.)
- No boiling water for the batter? Hot coffee is my personal fave because it really deepens the chocolate flavor without tasting like coffee. But plain hot water is totally fine too.
- Oil instead of butter for frosting? Well, technically you *could* use a shortening-based frosting, but IMO, butter makes for a far superior, richer, and more delicious buttercream. Why hurt your soul like that?
- Want extra chocolatey goodness in the frosting? Melt a couple of ounces of good quality dark chocolate and let it cool slightly before beating it into your frosting. Game changer!
FAQ (Frequently Asked Questions)
Got questions? I’ve got (casual) answers!
- Can I make this in a 9×13 pan? Absolutely! Just pour all the batter into one well-greased 9×13 pan and bake for 35-45 minutes. Adjust cooling and frosting accordingly.
- How do I make it super dark and moody? Add a tablespoon of espresso powder to your dry ingredients, and use hot coffee instead of hot water. It’s like a secret agent for chocolate flavor!
- Can I freeze this cake? Yep! Wrap individual unfrosted layers tightly in plastic wrap, then foil. They’ll keep for up to 3 months. Thaw in the fridge, then frost.
- My frosting is too thin/thick, help! Too thin? Add more sifted powdered sugar a tablespoon at a time. Too thick? Add more milk or cream, a teaspoon at a time. You’re the boss!
- What if I don’t have parchment paper? Just grease and flour your pans *really* well. Like, meticulously well. Butter and cocoa powder works great for chocolate cakes!
Final Thoughts
So there you have it, my friend. Your ticket to chocolatey bliss and social media bragging rights. This Chocolate Aesthetic Cake is all about looking fabulous with minimal fuss, proving that deliciousness doesn’t need to be complicated. Now go forth and conquer that kitchen! You’ve totally got this. And maybe save me a slice? Just kidding… mostly. 😉 Enjoy your masterpiece!


