So, you’re craving something warm, gooey, and absolutely bursting with chocolatey goodness, but you’re also kinda… well, lazy? Same. Don’t worry, friend, you’ve landed in the right spot! We’re about to make those iconic, chewy, perfectly-sweet-with-a-hint-of-crisp Chips Ahoy-style cookies right in your own kitchen. Get ready for some serious nostalgia and even more serious deliciousness!
Why This Recipe is Awesome
Let’s be real, who has time for complicated recipes when a cookie craving hits? Not me, and probably not you. This recipe is your new BFF because it’s:
- Stupidly simple: Seriously, if you can measure and stir, you can make these. It’s practically foolproof. (Even I haven’t messed it up, and that’s saying something).
- Nostalgia in a bite: It captures that specific chewy-with-a-slight-crunch, perfectly sweet, loads-of-chocolate chip vibe of the classic Chips Ahoy.
- Way better than store-bought: Fresh out of the oven? Come on, nothing beats that. Plus, you get to lick the bowl. Don’t deny it.
Ingredients You’ll Need
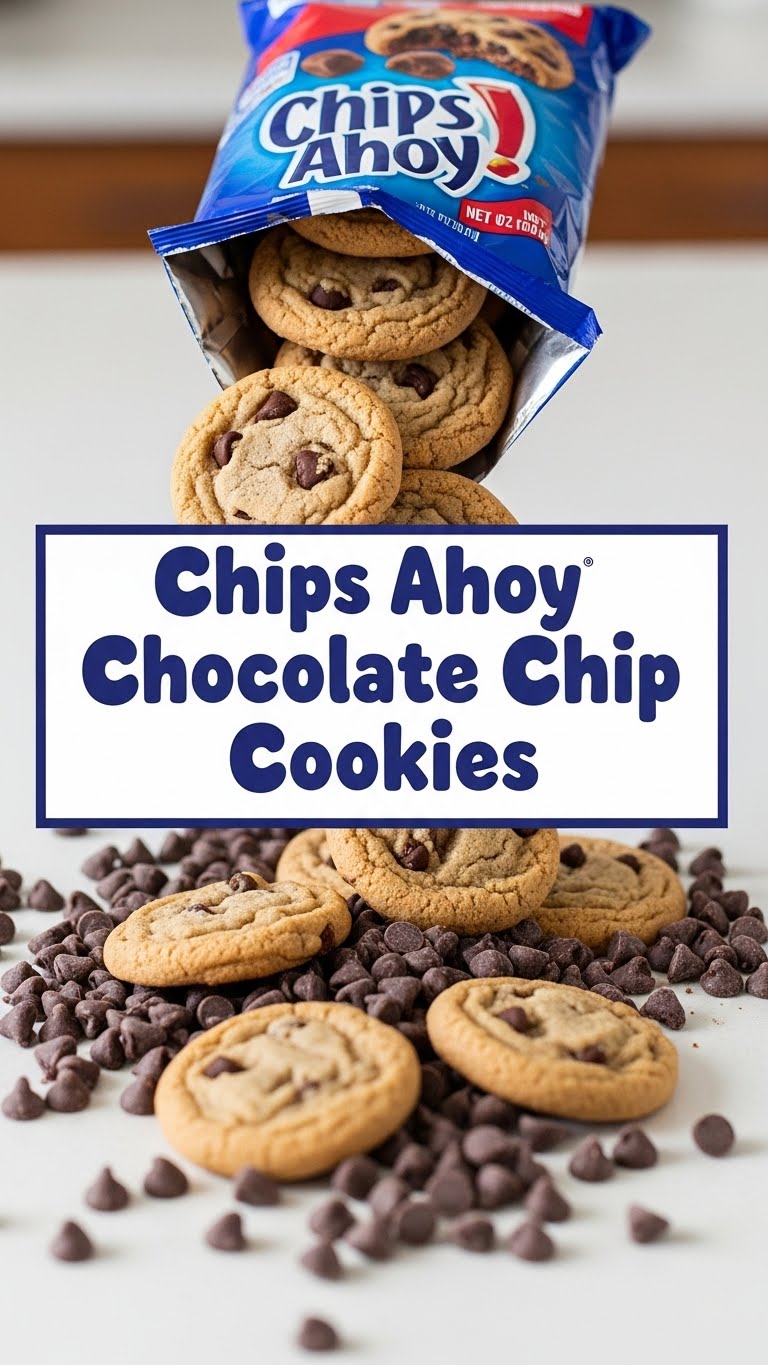
Gather your cookie arsenal, chef:
- 2 ¼ cups (270g) All-purpose flour: The backbone of all good cookies. Don’t be fancy, just regular.
- 1 tsp baking soda: Our little magic potion for that perfect rise.
- 1 tsp salt: Because even sweet things need a little sass.
- 1 cup (226g) unsalted butter: Softened, please. Don’t even think about margarine unless you want a sad cookie. Just kidding (mostly).
- ¾ cup (150g) granulated sugar: For that classic sweetness.
- ¾ cup (165g) light brown sugar: The secret to chewiness! Pack it in there.
- 2 large eggs: Room temp, if you’re feeling fancy. If not, whatever, they’ll still work.
- 2 tsp vanilla extract: A splash of pure joy.
- 2 cups (340g) semi-sweet chocolate chips: The star of the show! Use good quality ones, you deserve it. Go wild, maybe even mix in some milk chocolate.
Step-by-Step Instructions
- Prep Time! Preheat your oven to 375°F (190°C) and line a couple of baking sheets with parchment paper. Trust me, parchment paper is your friend for easy cleanup and no sticking.
- Dry Mix: In a medium bowl, whisk together your flour, baking soda, and salt. Set it aside for a sec.
- Wet Mix Part 1: In a large bowl, cream together the softened butter, granulated sugar, and brown sugar until it’s light and fluffy. This usually takes a few minutes with an electric mixer, so get those arm muscles ready or unleash your stand mixer.
- Wet Mix Part 2: Beat in the eggs, one at a time, making sure each is fully incorporated before adding the next. Then, stir in that glorious vanilla extract.
- Combine Forces: Gradually add the dry ingredient mix to the wet ingredients, mixing on low speed (or by hand) until just combined. Don’t overmix, or your cookies will be tough – nobody wants tough cookies!
- Chocolate Time! Fold in your semi-sweet chocolate chips. Be generous, this is where the magic happens!
- Scoop ’em Up: Drop rounded tablespoons of dough onto your prepared baking sheets, leaving a couple inches between each. They need their personal space to spread out.
- Bake Away! Bake for 9-11 minutes, or until the edges are golden brown but the centers still look a little soft. This is absolutely key for that signature chewy center!
- Cool Down: Let them cool on the baking sheets for 5 minutes before transferring them to a wire rack to cool completely. (Or, you know, eat one hot and burn your tongue. Your call.)
Common Mistakes to Avoid
Listen up, buttercup, we’re here to make awesome cookies, not mediocre ones. Steer clear of these:
- Overmixing the dough: This is a cardinal sin, folks! Overmixing develops gluten, leading to tough, cakey cookies. We want chewy, not chewy-like-leather.
- Using cold butter: Your butter needs to be properly softened for proper creaming. Cold butter will give you lumpy dough and sad, flat cookies. Plan ahead, okay?
- Skipping the parchment paper: Oh, you think you’re above non-stick cookies, do you? Good luck prying those babies off your pan without it. Seriously, use it.
- Baking too long: Rookie mistake! If you wait until the entire cookie looks “done” and firm, it’s probably overbaked. Pull them out when the edges are golden and the center still looks slightly underbaked. They’ll continue to cook a bit on the hot tray.
- Eating all the dough before baking: I mean, I get it. It’s tempting. But save some for the actual cookies, okay? We’re trying to make a batch here.
Alternatives & Substitutions
Feeling a little rebellious? Here are some simple tweaks:
- Chocolate Chips: IMO, semi-sweet is best here, but feel free to mix in some milk chocolate chips, dark chocolate chunks, or even a handful of white chocolate chips if you dare. Mini chips work great for that classic Chips Ahoy look!
- Butter: While I strongly recommend real butter for flavor and texture, if you’re in a pinch, a good quality plant-based butter substitute *might* work. Just don’t expect the exact same rich taste. Margarine is a last, *last* resort.
- Flour: All-purpose is king for this recipe. I haven’t tested this with gluten-free flour, but if you do, let me know how it goes! (No promises on the “exact” texture).
- Add-ins: Want to get wild? A pinch of cinnamon, a swirl of peanut butter chips, or even chopped nuts could be fun. But for that true Chips Ahoy vibe, keep it pure chocolate.
FAQ (Frequently Asked Questions)
- My cookies came out flat! What did I do wrong?
Could be a few things! Did you use softened butter (not melted)? Is your baking soda fresh and active? Was your oven temperature accurate? Sometimes flat cookies mean your butter was too warm or you didn’t measure your flour correctly. A quick chill of the dough can sometimes help if it’s too warm!
- Can I use margarine instead of butter?
Well, technically yes, but why hurt your soul like that? Butter provides a richer flavor and better texture that margarine just can’t quite replicate. If you absolutely must, use a high-quality margarine, but be warned, it’s not quite the same cookie experience.
- Do I have to chill the dough?
For this recipe, nope! One of its awesome points is that it’s a no-chill situation. That said, if you *want* slightly thicker, chewier cookies with a bit more depth of flavor, a 30-minute chill won’t hurt. It’s purely optional!
- How long do these cookies last?
LOL. In my house, about 24 hours. But seriously, stored in an airtight container at room temperature, they’re good for 3-5 days. If they even last that long, you’re a stronger person than me.
- Can I freeze the dough?
Absolutely! Scoop the dough into balls onto a parchment-lined tray and freeze until solid. Then transfer to a freezer bag. When you’re ready to bake, just pop them on a baking sheet (no need to thaw) and add an extra minute or two to the baking time. Future you will definitely thank you for this foresight!
- What if I don’t have brown sugar?
You can technically make your own by adding a tablespoon of molasses to a cup of white sugar and mixing thoroughly. Or, for a slightly less chewy cookie, you can use all granulated sugar, but you’ll miss out on some of that signature chewiness and depth of flavor. Just FYI!
Final Thoughts
Alright, my friend, you’ve officially got the power to create a batch of chocolate chip cookies that will make everyone think you’re a culinary genius. Or at least that you bought them from a really good bakery. Now go forth and spread that chocolatey joy! You’ve earned those bragging rights (and that warm cookie).


