So you’re craving something tasty but too lazy to spend forever in the kitchen, huh? Same. We’ve all been there: staring into the fridge, contemplating ordering takeout, and then the sheer genius idea hits you – “What if I just… made it myself?” And specifically, what if “it” was gloriously sticky, sweet, and tangy orange chicken that tasted like a hug from a panda? Yes, that kind of genius.
Why This Recipe is Awesome
Okay, buckle up, buttercup, because this isn’t just *any* orange chicken recipe. This is THE orange chicken recipe. Why? Let me count the ways:
- It’s practically **idiot-proof**. Seriously, even I didn’t mess it up, and my track record with kitchen exploits is… storied.
- It’s **faster than delivery**. By the time you’ve picked up your phone, debated menu options, and waited for the delivery guy, you could have already eaten this. True story.
- **Better than takeout**, hands down. You control the fresh ingredients, the sweetness, the crispiness. No mystery meat, no excessive oil, just pure deliciousness.
- It makes you look like a **culinary wizard**. Your friends/family/dog will be impressed. You’re welcome.
Ingredients You’ll Need
No need for fancy stuff here, just everyday heroes ready to transform into pure magic. Don’t worry, I won’t judge your choice of chicken cut.
For the Crispy Chicken:
- Chicken: About 1.5 lbs boneless, skinless chicken thighs or breasts, cut into 1-inch pieces. Thighs for maximum juiciness, breasts if you’re feeling lean. Choose your fighter!
- Egg: 1 large egg, lightly beaten. This is our sticky glue.
- Cornstarch: ½ cup. The magic dust for that glorious crispy coating.
- Oil for Frying: About 2 cups vegetable, canola, or peanut oil. Enough to submerge those little chicken nuggets.
For the Zesty Orange Sauce:
- Orange Juice: ¾ cup. Freshly squeezed is amazing, but good quality carton OJ works too.
- Orange Zest: 1 tablespoon. **Do NOT skip this!** This is where the real “orange” flavor lives. Your soul will thank you.
- Soy Sauce: ¼ cup. Low sodium if you’re watching your salt.
- Rice Vinegar: 2 tablespoons. Adds that perfect tangy kick.
- Sugar: ¼ cup. Or a bit more/less to your sweet preference.
- Fresh Ginger: 1 tablespoon, grated. Punchy goodness.
- Fresh Garlic: 2 cloves, minced. Because garlic. Always garlic.
- Cornstarch Slurry: 1 tablespoon cornstarch mixed with 2 tablespoons cold water. Our thickening agent superhero.
- (Optional but Recommended!) Red Pepper Flakes: ¼ teaspoon, or to taste, if you like a little zing.
For Garnish (make it pretty!):
- Green Onions: Sliced, for a pop of color and freshness.
- Sesame Seeds: Toasted, for extra crunch and fanciness.
Step-by-Step Instructions
Alright, apron on (or don’t, I’m not your mom), let’s get cooking! These steps are super simple, promise.
- Prep the Chicken: Grab your chicken pieces. Pat them super dry with a paper towel – this is key for crispiness! In a bowl, toss the chicken with the beaten egg until fully coated. Then, in another bowl, toss the egg-coated chicken with the ½ cup cornstarch until each piece is dusted like it’s ready for a fancy ball.
- Fry the Chicken: Heat your oil in a large pot or deep skillet over medium-high heat until it reaches about 350-375°F (175-190°C). If you don’t have a thermometer, drop a tiny bit of cornstarch in; if it sizzles vigorously, you’re good to go. Fry the chicken in batches – **do not overcrowd the pan!** This is a rookie mistake that leads to soggy chicken. Fry for 3-5 minutes per batch, until golden brown and crispy. Scoop them out with a slotted spoon and place on a wire rack over paper towels to drain.
- Whip Up the Sauce: While the chicken’s frying (or after, if you prefer less multitasking), whisk together the orange juice, orange zest, soy sauce, rice vinegar, sugar, grated ginger, minced garlic, and red pepper flakes (if using) in a medium saucepan. Bring it to a simmer over medium heat, stirring occasionally.
- Thicken the Sauce: Once simmering, give your cornstarch slurry a quick re-whisk (cornstarch settles!). Slowly pour it into the simmering sauce, whisking constantly. Continue to cook and whisk for about 1-2 minutes until the sauce thickens nicely. It should coat the back of a spoon.
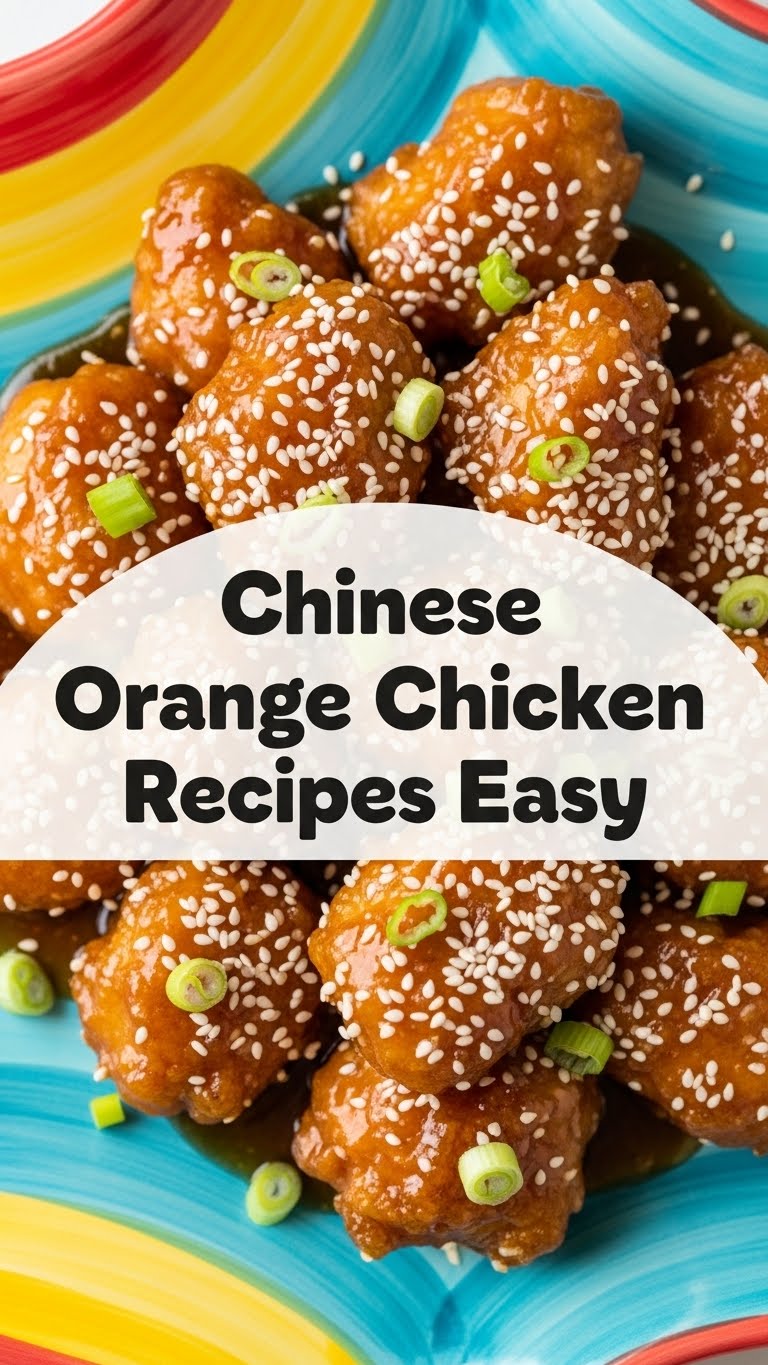
- Combine & Serve: Now for the grand finale! Add all your crispy chicken pieces directly into the sauce. Toss gently until every piece is glistening and coated. Serve immediately over white rice, brown rice, or even some yummy noodles. Garnish with those lovely green onions and toasted sesame seeds.
Common Mistakes to Avoid
Listen, we all make mistakes. But some mistakes are just… avoidable. Learn from my past kitchen dramas!
- Overcrowding the Frying Pan: I mentioned it once, I’ll mention it a thousand times. You want crispy chicken, not steamed chicken. Give those pieces some breathing room!
- Skipping the Zest: Seriously, the sauce without zest is just… sweet and savory. The zest is the “orange” in “orange chicken.” Your palate will thank you.
- Not Drying the Chicken: Wet chicken + hot oil = splatter-fest and less crispy chicken. Pat it dry, my friend.
- Forgetting the Cornstarch Slurry: Oh, you want watery sauce? No? Then don’t forget to mix cornstarch with cold water before adding it to your simmering sauce. Hot water will clump it!
- Setting Off the Smoke Alarm: Keep an eye on that oil! Too hot and your chicken burns before it cooks through. Medium-high is usually perfect.
Alternatives & Substitutions
Feeling rebellious? Or just ran out of something? Here are some simple swaps:
- Protein Power-Ups: Instead of chicken, try this with cubed firm tofu (press it really well first!), shrimp, or even pork tenderloin. Just adjust cooking times!
- Orange Juice Swap: If you’re out of OJ (gasp!), pineapple juice can give a similar sweet-tart vibe for a tropical twist. It won’t be orange chicken, but it’ll be delicious.
- Vinegar Vibes: No rice vinegar? Apple cider vinegar can pinch-hit, but use slightly less as it’s stronger.
- Sugar Rush: Honey or maple syrup can replace granulated sugar for a slightly different sweetness profile. Start with a bit less and taste.
- Ginger/Garlic Dilemma: Fresh is always best, but if you’re in a bind, a small dash of ginger powder and garlic powder can work. Just remember, the flavor won’t be as vibrant.
**FYI:** Don’t swap EVERYTHING, or you’ll end up with a completely different dish. Unless that’s your goal, in which case, you do you!
FAQ (Frequently Asked Questions)
Got questions? I’ve got answers. Mostly.
- Can I bake or air fry the chicken instead of deep frying?
Absolutely! For air frying, spray generously with oil and cook at 400°F (200°C) for 15-20 minutes, flipping halfway. For baking, bake on a greased baking sheet at 400°F (200°C) for 20-25 minutes, flipping halfway. It won’t be *quite* as crispy as deep-fried, but it’s still delish! - How long does orange chicken last in the fridge?
Leftovers are good for about 3-4 days in an airtight container. Though, let’s be real, you’ll probably finish it sooner. - Can I make the sauce ahead of time?
Totally! Make the sauce, let it cool, and store it in the fridge for up to a week. When you’re ready to eat, just reheat it gently and then toss with freshly cooked chicken. - Is this recipe spicy?
Not usually! The red pepper flakes are optional. If you like heat, feel free to add more! If not, skip ’em. Easy peasy. - My sauce is too thick/too thin! Help!
Too thick? Whisk in a tablespoon of water or orange juice until it reaches your desired consistency. Too thin? Make a tiny extra cornstarch slurry (1 tsp cornstarch + 2 tsp cold water) and whisk it into the simmering sauce until it thickens. - What should I serve with orange chicken?
Steamed white rice, brown rice, fried rice, lo mein noodles, or some simple steamed broccoli or green beans for a pop of healthy green!
Final Thoughts
And there you have it! You’ve just whipped up a restaurant-worthy orange chicken that’s bound to make you feel like a total kitchen rockstar. No sad takeout containers in sight! Go ahead, pat yourself on the back, take a victory photo (and maybe send it to me?), and then devour your creation.
Now go impress someone – or just yourself – with your new culinary skills. You’ve earned it! Happy cooking, my friend!


