So you’re craving something tasty but too lazy to spend forever in the kitchen, huh? Same. High five, friend. We’ve all been there – staring into the fridge, wishing a Michelin-star chef would magically appear. Well, guess what? You’re about to become your *own* culinary wizard, at least for tonight. And it’s going to be glorious, I promise.
Why This Recipe is Awesome
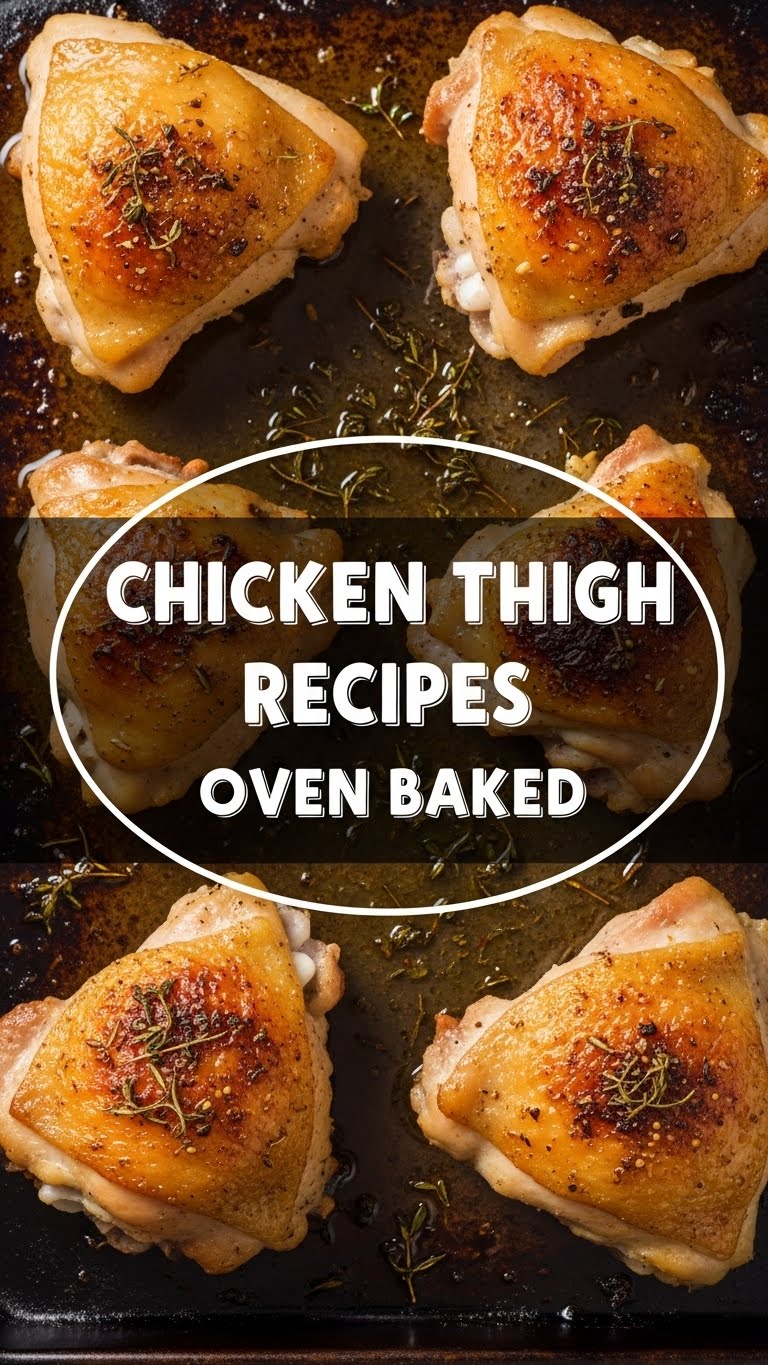
Okay, let’s be real. This isn’t just a recipe; it’s a life hack. Why? Because it’s utterly, ridiculously simple. We’re talking set-it-and-forget-it levels of chill. You toss some chicken thighs on a tray, season ’em up, and let your oven do the heavy lifting. The result? Juicy, tender chicken with that *chef’s kiss* crispy skin that’ll make you feel like you actually know what you’re doing. It’s idiot-proof, even I didn’t mess it up. Plus, cleanup? Minimal. Which, IMO, is half the battle won.
Ingredients You’ll Need
Gather your troops! Here’s what you’ll need to make magic happen:
- 6-8 bone-in, skin-on chicken thighs: Because flavor, baby! And crispy skin is non-negotiable.
- 2 tablespoons olive oil: Your trusty lubricant for maximum deliciousness.
- 1 teaspoon salt: The OG flavor enhancer. Don’t skimp!
- 1/2 teaspoon black pepper: Freshly ground if you’re feeling fancy (you probably aren’t, and that’s fine).
- 1 tablespoon garlic powder: Because garlic makes everything better. And powder is easier than mincing when you’re in lazy mode.
- 1 teaspoon smoked paprika: For that lovely color and a hint of smoky goodness.
- 1/2 teaspoon onion powder: Garlic’s best buddy.
- Optional flavor boosters: A pinch of dried thyme, rosemary, or a squeeze of lemon juice after baking if you’re feeling extra.
Step-by-Step Instructions
Alright, let’s get cooking! Follow these super simple steps:
- Preheat your oven: Crank that baby up to 400°F (200°C). Don’t skip this, it’s crucial for crispiness!
- Prep the chicken: Grab those thighs and pat them DRY with paper towels. Seriously, this step is key for that crispy skin we all crave.
- Seasoning fiesta: In a small bowl, mix together the olive oil, salt, pepper, garlic powder, smoked paprika, and onion powder. If you’re using other dried herbs, toss ’em in now too.
- Coat your chicken: Place the dry chicken thighs in a large bowl or directly on your baking sheet. Drizzle the seasoning mix all over and rub it in. Get in there, give those thighs a good massage! Make sure they’re all evenly coated.
- Arrange for success: Lay the seasoned chicken thighs on a baking sheet, skin-side up. Make sure they’re not touching each other too much; they need their personal space for air circulation to get crispy.
- Bake away: Pop the baking sheet into your preheated oven. Bake for 35-45 minutes, or until an internal temperature of 175°F (80°C) is reached at the thickest part of the thigh (avoiding the bone).
- Get that extra crisp: If your skin isn’t as crispy as you’d like, you can blast it under the broiler for 2-3 minutes at the very end. Watch it like a hawk though! Broilers are ruthless.
- Rest and devour: Take the chicken out of the oven and let it rest for 5-10 minutes. This lets the juices redistribute, making it even more tender. Then, dig in!
Common Mistakes to Avoid
Don’t be that person! Avoid these common pitfalls for oven-baked chicken perfection:
- Not patting the chicken dry: Rookie mistake! Wet skin means soggy skin, and no one wants that.
- Overcrowding the pan: If your chicken thighs are cuddling, they’re steaming, not roasting. Give them space!
- Forgetting to preheat the oven: You wouldn’t jump into a cold pool, would you? Your chicken deserves a warm welcome for proper cooking and browning.
- Eyeballing the doneness: Invest in a meat thermometer, my friend. It takes all the guesswork out and prevents dry, overcooked chicken (or worse, undercooked!). Aim for that 175°F (80°C) sweet spot.
Alternatives & Substitutions
Feeling a little adventurous, or just missing an ingredient? No stress, we can totally improvise!
- Seasoning Swaps: Not a fan of paprika? Try Italian seasoning, a sprinkle of cayenne for a kick, or even a pre-made lemon-herb blend. IMO, store-bought seasoning mixes are a lifesaver for busy nights.
- Veggie Companions: Want a one-pan meal? Chop up some potatoes, carrots, bell peppers, or broccoli, toss them with a little olive oil and salt, and roast them on the same tray alongside your chicken. Just add them halfway through the cooking time so they don’t get mushy.
- Boneless/Skinless Thighs: You *can* use them, but why deny yourself the crispy skin?! If you do, adjust cooking time down to about 25-30 minutes, and keep an eye on that internal temp. They dry out faster.
- Spice it Up: Add a pinch of red pepper flakes to your seasoning mix for a subtle heat, or a dash of chili powder for a bolder flavor.
FAQ (Frequently Asked Questions)
Got questions? I’ve got (casual) answers!
- How long do chicken thighs usually take to cook?
Generally, 35-45 minutes at 400°F (200°C) for bone-in, skin-on thighs. But honestly, the real answer is “until they hit 175°F (80°C) internal temp.”
- Can I use frozen chicken thighs?
Technically, yes, but you really, *really* should thaw them first. Thawing ensures even cooking and better crispy skin. Plus, seasoning frozen chicken is just sad.
- How do I get super crispy skin?
Pat them super dry before seasoning, give them space on the pan, and don’t be afraid to hit them with the broiler for a minute or two at the end (just don’t walk away!).
- What temperature is best for baking chicken thighs?
400°F (200°C) is my go-to. It’s hot enough to get that skin nice and crisp without drying out the meat.
- Can I prep the chicken ahead of time?
Absolutely! Season your chicken thighs and leave them uncovered in the fridge for a few hours (or even overnight). This helps the skin dry out even more for extra crispiness. FYI, it’s a pro move.
- What are some good side dishes for this?
Roasted veggies (as mentioned!), a simple green salad, mashed potatoes, or some fluffy rice are all excellent choices. Basically, anything that can soak up those delicious chicken juices!
Final Thoughts
See? I told you it was easy! You just whipped up a seriously delicious meal with minimal fuss. Your kitchen isn’t a disaster zone, you probably still have energy to binge-watch that new show, and your taste buds are doing a happy dance. Now go impress someone—or yourself—with your new culinary skills. You’ve earned it!


