So you’re staring into the fridge, contemplating ordering takeout, but then a little voice whispers, “You *could* make something tasty and actually feel good about it.” Yeah, I hear that voice too. Especially when it comes to chicken tenders. We all love ’em, but who wants all that greasy guilt? Not us, friend. We’re going for baked, crispy, gloriousness that’s so good, you’ll wonder if you secretly became a chef overnight. (Spoiler: you kinda did.)
Why This Recipe is Awesome
Okay, let’s get real. This isn’t just *another* chicken tender recipe. This is the “I’m busy, I’m hungry, and I refuse to compromise on deliciousness” recipe. Here’s why it’s about to become your new best friend:
- It’s ridiculously easy. Seriously, it’s idiot-proof. Even I didn’t mess it up, and my kitchen skills usually involve setting off the smoke detector.
- Baked, not fried! Less mess, less oil, less guilt. More crispy, golden perfection. It’s practically health food, IMO.
- Quick cleanup. One baking sheet? Yes, please. Your future self will thank you.
- Super versatile. Pair it with literally anything. Fries, salad, mac ‘n’ cheese (because balance). Dipping sauces? The world is your oyster.
Ingredients You’ll Need
Gather ’round, fellow culinary adventurers! Here’s your shopping list. Don’t worry, it’s mostly stuff you probably already have lurking in your pantry.
- 1-1.5 lbs Boneless, Skinless Chicken Tenders: The star of our show! If you can only find breasts, just slice ’em into tender-sized strips. Easy peasy.
- 1/2 cup All-Purpose Flour: Our first dredging layer. Just regular old flour, nothing fancy.
- 2 Large Eggs: Beaten. They’re the glue that holds all the deliciousness together.
- 1.5 cups Panko Breadcrumbs: This is key for that epic crispiness. Don’t skimp here! Regular breadcrumbs work, but panko takes it to the next level.
- 1 teaspoon Garlic Powder: Because garlic makes everything better, duh.
- 1 teaspoon Paprika: Adds color and a subtle smoky warmth. You can use smoked paprika for extra oomph.
- 1/2 teaspoon Onion Powder: Another flavor booster.
- 1/2 teaspoon Salt: A must!
- 1/4 teaspoon Black Pepper: Freshly ground if you’re feeling fancy.
- 2 tablespoons Olive Oil or Melted Butter: For drizzling over the tenders to help them get super crispy and golden.
Step-by-Step Instructions
Alright, apron on (or not, we don’t judge). Let’s get these tenders baked!
- Preheat & Prep: Set your oven to a nice cozy 400°F (200°C). Line a baking sheet with parchment paper or foil for super easy cleanup. If you have a wire rack that fits inside the baking sheet, even better for extra crispiness!
- Set Up Your Dredging Station: Grab three shallow dishes.
- In the first dish, put your flour.
- In the second, whisk those eggs.
- In the third, combine the panko breadcrumbs, garlic powder, paprika, onion powder, salt, and pepper. Give it a good stir to mix all those spices evenly.
- Get Breading! Take one chicken tender at a time. First, dredge it in the flour, shaking off any excess. Next, dip it into the beaten egg, letting any extra drip off. Finally, really press it into the panko mixture, making sure it’s completely coated. Give it a good squeeze to ensure the breading sticks.
- Line ‘Em Up: Place the coated tenders in a single layer on your prepared baking sheet (or wire rack). Make sure they’re not touching so they can crisp up properly.
- Drizzle for Delight: Drizzle the olive oil or melted butter over the tops of the tenders. This is our secret weapon for that golden-brown, crispy exterior!
- Bake It Up: Pop the baking sheet into your preheated oven. Bake for 18-22 minutes, flipping them halfway through (around the 10-minute mark), until they’re golden brown and cooked through. To be super sure, the internal temperature should hit 165°F (74°C).
- Rest & Serve: Once they’re done, take them out of the oven and let them rest for a few minutes. This helps the juices redistribute, keeping them tender. Serve hot with your favorite dipping sauces!
Common Mistakes to Avoid
Look, we all make mistakes. It’s part of the journey! But here are a few rookie errors to sidestep for tender-making glory:
- Not Preheating the Oven: This isn’t a suggestion, it’s a command! A cold oven means soggy tenders. Don’t do it.
- Overcrowding the Pan: I know, you want to cook them all at once. But if they’re too close, they steam instead of crisp. Give those tenders some breathing room! Use two baking sheets if you need to.
- Forgetting to Season the Breading: Bland tenders? No thanks. The spices in the panko are crucial for flavor. Don’t skip them!
- Skipping the Oil Drizzle: That little bit of olive oil or butter is what helps achieve that beautiful golden crisp. Without it, they might just be…dry.
- Not Flipping Them: While a wire rack helps, flipping ensures both sides get equally crispy and golden. Give ’em some love.
Alternatives & Substitutions
Feeling creative? Or maybe you’re just missing an ingredient (it happens to the best of us). Here are some easy swaps:
- Breadcrumbs: No panko? Regular breadcrumbs work fine, just know they might be a little less crispy. For gluten-free, use GF panko or crushed GF crackers/cornflakes.
- Flour: Any all-purpose flour will do. For gluten-free, use GF all-purpose flour or even cornstarch.
- Spices: Mix and match! Add a pinch of cayenne for heat, Italian seasoning for an herb-y twist, or chili powder for a smoky kick. Get wild with it!
- Oil/Butter: Avocado oil, grapeseed oil, or even cooking spray can work in a pinch for that crisp factor.
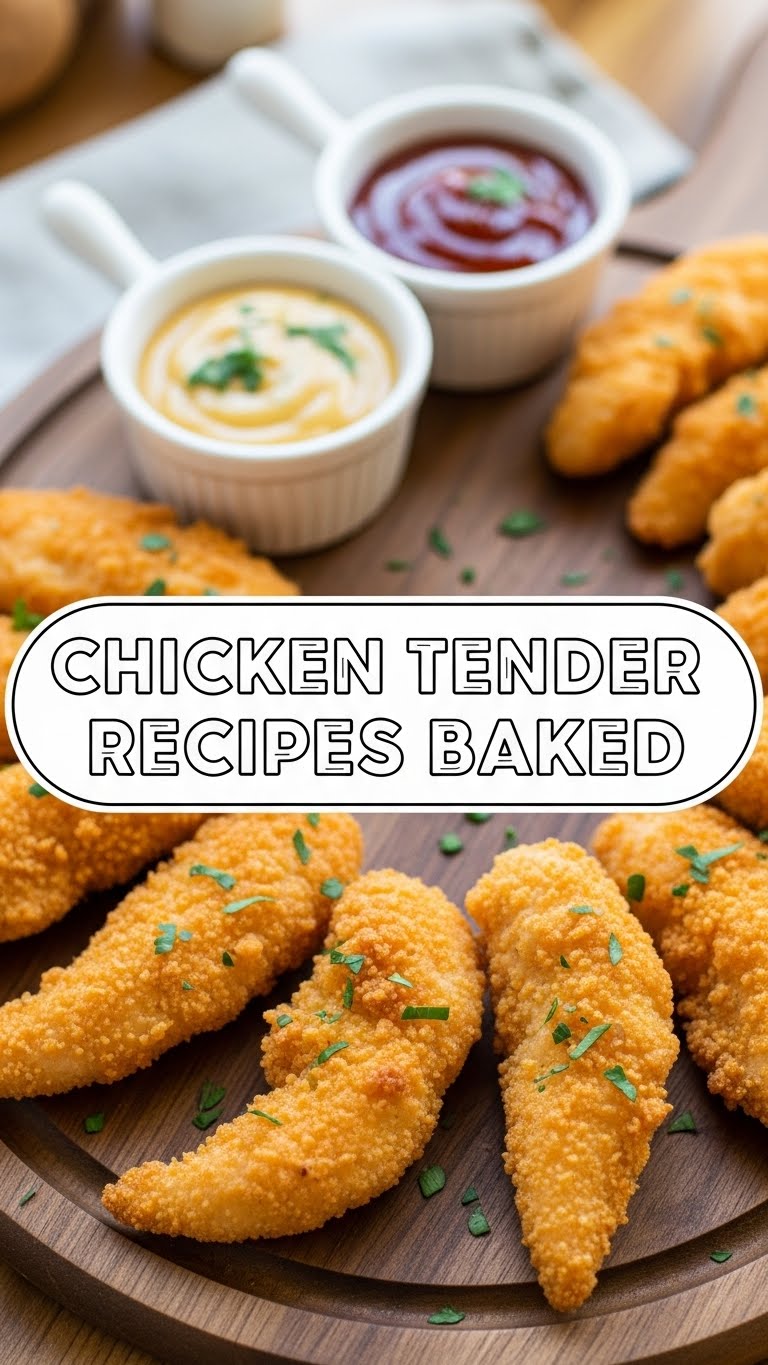
- Dipping Sauce Ideas: Ketchup (classic!), ranch, honey mustard, BBQ sauce, or even a homemade aioli. Don’t be shy!
FAQ (Frequently Asked Questions)
Got questions? I’ve got (casual and hopefully witty) answers!
- Can I use frozen chicken tenders? Well, technically you *can*, but they need to be fully thawed first! Trying to bread and bake frozen chicken is just asking for a soggy mess and uneven cooking. Thaw ’em out, friend!
- How do I know if they’re fully cooked? The best way is with a meat thermometer; it should read 165°F (74°C). If you don’t have one, cut into the thickest part of a tender—there should be no pink, and the juices should run clear.
- Can I make these in an air fryer? OMG, YES! Air fryers are magic for this. Cook at 375°F (190°C) for about 12-15 minutes, flipping halfway. They get extra crispy!
- What’s the best way to reheat leftovers? The oven is your friend here, not the microwave (unless you like rubbery chicken). Pop them back in a 350°F (175°C) oven or an air fryer for 5-10 minutes until heated through and crispy again.
- Can I prepare them ahead of time? You can bread them and store them in the fridge for a few hours before baking. Just place them on a plate lined with parchment paper, cover loosely, and chill. Any longer, and the breading might get a bit soggy.
Final Thoughts
See? You just whipped up a batch of incredibly delicious, crispy baked chicken tenders without breaking a sweat (or the bank). You’re basically a culinary genius in disguise. So go on, bask in the glory of your perfectly golden, tender creation. You’ve earned it! Now go impress someone—or just yourself—with your new culinary skills. You rock!


