So you’re craving something crispy, satisfying, and utterly delicious, but the thought of spending an hour (or more!) slaving away in the kitchen makes you want to just order pizza instead, huh? Same, friend, **same**. You want tasty, you want easy, and you definitely want it to fit your keto lifestyle without feeling like you’re eating cardboard. Well, buckle up, buttercup, because we’re about to make some chicken tenders that are so good, you’ll forget they’re actually healthy-ish!
Why This Recipe is Awesome
Let’s be real: life is too short for bland food or complicated instructions. This recipe? It’s your new culinary bestie. It’s ridiculously fast, requires minimal effort, and the taste-to-effort ratio is off the charts. Seriously, it’s so idiot-proof, even I didn’t mess it up on the first try (and my kitchen is usually a disaster zone). Plus, it’s low-carb, high-flavor, and totally satisfies that crunchy craving without kicking you out of ketosis. Win-win-win, if you ask me!
Ingredients You’ll Need
- Chicken Tenders: About 1 lb (around 8-10 pieces). These are the superstars, so make sure they’re, you know, chicken-y.
- Almond Flour: 1/2 cup. Your keto MVP for that perfect crispy coating. **Do NOT substitute with coconut flour** unless you enjoy eating dry, dusty chicken (more on that later).
- Parmesan Cheese (finely grated): 1/4 cup. The real deal, please. None of that pre-shredded stuff that tastes like sadness.
- Eggs: 2 large. Our humble binder, holding all that deliciousness together.
- Spices: 1 tsp garlic powder, 1 tsp onion powder, 1/2 tsp paprika (smoked paprika if you’re feeling fancy!), 1/2 tsp salt, 1/4 tsp black pepper. This is your flavor arsenal, don’t skimp!
- Avocado Oil or Olive Oil: About 2-3 tablespoons for pan-frying. Or enough for a shallow fry, your call.
Step-by-Step Instructions
- Prep Your Station: Grab three shallow dishes. In the first, whisk your eggs until they’re nice and frothy. In the second, combine your almond flour, Parmesan, garlic powder, onion powder, paprika, salt, and pepper. Give it a good mix. The third dish is for your soon-to-be-coated chicken.
- Get Dippin’: Take one chicken tender and dip it into the egg wash, ensuring it’s completely covered. Let any excess egg drip off.
- Coat it Up: Immediately transfer the eggy chicken to your almond flour mixture. Now, here’s the crucial part: **Press firmly on all sides** to make sure that glorious breading really sticks! You want a nice, even coat, like your chicken is wearing its best crispy suit. Repeat with all tenders.
- Heat Things Up: Heat your oil in a large skillet over medium-high heat. You’re looking for it to shimmer a bit, but not smoke. We’re frying, not starting a bonfire.
- Cook ‘Em Crispy: Carefully place the coated chicken tenders into the hot oil, making sure not to overcrowd the pan. You might need to do this in batches. Cook for 3-5 minutes per side, or until they’re beautifully golden brown and cooked through (internal temp of 165°F / 74°C).
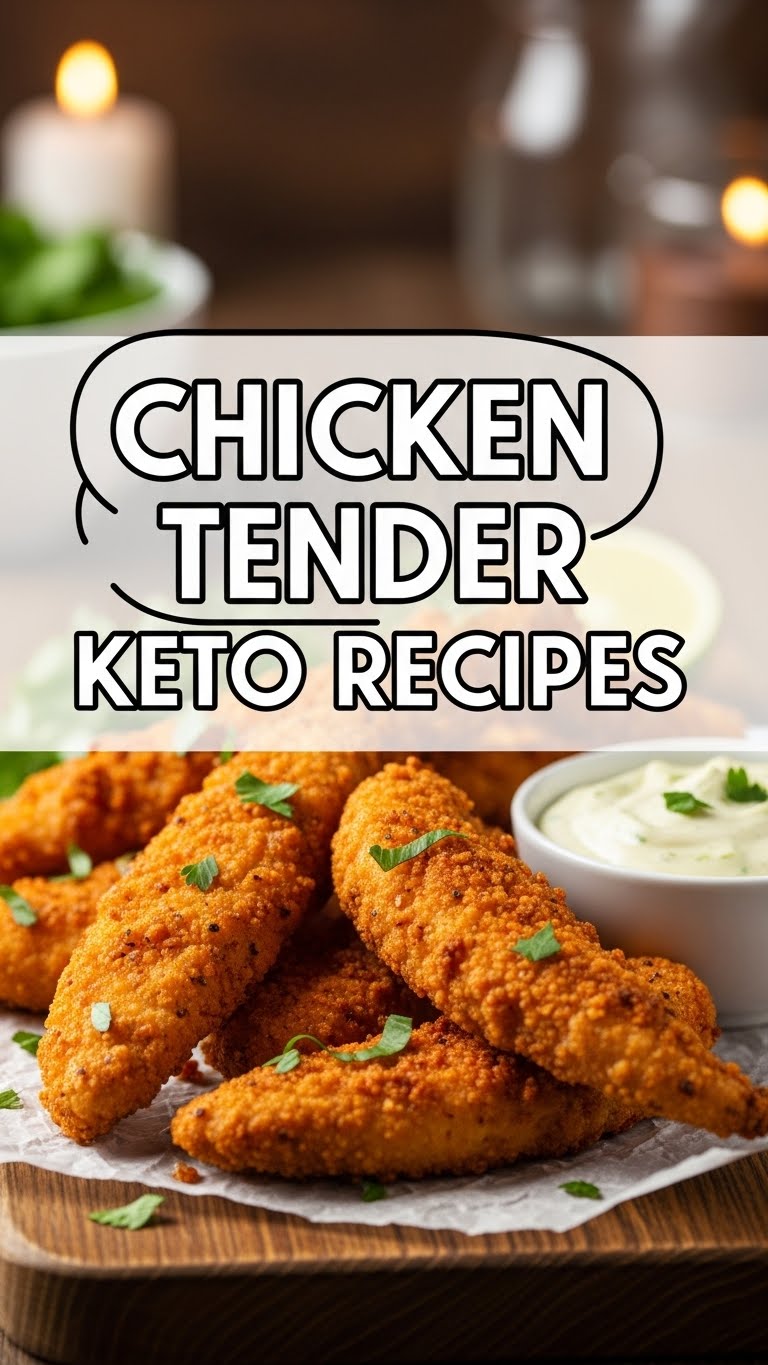
- Serve & Devour: Transfer the cooked tenders to a plate lined with paper towels to drain any excess oil. Serve immediately with your favorite keto-friendly dipping sauce (Ranch, anyone?).
Common Mistakes to Avoid
- Not Pressing the Coating: Seriously, this is a biggie. If you just gently roll the chicken in the flour, it’ll fall off faster than your New Year’s resolutions. **Press. Firmly.**
- Overcrowding the Pan: I know you’re eager, but resist the urge! Too many tenders at once will drop the oil temperature, leading to soggy chicken instead of crispy perfection. Cook in batches, IMO.
- Not Preheating the Oil Enough: Cold oil = greasy chicken. Hot oil (but not smoking!) = crispy, happy chicken. Pay attention to that shimmer.
- Forgetting to Season the Breading: Bland breading is a crime against deliciousness. Don’t let your chicken be a victim of blandness.
Alternatives & Substitutions
Feeling adventurous? Or just out of an ingredient? No worries, I got you!
- Air Fryer Fan? If you have an air fryer, **FYI, this recipe shines in it!** Lightly spray the coated tenders with oil, then air fry at 375°F (190°C) for 10-15 minutes, flipping halfway, until golden and crispy. It’s a game-changer for less mess.
- Different Cheese? Pecorino Romano can step in for Parmesan if you like a sharper, saltier kick.
- Spice It Up: Add a pinch of cayenne pepper to the breading for some heat, or a dash of Italian seasoning for a more herbaceous vibe.
- Baking Option: If frying isn’t your jam, you can bake these! Place coated tenders on a parchment-lined baking sheet, spray lightly with oil, and bake at 400°F (200°C) for 15-20 minutes, flipping halfway, until cooked through and golden. They won’t be *as* crispy as fried, but still delicious!
FAQ (Frequently Asked Questions)
Got questions? I probably already thought of them while munching on my third tender.
- Can I use coconut flour instead of almond flour? Well, technically yes, but prepare for a much drier, denser coating. Coconut flour is super absorbent, so you’d need to seriously adjust the liquid in the egg wash. Stick to almond flour for this recipe, trust me.
- My tenders aren’t getting crispy, what gives? Uh oh! Did you press the coating firmly? Was your oil hot enough? Did you overcrowd the pan? Go back and check those “Common Mistakes” sections. Patience and proper heat are key!
- How do I store leftovers? Pop ’em in an airtight container in the fridge for up to 3-4 days. For best crispiness when reheating, use an air fryer or oven/toaster oven, not the microwave.
- Can I make these spicy? Absolutely! Increase the paprika to a hot variety, add a pinch of cayenne pepper, or serve with a side of sugar-free hot sauce. Spice it up!
- Can I prep these ahead of time? You bet! You can coat the chicken tenders and store them raw in the fridge for a few hours before cooking. Just make sure they’re covered to prevent drying out. You could even freeze them uncooked on a baking sheet, then transfer to a freezer bag for future speedy meals!
Final Thoughts
And there you have it! A super simple, unbelievably tasty, and totally keto-friendly chicken tender recipe that’ll make you feel like a kitchen wizard without actually having to cast any spells. So go ahead, whip up a batch (or five), impress your friends (or just your stomach), and enjoy every crispy, flavorful bite. You’ve earned it, you culinary genius!


