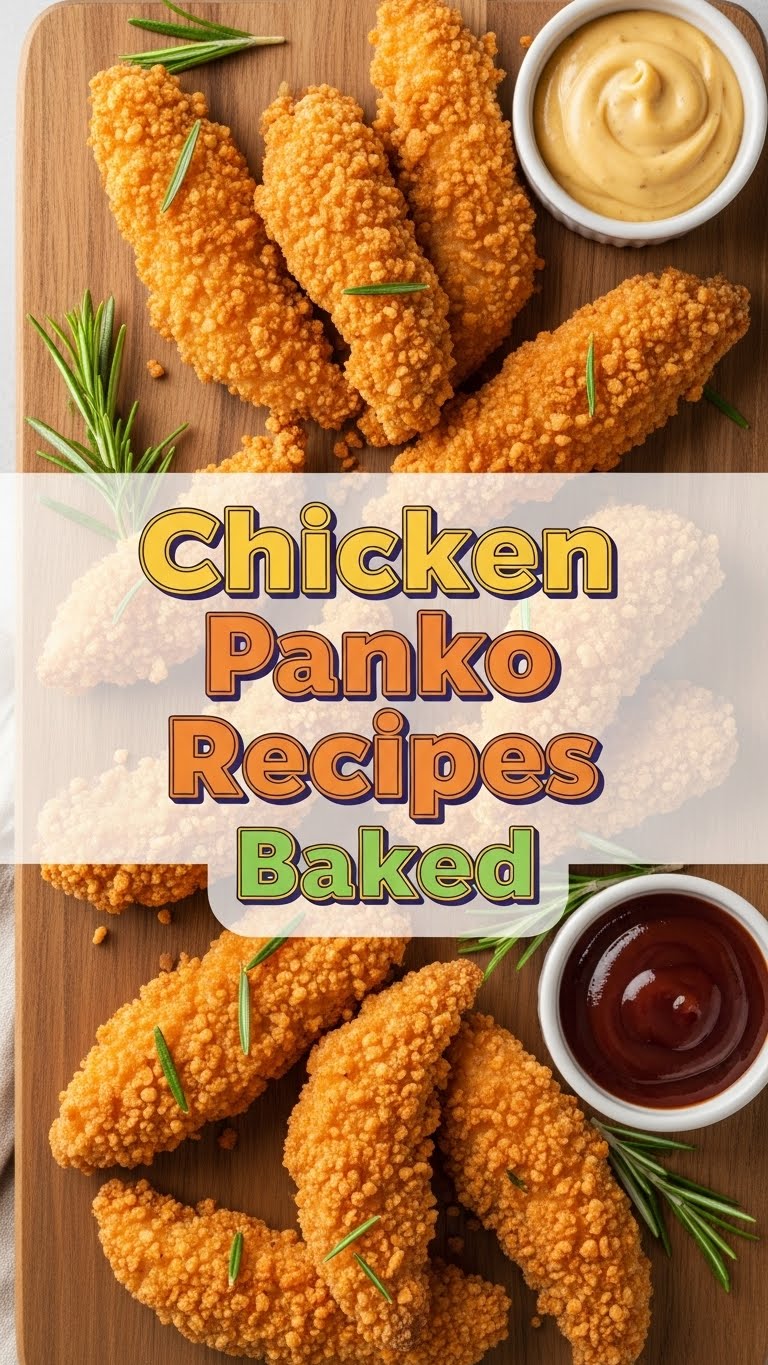
So, you’re staring into the fridge, utterly uninspired, and the thought of another boring chicken dinner makes you want to just order takeout, huh? Been there, bought the T-shirt. But what if I told you we could whip up something ridiculously delicious, satisfyingly crispy, and surprisingly easy? Something that screams “I tried!” but actually whispers “I barely lifted a finger”? Yeah, you heard right. Get ready to meet your new weeknight hero: **Baked Panko Chicken!**
Why This Recipe is Awesome
Okay, let’s be real. We all want food that tastes like a Michelin-star chef made it, but without, you know, actually being a Michelin-star chef or spending half your paycheck on ingredients. This recipe? It’s the ultimate culinary wingman. It’s **foolproof**, even if your cooking expertise peaks at making toast (no judgment, we’ve all been there). You get that glorious crunch you crave, but since we’re baking it, you’re side-stepping the whole “deep-fried guilt trip” entirely. Plus, cleanup is a breeze. Seriously, your future self will thank you. **It’s a win-win-win situation.**
Ingredients You’ll Need
Gather your troops! Don’t worry, nothing too fancy here. You probably have most of this stuff lurking in your pantry already.
- 2 Boneless, Skinless Chicken Breasts: The main event! Cut them in half lengthwise to make thinner cutlets for even cooking, or just pound ’em flat. Think “thin enough to cook quickly, thick enough to still be juicy.”
- 1 cup Panko Breadcrumbs: NOT regular breadcrumbs. Panko is like regular breadcrumbs’ cooler, crispier cousin. Trust me on this.
- ½ cup All-Purpose Flour: Our first layer of adhesion. It’s like the primer before the paint.
- 2 Large Eggs: The sticky glue that holds all that glorious panko on. Whisked, obviously.
- ½ teaspoon Garlic Powder: Because everything is better with garlic.
- ½ teaspoon Paprika: For a little color and warmth. Smoked paprika? Even better, IMO.
- ¼ teaspoon Black Pepper: Freshly ground, if you’re feeling fancy.
- Pinch of Salt: Just enough to wake everything up.
- Olive Oil Spray: Your secret weapon for extra crispiness without the deep-fry drama.
Step-by-Step Instructions
- Preheat & Prep: Crank that oven to **400°F (200°C)**. Line a baking sheet with parchment paper (for easy cleanup, duh!) and place a wire rack on top. Spray the rack lightly with olive oil spray.
- Chicken Time: Pat your chicken breasts super dry with paper towels. This is **CRUCIAL** for crispiness. Cut them in half lengthwise or pound them to about ½-inch thickness. Season both sides with salt and pepper.
- Set Up Your Breading Station: Grab three shallow dishes. In the first, put your flour. In the second, whisk the eggs. In the third, mix the panko with the garlic powder, paprika, and a pinch more salt and pepper.
- Dredge & Coat: Take one chicken cutlet. First, dredge it in the flour, shaking off any excess. Then, dip it into the egg wash, letting any extra drip off. Finally, press it firmly into the panko mixture, making sure it’s **fully coated**. Repeat with all chicken pieces.
- Rack ’em Up: Place the coated chicken on your prepared wire rack on the baking sheet. Give each piece a good spray with olive oil on both sides. Don’t be shy!
- Bake It ‘Til Golden: Bake for **15-20 minutes**. Then, carefully flip the chicken and bake for another **5-10 minutes**, or until it’s beautifully golden brown and crispy, and the internal temperature reaches 165°F (74°C).
- Serve & Enjoy: Let it rest for a couple of minutes before serving. Dive into that crispy, juicy goodness!
Common Mistakes to Avoid
- Skipping the Preheat: Thinking you don’t need to preheat the oven? Rookie mistake! You want that immediate high heat for maximum crisp factor.
- Wet Chicken: If your chicken isn’t thoroughly patted dry, the breading won’t stick properly, and you’ll end up with a sad, soggy situation. Don’t be that person.
- Overcrowding the Pan: Give your chicken some space on the baking sheet. If they’re too close, they’ll steam instead of crisping up. Airflow is your friend!
- Forgetting the Oil Spray: That olive oil spray isn’t just for fun; it helps create that beautiful golden-brown color and crunchy texture. Don’t skimp!
- Using Regular Breadcrumbs: Look, I get it, you might have them. But for this recipe, **Panko is king**. Regular breadcrumbs just don’t deliver the same light, airy crunch.
Alternatives & Substitutions
Feeling adventurous? Or just missing an ingredient? No stress, we can totally tweak this!
- Chicken Thighs: If you’re a dark meat fan, boneless, skinless chicken thighs work just as well! They might need a few extra minutes in the oven, but they’ll be incredibly juicy.
- Seasoning Swaps: Not a fan of paprika? Swap it for onion powder, Italian seasoning, or a pinch of cayenne for some heat. Get creative with what’s in your spice rack!
- Gluten-Free: Many brands now make **gluten-free panko breadcrumbs**! Just swap the flour for a GF all-purpose blend, and you’re golden.
- Dipping Sauces: This chicken is basically a blank canvas for dipping. Think honey mustard, ranch, sriracha mayo, or even a simple squeeze of lemon. Go wild!
FAQ (Frequently Asked Questions)
- Can I air fry this? Heck yes! Air frying is basically baking’s super speedy cousin. Follow the same breading steps, then air fry at 375°F (190°C) for about 12-15 minutes, flipping halfway, until golden and cooked through.
- Do I really need a wire rack? It helps a ton! It allows air to circulate all around the chicken, ensuring an even crispiness on both sides without having to flip as often. If you don’t have one, just bake directly on parchment paper and flip halfway. It’ll still be good, just maybe not *peak* crispy.
- Can I prepare this ahead of time? You can bread the chicken a couple of hours in advance and keep it in the fridge. Just make sure to cover it loosely so the panko doesn’t get soggy. For best results, though, bread right before baking.
- How do I know if the chicken is cooked through? The easiest way is with a meat thermometer! Insert it into the thickest part of the chicken; it should read **165°F (74°C)**. If you don’t have one, cut into the thickest part – no pink allowed!
- What can I serve with this? Anything! A simple side salad, roasted veggies, mashed potatoes, mac and cheese (because why not?), or some fluffy rice. It’s super versatile!
Final Thoughts
And there you have it, folks! Crispy, juicy, utterly delicious baked panko chicken that seriously levels up your dinner game without breaking a sweat. You’ve just unlocked a new super skill: making incredibly tasty food with minimal fuss. Now go impress someone – or, more importantly, yourself – with your new culinary prowess. You’ve earned it!


