So you’re craving something tasty but too lazy to spend forever in the kitchen, huh? Same. We’ve all been there. Good news! Today, we’re diving into the glorious world of chicken legs – specifically, how to make them ridiculously delicious and totally keto-friendly without breaking a sweat (or your carb count). Get ready for some crispy, juicy magic that’s so easy, your dog could probably supervise. Almost.
Why This Recipe is Awesome
Okay, let’s be real. This isn’t just *a* recipe; it’s *the* recipe for those moments when you want maximum flavor with minimum effort. First off, it’s virtually **idiot-proof**. Even I, the queen of kitchen chaos, haven’t managed to mess this up. Plus, chicken legs are super budget-friendly, so you can eat like a king (or queen) without emptying your wallet. They’re naturally high in fat (hello, keto!) and cook up beautifully tender and juicy on the inside, with a glorious, crispy skin on the outside. It’s a one-pan wonder, meaning less clean-up, and honestly, who doesn’t love that?
Ingredients You’ll Need
Gather ’round, my culinary comrades! Here’s your hit list for deliciousness. No fancy stuff, just pure, unadulterated flavor makers:
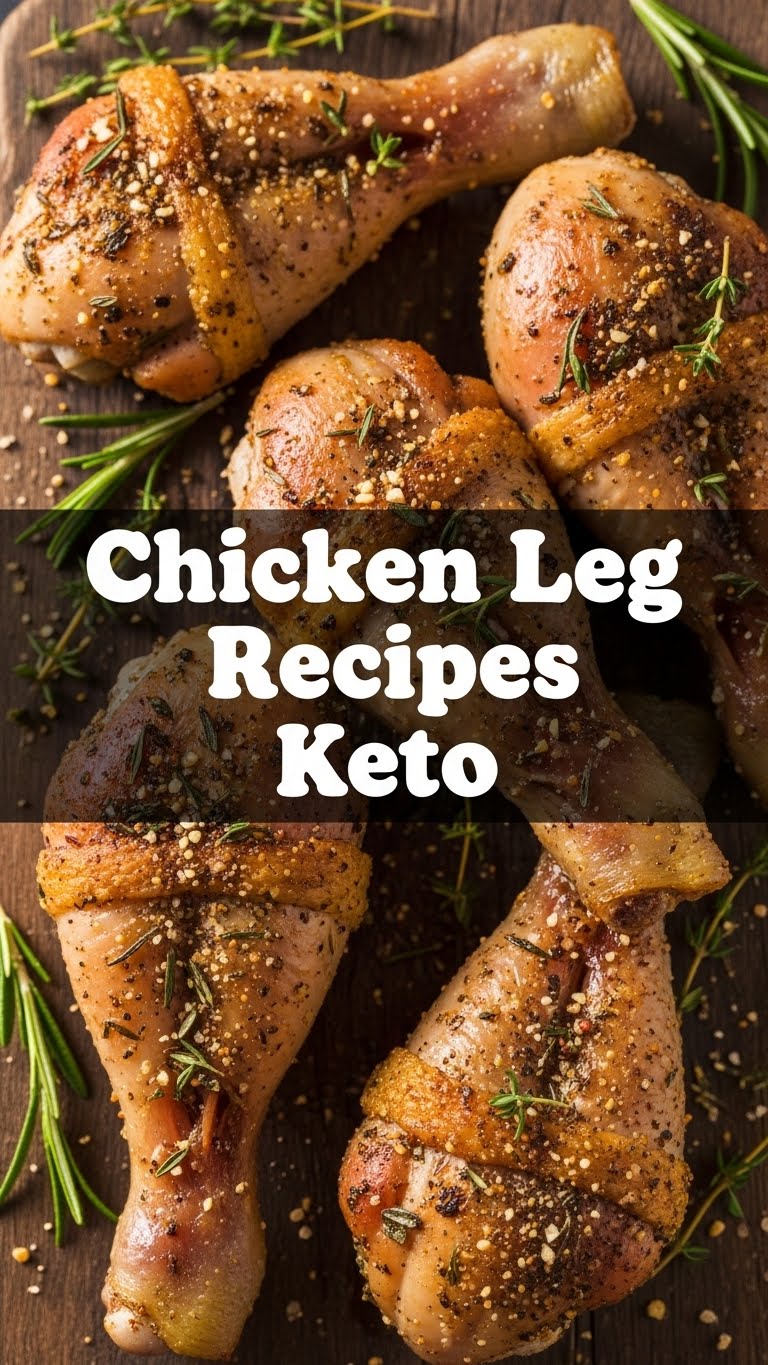
- **6-8 Chicken Legs:** The stars of our show, obviously. Bone-in, skin-on, because that’s where all the good stuff (flavor, fat, crispiness) lives.
- **2 Tablespoons Olive Oil or Avocado Oil:** Your healthy fat BFF for getting things nicely browned and flavorful.
- **1 Teaspoon Salt:** Don’t skimp! Salt brings out all the natural goodness.
- **½ Teaspoon Black Pepper:** A classic for a reason.
- **1 Teaspoon Garlic Powder:** Because garlic makes everything better, **FACT**.
- **1 Teaspoon Onion Powder:** Garlic’s best friend, adding another layer of savory deliciousness.
- **1 Teaspoon Smoked Paprika:** This is your secret weapon for a beautiful color and a hint of smoky depth. You can use regular paprika if you’re out, but smoked is where it’s at.
- **½ Teaspoon Dried Italian Herbs (optional):** For when you’re feeling a bit fancy, or just want to empty that jar in the back of your spice cabinet.
- **1 Tablespoon Melted Butter (optional, but highly recommended for extra crispiness):** Because, well, butter.
Step-by-Step Instructions
- **Preheat Power-Up:** First things first, get your oven ready. Crank that baby up to **400°F (200°C)**. While it’s heating, line a baking sheet with parchment paper or foil for an even easier clean-up. You’ll thank me later.
- **The Pat-Down:** This step is crucial for crispy skin, so don’t you dare skip it! Take your chicken legs and pat them *super dry* with paper towels. Seriously, get rid of all that moisture.
- **Oil ‘Em Up:** In a large bowl, toss the chicken legs with the olive or avocado oil. Make sure they’re all nicely coated. If you’re using melted butter, drizzle it over now too.
- **Seasoning Time:** Now for the fun part! Sprinkle the salt, pepper, garlic powder, onion powder, smoked paprika, and optional Italian herbs all over the chicken. Get in there with your hands and really rub that seasoning in. Don’t be shy; we want flavor in every bite!
- **Sheet Pan Spread:** Arrange the seasoned chicken legs on your prepared baking sheet in a single layer. Make sure they’re not touching too much; this helps them roast rather than steam.
- **Bake It Till You Make It:** Pop the baking sheet into your preheated oven. Bake for **35-45 minutes**. The exact time will depend on your oven and the size of the legs, but you’re aiming for an internal temperature of 165°F (74°C) at the thickest part.
- **Crispy Skin Encore (Optional but Recommended):** For that extra glorious, super crispy skin, crank up the oven to broil for the last 2-3 minutes. **Watch it like a hawk**, though – broiler settings can go from perfectly golden to burnt in a flash!
- **Rest and Digest:** Once they’re done, pull them out of the oven and let them rest on the baking sheet for about 5 minutes before serving. This lets the juices redistribute, ensuring your chicken is super tender and juicy.
Common Mistakes to Avoid
Nobody’s perfect, but we can definitely avoid some rookie blunders. Learn from my past (many) kitchen mishaps:
- **Thinking you don’t need to preheat the oven:** Rookie mistake! Cold oven = uneven cooking and sad, pale chicken. Always preheat, folks.
- **Not patting the chicken dry:** This is the express train to rubbery, steamed skin instead of that glorious, crispy exterior you’re dreaming of. Don’t be a moist chicken enabler.
- **Overcrowding the baking sheet:** I know, you want to get it all done in one go. But cramming too many legs on one pan will steam them rather than roast them. Use two sheets if you need to!
- **Under-seasoning:** Bland chicken is a culinary crime. Don’t be afraid of salt and spices. Trust the process.
- **Forgetting to rest the chicken:** Impatience leads to dry, less flavorful chicken. Give it those precious few minutes to chill out after its oven spa treatment.
Alternatives & Substitutions
Feeling a little adventurous? Or maybe you just ran out of that one thing? No sweat, we’ve got options!
- **Different Cuts:** Not a leg person? This recipe works beautifully with bone-in, skin-on chicken **thighs** too! Cooking time will be very similar. You can even do a whole chicken, just adjust the cooking time significantly (think 60-90 minutes).
- **Spice It Up (or Down):** Feeling a kick? Add a pinch of cayenne pepper or red pepper flakes to your seasoning blend. Want a different vibe? Try a premade Cajun seasoning, lemon pepper, or a simple rosemary and thyme mix. Get creative!
- **Add Some Veggies:** Make it a one-pan meal masterpiece! Toss some chopped broccoli florets, asparagus, bell peppers, or zucchini with a little oil and salt, and add them to the baking sheet during the last 20 minutes of cooking. **FYI**, they’ll soak up all those delicious chicken juices.
- **Sauce Boss:** After baking, you can brush your chicken legs with a keto-friendly BBQ sauce (there are some great sugar-free options out there!), a garlic butter sauce, or just a squeeze of fresh lemon juice for a bright finish.
FAQ (Frequently Asked Questions)
Got questions? I probably have answers (or at least sarcastic commentary).
- **Can I use margarine instead of butter?** Well, technically yes, but why hurt your soul like that? Butter just tastes better and is a more natural, keto-friendly fat. IMO.
- **How do I get the skin *extra* crispy?** Patting dry is key, and the broil step is your best friend. Also, make sure your oven is truly preheated and don’t overcrowd the pan.
- **Can I use frozen chicken legs?** Please, for the love of all that is delicious, **thaw them completely first!** Otherwise, they won’t cook evenly, and you’ll end up with rubbery skin and potentially unsafe chicken.
- **How long can I store leftovers?** Cooked chicken legs are good in an airtight container in the fridge for 3-4 days. They reheat surprisingly well in the oven or air fryer to get that skin crispy again.
- **What are some good keto sides for this?** Oh, the possibilities! Think cauliflower mash, roasted asparagus, steamed green beans with butter, a simple side salad with a creamy dressing, or even some sautéed spinach with garlic.
- **Do I need to remove the skin?** Absolutely not! This is keto, baby. The skin is where the fat, flavor, and glorious crispiness are. Embrace it!
- **My chicken is burning on the outside before it’s cooked inside. Help!** Your oven might be running hot, or your legs are very large. Try tenting them loosely with foil if they’re browning too fast, and always use a meat thermometer to ensure they’re cooked through.
Final Thoughts
So there you have it, folks! An easy, delicious, and totally keto-approved chicken leg recipe that’ll make you feel like a kitchen wizard without actually having to cast any complicated spells. This is the kind of simple, satisfying meal that deserves a spot in your weekly rotation. Now go impress someone—or yourself—with your new culinary skills. You’ve earned it!


