So, you’ve found yourself staring into the abyss of your fridge, pondering the age-old question: “What can I make that tastes amazing but doesn’t require me to sell my soul (or spend 3 hours) in the kitchen?” If chicken legs are giving you the side-eye from the freezer, you’re in luck, my friend. We’re about to turn those humble drumsticks into a crispy, juicy, ‘OMG-did-you-really-make-this?’ masterpiece with minimal effort. Because, let’s be real, life’s too short for complicated dinners!
Why This Recipe is Awesome
First off, it’s practically **idiot-proof**. Even if your culinary adventures usually end with a smoke detector concert, you got this. Seriously.
Secondly, it’s **budget-friendly**. Chicken legs are like the unsung heroes of the poultry aisle – cheap, cheerful, and full of flavor.
Thirdly, **cleanup is a breeze**. We’re talking one sheet pan, maybe two if you’re feeling fancy. No mountains of pots and pans, meaning more time for Netflix or, you know, adulting.
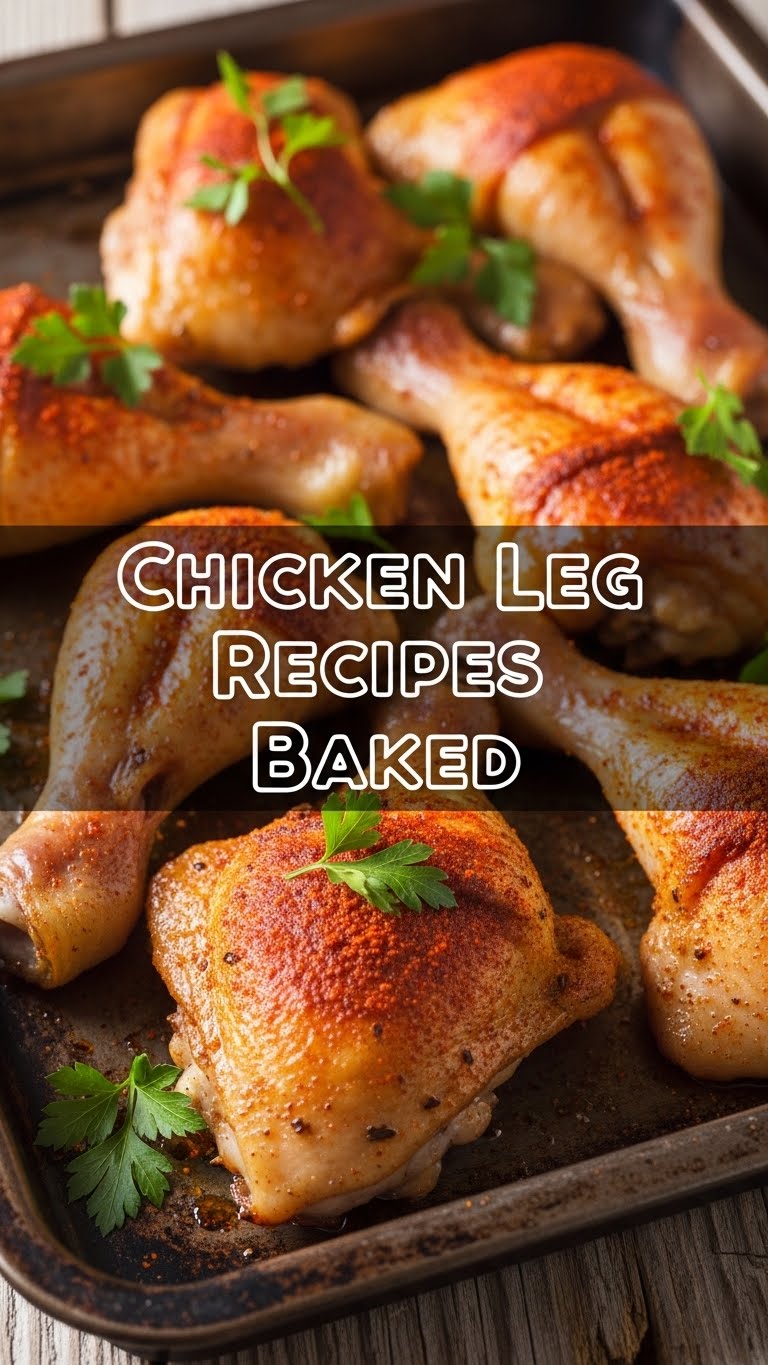
And finally, the taste! **Crispy skin, tender, juicy meat every single time.** It’s like a warm hug for your taste buds, but without the awkwardness.
Ingredients You’ll Need
- Chicken Legs (6-8): The stars of our show. Pick plump ones.
- Olive Oil (2-3 tbsp): Your trusty sidekick for crispy skin. Don’t skimp, but don’t drown them either.
- Salt (1-1.5 tsp): Because bland food is a tragedy.
- Black Pepper (0.5 tsp): Freshly ground, if you’re feeling extra fancy.
- Garlic Powder (1 tsp): Garlic makes everything better, it’s a known fact.
- Paprika (1 tsp): For that gorgeous color and a hint of smoky goodness. Smoked paprika? Even better!
- Optional Flavor Boosters (pick one or two, or all!):
- Onion Powder (0.5 tsp): Garlic’s less famous but equally talented cousin.
- Dried Thyme or Rosemary (0.5 tsp): Because herbs are basically magic dust.
- Cayenne Pepper (a pinch): If you like a little zing, you rebel.
Step-by-Step Instructions
- **Preheat Your Oven to 400°F (200°C).** This is crucial for that glorious crispy skin. Line a baking sheet with foil or parchment paper for easier cleanup. You’ll thank me later.
- **Pat Those Legs Dry.** Grab some paper towels and give your chicken legs a good pat down. **Dry skin = crispy skin**. This is non-negotiable, my friend.
- **Season Like a Pro.** In a large bowl, toss the chicken legs with olive oil until they’re lightly coated. Then sprinkle generously with salt, pepper, garlic powder, paprika, and any other spices you’re using. Get in there with your hands and make sure every crevice is covered. Don’t be shy!
- **Arrange and Bake.** Place the seasoned chicken legs on your prepared baking sheet in a single layer. Make sure they’re not touching each other; they need their personal space to crisp up.
- **Bake Away!** Pop them in the preheated oven for **35-45 minutes**. The exact time depends on your oven and the size of your legs. You’re looking for an internal temperature of **165°F (74°C)** at the thickest part. The skin should be deeply golden and gloriously crispy.
- **Rest, You Deserve It (and so does the chicken).** Once they’re done, take them out of the oven and let them **rest for 5-10 minutes** on the baking sheet or a cutting board. This allows the juices to redistribute, keeping the chicken super moist. Patience is a virtue, especially when deliciousness is involved.
- **Devour!** Serve hot with your favorite sides. Mashed potatoes, a simple salad, or roasted veggies all play nice with these beauties.
Common Mistakes to Avoid
- **Not preheating the oven:** Rookie mistake! Your chicken will steam instead of roast, leading to sad, rubbery skin. **Always preheat!**
- **Not drying the chicken:** Remember our crispy skin mantra? Wet skin won’t crisp up, no matter how much you wish it would.
- **Overcrowding the pan:** Chicken legs need room to breathe. If they’re too close, they’ll steam each other, and you’ll miss out on that beautiful crunch. Use two pans if necessary.
- **Under-seasoning:** Chicken is pretty forgiving, but bland chicken is a crime. Be bold with your spices!
- **Poking and prodding:** Resist the urge to constantly open the oven door or move the chicken around. Every time you open the door, the oven temp drops, messing with your cooking time and crispiness.
Alternatives & Substitutions
- **Spice It Up!** Feeling adventurous? Try a dry rub with chili powder, cumin, and oregano for a Tex-Mex vibe. Or go Mediterranean with oregano, lemon zest, and a hint of sumac.
- **Veggies on the Same Pan:** Throw in some chopped potatoes, carrots, or broccoli florets tossed with a little oil and seasoning during the last 20-25 minutes of baking. Sheet pan dinner magic!
- **Lemon Love:** A squeeze of fresh lemon juice over the chicken right before serving can brighten up the flavors beautifully. So refreshing!
- **Other Cuts:** This recipe works great for **chicken thighs** too! Just adjust baking time slightly; thighs might need a few extra minutes. Boneless, skinless breasts work, but they tend to dry out quicker, so keep a closer eye on them.
FAQ (Frequently Asked Questions)
- **”Can I marinate the chicken first?”** Absolutely! A quick marinade (30 mins to overnight) in yogurt or buttermilk can make them even more tender and flavorful. Just make sure to **pat them super dry** before seasoning and baking for that crispy skin.
- **”How do I know if they’re cooked through without a thermometer?”** While a thermometer is your best friend for food safety, if you don’t have one, pierce the thickest part of the leg with a knife. The juices should run **clear**, not pink. But seriously, get a thermometer. Your stomach will thank you.
- **”My skin isn’t crispy! What went wrong?”** Did you pat it dry? Did you overcrowd the pan? Was your oven hot enough? These are the usual suspects. Also, some ovens are just finicky – try broiling for the last 2-3 minutes, but **watch it like a hawk** to avoid burning.
- **”Can I make these ahead of time?”** You can cook them and reheat, but honestly, they’re best fresh out of the oven for peak crispiness. Reheated chicken legs are still tasty, but that skin won’t be quite the same.
- **”What’s the deal with resting the meat?”** Resting allows the muscle fibers to relax and reabsorb the juices that got pushed to the center during cooking. **IMO, it’s non-negotiable** for juicy meat. Don’t skip it!
- **”Can I use frozen chicken legs?”** Yes, but make sure they’re **fully thawed** before you start. Trying to bake frozen chicken is a recipe for uneven cooking and a potentially unsafe meal.
Final Thoughts
And there you have it, superstar! You’re now equipped to conquer the mighty chicken leg with confidence and a whole lot of flavor. This isn’t just a recipe; it’s a gateway to easy, delicious weeknight dinners that taste like you spent hours slaving away (but shhh, we won’t tell). So go forth, preheat that oven, and make some magic. Now go impress someone—or yourself—with your new culinary skills. You’ve earned it!


