So you’re craving something tasty but too lazy to spend forever in the kitchen, huh? Same. We’ve all been there: staring into the fridge, pondering the meaning of life (or just what to make for dinner) without committing to a full-on culinary marathon. Well, my friend, pull up a chair, because we’re about to unlock the magic of the Instant Pot and turn humble chicken into a weeknight (or heck, any night) hero!
Why This Recipe is Awesome
Let’s be real, this isn’t just *a* chicken recipe; it’s *the* chicken recipe for when you want deliciousness without the drama. Why is it awesome? Because it’s:
- Faster than a speeding bullet: Okay, maybe not that fast, but definitely faster than ordering takeout and waiting for it to arrive. You’ll be eating before the pizza guy even gets out of his driveway.
- Truly idiot-proof: Seriously, if I can do it without setting off the smoke alarm (which is a minor miracle, IMO), you can too. It practically cooks itself.
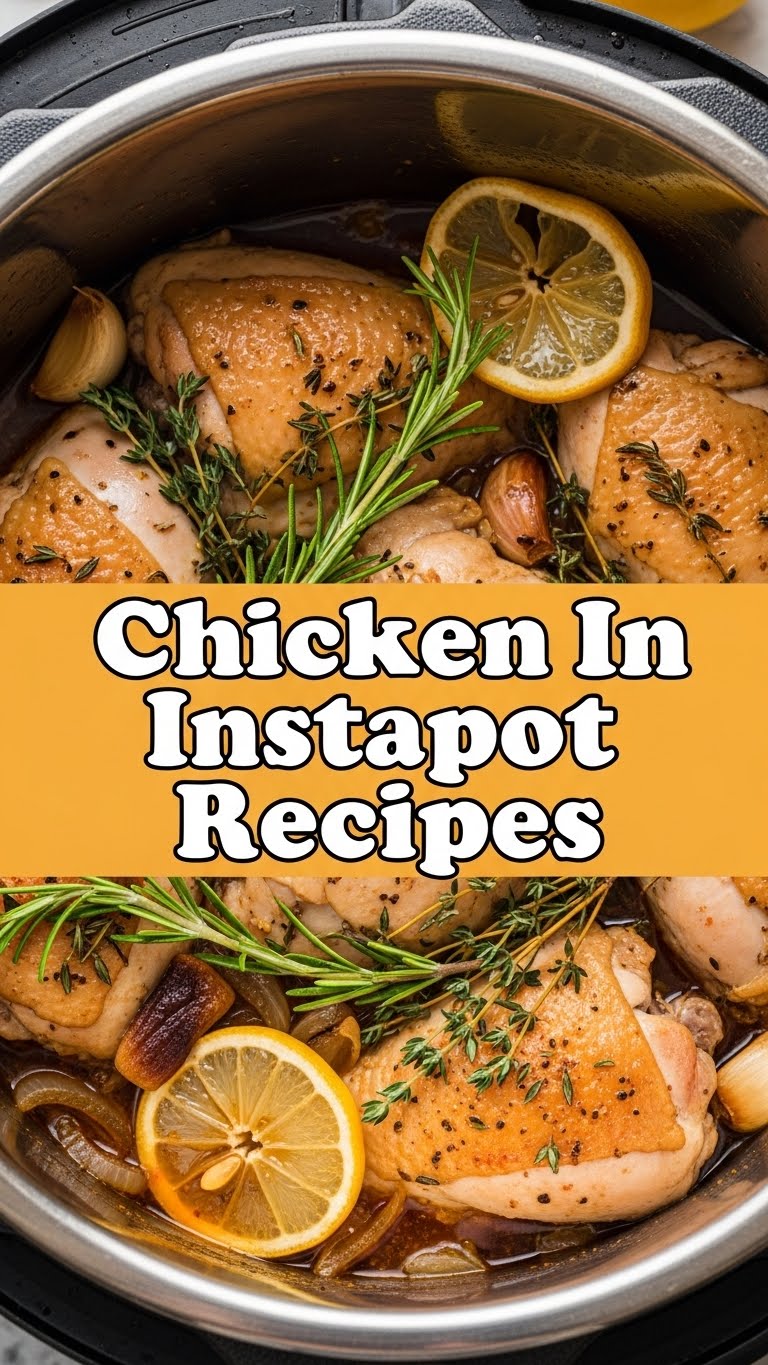
- Flavor town express: This isn’t your grandma’s dry, sad chicken. We’re talking juicy, tender, fall-apart chicken that tastes like you actually *tried*.
- Your kitchen’s new best friend: The Instant Pot handles everything, meaning fewer pots and pans to wash. Winning!
Ingredients You’ll Need
Gather ’round, aspiring chefs! Here’s what you’ll need to make this magic happen. Don’t worry, nothing too fancy, just the good stuff.
- 2 lbs Boneless, Skinless Chicken (Breasts or Thighs): Your trusty protein pal. Thighs are generally more forgiving and juicier, but breasts work great if you’re feeling lean and mean.
- 1 tbsp Olive Oil (or any cooking oil): For a quick sear, because browning equals flavor, baby!
- 1 cup Chicken Broth: The liquid gold that prevents the dreaded “burn” notice. Don’t skimp!
- 1 tsp Garlic Powder: Because garlic makes everything better. It’s a fact.
- 1 tsp Onion Powder: The other half of the dynamic duo.
- 1 tsp Paprika: For a little color and a hint of warmth.
- 1/2 tsp Dried Italian Seasoning (optional, but highly recommended): Gives it that secret “oomph.”
- Salt & Black Pepper: To taste, obviously. Don’t be shy, but don’t overdo it either. It’s a balancing act!
- Optional Add-ins: 1/2 chopped onion, 1 chopped bell pepper – if you’re feeling ambitious and want extra veggies.
Step-by-Step Instructions
Alright, buttercup, let’s get cooking! Follow these simple steps and prepare to amaze yourself.
- Prep Your Pot: First things first, hit the “Sauté” button on your Instant Pot and add the olive oil. Let it heat up for a minute.
- Brown That Bird (Optional, but Recommended for Flavor!): Pat your chicken dry (this helps with browning!), then place it in the hot oil. Sear for 2-3 minutes per side until lightly golden. Don’t worry about cooking it through; we’re just building flavor here. Remove the chicken and set it aside.
- Deglaze Like a Pro: Pour about half a cup of your chicken broth into the pot. Use a wooden spoon to scrape up any delicious browned bits stuck to the bottom. This is super important to avoid the “burn” notice later, trust me!
- Layer It Up: Place your chicken back into the pot. If using, add your chopped onion and bell pepper around the chicken.
- Season to Perfection: Sprinkle the garlic powder, onion powder, paprika, Italian seasoning, salt, and pepper all over the chicken. Don’t be shy!
- Add the Rest of the Broth: Pour the remaining chicken broth over everything. Make sure the liquid covers most of the chicken.
- Seal the Deal: Close the Instant Pot lid and make sure the sealing release valve is set to the “Sealing” position.
- Pressure Cook Magic: Select the “Pressure Cook” or “Manual” setting and set the time for 10-12 minutes for chicken breasts, or 15 minutes for thighs.
- The Big Release: Once cooking is done, allow the pressure to naturally release for 5 minutes (meaning, just let it sit there). Then, carefully switch the sealing release valve to “Venting” to quick release any remaining pressure. Be careful of the steam!
- Shred and Serve: Open the lid, remove the chicken, and shred it with two forks (or a hand mixer for next-level speed – seriously, try it!). Mix the shredded chicken back into the flavorful liquid in the pot. Serve it up and bask in your glory!
Common Mistakes to Avoid
Even the simplest recipes have their pitfalls. Here are a few rookie errors to steer clear of:
- Forgetting the Liquid: This is a biggie! Without enough liquid (at least 1 cup for most recipes), your Instant Pot will throw a “burn” notice tantrum. Always double-check!
- Ignoring the “Scrape the Bottom” Rule: Those yummy brown bits from searing? If you don’t deglaze and scrape them up, they’ll stick around and trick your Instant Pot into thinking something’s burning. Don’t do it!
- Overfilling the Pot: There’s a max fill line for a reason. Don’t go past it, especially with liquids or expanding foods. The Instant Pot needs room to build pressure safely.
- Not Sealing the Vent: Did you remember to turn that little knob to “Sealing”? If it’s on “Venting,” your pot will never come to pressure, and you’ll just have sad, warm chicken.
Alternatives & Substitutions
Part of the fun of cooking is making it your own! Here are some ideas to mix things up:
- Different Chicken Cuts: Already mentioned, but boneless, skinless thighs are fantastic for shredding and come out super moist. Bone-in cuts work too, just add a few more minutes to the cooking time.
- Broth Bonanza: No chicken broth? Vegetable broth works, or even just water with a bouillon cube.
- Veggie Boost: Toss in some chopped carrots, celery, or even mushrooms with the chicken. They’ll cook beautifully under pressure.
- Seasoning Swap: Feeling adventurous? Go full Tex-Mex with chili powder and cumin, or lean Asian with a splash of soy sauce and ginger powder. The world is your spice rack!
- Sauce It Up: After shredding, stir in your favorite BBQ sauce, buffalo sauce, or teriyaki sauce for an instant flavor transformation. Shredded BBQ chicken sandwiches, anyone?
FAQ (Frequently Asked Questions)
Got questions? I’ve got (casual) answers!
- Can I use frozen chicken? Yep! You absolutely can, you rebel. Just add about 5-7 minutes to the cooking time (so 15-18 for breasts, 20-22 for thighs) and keep them separated as much as possible to ensure even cooking.
- What if I get the dreaded “burn” notice? Don’t panic! Usually, it means there’s something stuck to the bottom, or not enough liquid. Do a quick pressure release, open the lid, scrape the bottom, add a bit more liquid if needed, then reseal and try again.
- How do I know the chicken is cooked through? The Instant Pot is pretty reliable, but if you’re a stickler (good for you!), use a meat thermometer. Chicken should reach an internal temperature of 165°F (74°C).
- Can I double the recipe? You sure can! Just make sure you don’t exceed the max fill line on your Instant Pot. You don’t necessarily need to double the liquid, but keep at least 1 cup in there. The cooking time typically remains the same as the pot takes longer to come to pressure.
- What’s the best way to shred chicken? Two forks work great, but if you want a life-changing hack, put the cooked chicken in a large bowl and use a hand mixer on low speed. It shreds in seconds! You’re welcome.
Final Thoughts
And there you have it! You’ve just conquered the mighty Instant Pot and turned out some seriously delicious chicken. You’re basically a culinary wizard now, without all the tedious spell-casting (or endless chopping). Now go impress someone—or yourself, which is arguably more important—with your new culinary skills. You’ve earned it!


