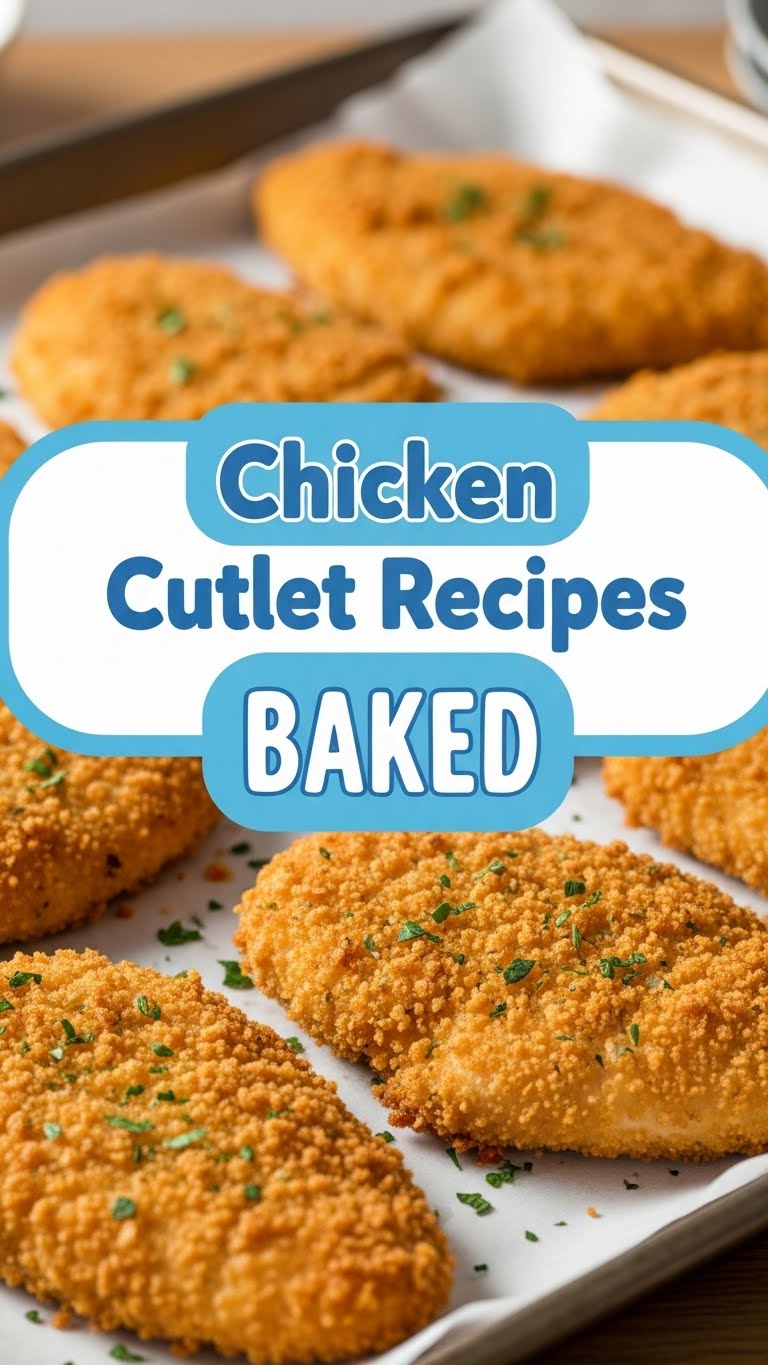
So you’re craving something tasty, comforting, but also, like, *not* a huge ordeal in the kitchen? And you absolutely refuse to deep-fry anything because, honestly, who needs that much oil splatter and guilt? My friend, you’ve come to the right place! We’re talking baked chicken cutlets today – crispy on the outside, juicy on the inside, and so easy, your dog could probably supervise. Well, maybe not *your* dog, but you get the idea. Ready to impress yourself (and maybe your dinner guests, if you’re feeling generous)? Let’s dive in!
Why This Recipe is Awesome
Look, I get it. You’ve seen a million chicken recipes. But this one? It’s a game-changer. Why? Because it’s **idiot-proof**. Seriously, if I can make it without setting off the smoke alarm (a rare feat, believe me), you can too. It’s quick, it’s relatively healthy (because, baked!), and it leaves your kitchen smelling amazing instead of like a deep-fryer exploded. Plus, minimal cleanup is always a win in my book. We’re talking restaurant-quality flavor with weeknight effort. High five!
Ingredients You’ll Need
Gather your posse of deliciousness! Here’s what you’ll need for this culinary adventure:
- **Chicken Breasts (2 large, boneless, skinless):** The star of the show! We’ll be slicing these babies into cutlets, so no need for fancy pre-cut stuff.
- **Panko Breadcrumbs (1 cup):** Not regular breadcrumbs, people! **Panko is your secret weapon for ultimate crispiness.** Don’t skimp.
- **Parmesan Cheese (1/2 cup, grated):** Because everything is better with cheese. Fight me.
- **Eggs (2 large):** The glue that holds all the deliciousness together.
- **All-Purpose Flour (1/2 cup):** For that first magical coating.
- **Olive Oil (2-3 tablespoons):** A little drizzle goes a long way.
- **Salt and Black Pepper (to taste):** The basics, but oh-so-important.
- **Garlic Powder (1 teaspoon):** Adds that zippy, savory kick.
- **Paprika (1/2 teaspoon, optional):** For a touch of color and warmth, if you’re feeling fancy.
- **Fresh Parsley (for garnish, optional):** Makes you look like a pro.
Step-by-Step Instructions
Alright, apron on, let’s do this! It’s easier than trying to assemble IKEA furniture, I promise.
- **Prep Your Chicken:** Take those chicken breasts and slice them horizontally through the middle to create thinner cutlets. Aim for about 1/2-inch thickness. If they’re uneven, place them between two pieces of plastic wrap and gently pound them with a rolling pin or a heavy pan until they’re uniform. **Even thickness is key for even cooking!**
- **Set Up Your Dredging Stations:** Get three shallow dishes. In the first, put your flour. In the second, whisk your eggs. In the third, combine the panko breadcrumbs, grated Parmesan, garlic powder, paprika (if using), and a good pinch of salt and pepper. Give it a good mix.
- **Coat ‘Em Up!** Take one cutlet at a time. First, dredge it in the flour, shaking off any excess. Then, dip it into the egg wash, letting any extra drip off. Finally, press it firmly into the panko mixture, making sure both sides are *fully* coated. Give it a gentle pat so the breadcrumbs stick. Repeat for all cutlets.
- **Oil ‘Em Up & Bake!** Drizzle a baking sheet with olive oil, then spread it around. Place your coated chicken cutlets on the baking sheet in a single layer. Drizzle a tiny bit more olive oil over the tops of the chicken. **This helps with crispiness!**
- **Into the Oven They Go:** Bake in a preheated oven at **400°F (200°C)** for 15-20 minutes, flipping halfway through, until the chicken is golden brown, crispy, and cooked through (internal temperature should be 165°F/74°C). Cooking time might vary based on thickness, so keep an eye on them!
- **Rest & Serve:** Let the cutlets rest for a few minutes before serving. Garnish with fresh parsley if you’re feeling extra. Enjoy your masterpiece!
Common Mistakes to Avoid
Nobody’s perfect, but we can avoid some classic blunders, right?
- **Not Pounding/Slicing Evenly:** This is a biggie! If your chicken pieces are different thicknesses, some will be dry while others are still raw. Ew. Take the extra minute to get them uniform.
- **Skipping the Preheat:** Thinking you don’t need to preheat the oven? Rookie mistake! A hot oven ensures a crispy crust and cooks the chicken efficiently. **Always preheat!**
- **Overcrowding the Pan:** Don’t try to cram all the cutlets onto one small baking sheet. They’ll steam instead of bake and crisp, turning sad and soggy. Use two sheets if needed.
- **Ignoring Panko:** Using regular breadcrumbs instead of panko is like bringing a spoon to a knife fight. It just won’t be as good. Panko creates that amazing airy crunch.
Alternatives & Substitutions
Feeling adventurous? Or maybe you just ran out of something vital. It happens!
- **No Parmesan?** No problem! Nutritional yeast can give a cheesy, umami flavor, or just omit it and add more herbs to the breadcrumbs.
- **Gluten-Free?** Swap the all-purpose flour for a gluten-free all-purpose blend and use gluten-free panko breadcrumbs. Easy peasy.
- **Different Herbs/Spices:** Feel free to mix up the seasoning in the panko. Try Italian seasoning, a pinch of cayenne for heat, or some onion powder. Make it your own flavor fiesta!
- **Want Extra Crisp?** A light spritz of cooking spray over the top before baking can also help achieve that gorgeous golden crunch without too much extra oil.
FAQ (Frequently Asked Questions)
Got questions? I’ve got answers. Mostly. Probably.
Q: Can I use chicken thighs instead of breasts?
A: Absolutely! Just be aware that thighs are typically fattier and might need a few extra minutes to cook through. They’ll still be delicious, IMO!
Q: How do I know the chicken is cooked through?
A: The best way is with a meat thermometer. Stick it into the thickest part of the cutlet – it should read 165°F (74°C). No thermometer? Cut into the thickest part; if the juices run clear and the meat is opaque, you’re good to go!
Q: My breading isn’t sticking! What am I doing wrong?
A: Make sure your chicken isn’t too wet before flouring. Pat it dry with paper towels first. Also, press the breadcrumbs onto the chicken firmly. A little extra love goes a long way.
Q: Can I prepare these ahead of time?
A: You can bread them and store them in the fridge for a few hours before baking. Just place them on a rack on a baking sheet, cover loosely with plastic wrap, and refrigerate. They might not be *quite* as crispy as fresh, but still darn good.
Q: What should I serve these with?
A: Oh, the possibilities! A simple side salad, roasted veggies, mashed potatoes, or even some quick pasta with a light sauce. They’re super versatile!
Final Thoughts
There you have it! A baked chicken cutlet recipe that’s ridiculously easy, super satisfying, and won’t leave you feeling like you just ran a marathon in the kitchen. Now go forth and conquer that craving! You’ve officially earned your chef’s hat (or at least a happy dance). Seriously, give it a try. Your taste buds (and your busy schedule) will thank you. Happy cooking, friend!


