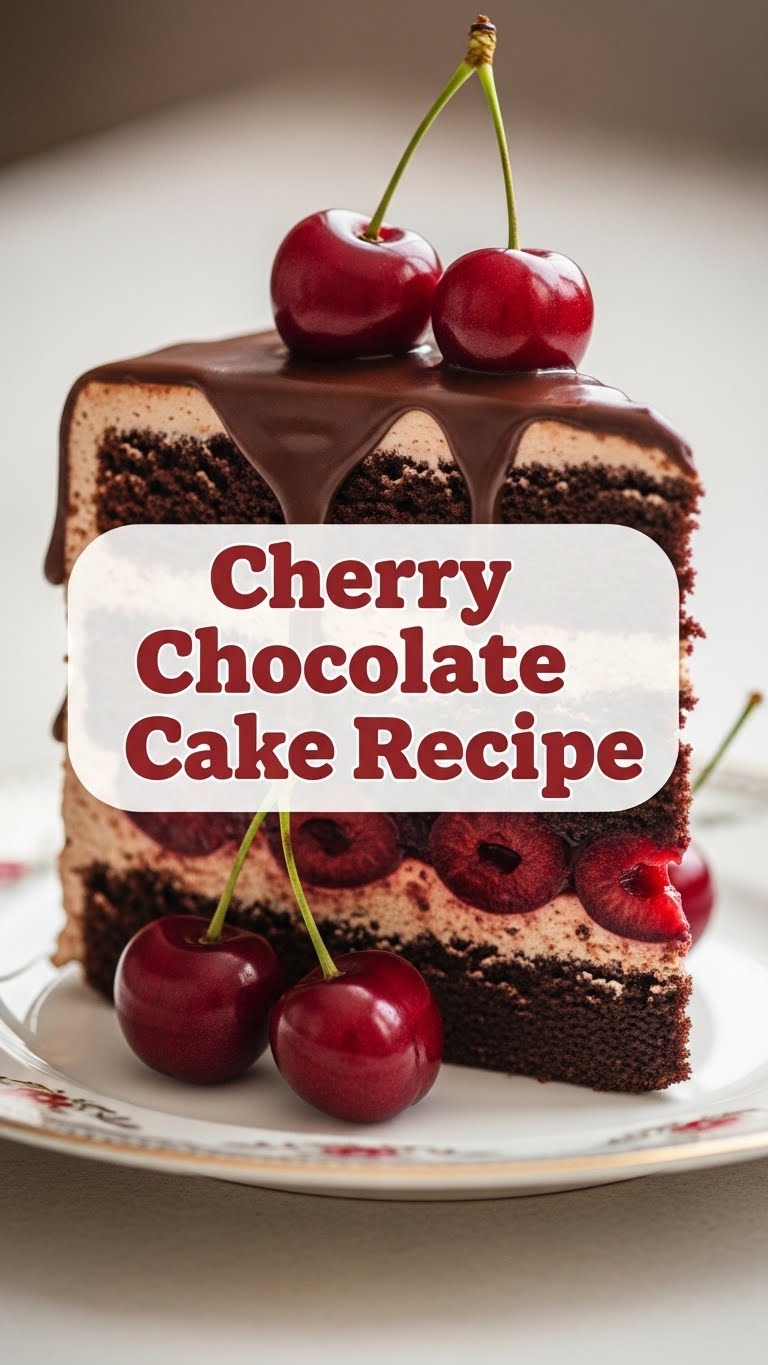
Alright, my friend, let’s get real. Are you currently in that mood where you *really* want something decadent, but the thought of a culinary marathon makes you wanna just order takeout and cry? Yeah, me too. But guess what? I’ve got your back. We’re making a Cherry Chocolate Cake today, and it’s so good, you’ll feel like a fancy pastry chef without any of the actual effort. You’re welcome.
Why This Recipe is Awesome
Okay, so why this cake and not, like, a store-bought one? Because this bad boy is ridiculously easy. I’m talking **even-I-didn’t-mess-it-up** easy. It’s got that perfect balance of rich chocolate and tangy cherries, which, let’s be honest, is a flavor combo sent straight from dessert heaven.
Plus, it looks super impressive, making you look like a baking guru to anyone lucky enough to snag a slice. Win-win, right?
Ingredients You’ll Need
- All-purpose flour: About 1 ½ cups. The backbone of our cakey dreams.
- Granulated sugar: 1 cup. For that essential sweetness, duh.
- Unsweetened cocoa powder: ½ cup. Go for good quality here, it makes a difference. No bland chocolate, please!
- Baking soda: 1 teaspoon. Our little lift-off agent.
- Salt: ½ teaspoon. Balances everything out like a culinary tightrope walker.
- Large eggs: 2. Room temp if you can remember, but don’t sweat it too much.
- Milk: 1 cup. Whole milk is best for richness, but whatever you have will work.
- Vegetable oil: ½ cup. For that glorious moisture.
- Vanilla extract: 1 teaspoon. A dash of magic!
- Canned pitted dark sweet cherries: 1 can (15 oz), drained. Don’t forget to pat them dry a bit, nobody likes a soggy cake.
- Chocolate chips: ½ cup (dark or semi-sweet). Because more chocolate is always the answer.
Step-by-Step Instructions
- **Prep Time!** Preheat your oven to 350°F (175°C). Seriously, don’t skip this. Grease and flour a 9-inch round cake pan. A quick spray with baking non-stick spray is also your friend.
- **Dry Mix Fun:** In a large bowl, whisk together the flour, sugar, cocoa powder, baking soda, and salt. Make sure there are no lumpy bits.
- **Wet Mix Wonders:** In a separate medium bowl, whisk together the eggs, milk, vegetable oil, and vanilla extract. Get it all nicely combined.
- **Combine Forces:** Pour the wet ingredients into the dry ingredients. Mix with a spatula or electric mixer on low speed **just until combined**. **Do not overmix!** Overmixing leads to tough cakes, and we’re aiming for tender.
- **Cherry & Chip Drop-In:** Gently fold in the drained cherries and chocolate chips. Be gentle, we don’t want to mush the cherries.
- **Bake It Up:** Pour the batter into your prepared cake pan. Pop it into the preheated oven and bake for 30-35 minutes.
- **Test for Doneness:** The cake is ready when a wooden skewer or toothpick inserted into the center comes out clean. If it’s still gooey, give it a few more minutes.
- **Cool Down:** Let the cake cool in the pan for about 10-15 minutes before inverting it onto a wire rack to cool completely. Patience is a virtue, especially when cake is involved.
Common Mistakes to Avoid
- **Not preheating the oven:** Rookie mistake, seriously. Your cake won’t rise properly and will bake unevenly.
- **Overmixing the batter:** I cannot stress this enough. Mix until *just* combined. Unleash your inner gentle giant.
- **Not draining the cherries properly:** Hello, watery cake! Pat those babies dry.
- **Opening the oven door constantly:** Resist the urge! The temperature drop can make your cake sink. Peek through the window like a normal person.
- **Cutting into it while warm:** I know, I know, it’s torture. But for a clean slice and to prevent crumbling, let it cool. **Trust me on this.**
Alternatives & Substitutions
Got some fresh cherries? Go for it! Pit them first, obviously. You might want to toss them with a tiny bit of flour to prevent them from sinking to the bottom.
Lazy mode activated? A can of cherry pie filling, lightly drained of excess goo, can work in a pinch. It’ll be sweeter, though. Not a cherry fan (gasp!)? Raspberries, blueberries, or even chopped strawberries would be delicious in this.
For dairy-free friends, swap regular milk for almond or soy milk, and use dairy-free chocolate chips. Easy peasy. You can use melted butter instead of vegetable oil for a slightly richer flavor, but oil typically makes for a moister cake that stays soft longer. Your call, chef!
FAQ (Frequently Asked Questions)
Can I make this into cupcakes? Absolutely! Just fill cupcake liners about two-thirds full and bake for a shorter time, usually around 18-22 minutes. Keep an eye on them!
What kind of cocoa powder should I use? Regular unsweetened cocoa powder (natural cocoa) is perfect for this recipe. Dutch-processed has a different pH and might react differently with the baking soda here, so stick to natural.
Do I need a mixer? Nope! A whisk and a strong arm will do the trick. This recipe is pretty forgiving.
My cake sunk in the middle, what happened? Oh no! This often means it was underbaked, or you opened the oven door too early. Could also be overmixing, but usually it’s the first two culprits.
How do I store leftovers? Pop it in an airtight container at room temperature for up to 3 days, or in the fridge for up to a week. If it lasts that long, that is. **IMO**, it’s best eaten within 2 days.
Can I add frosting? You bet! A simple chocolate ganache, cream cheese frosting, or even a dollop of whipped cream would be divine. But honestly, it’s pretty perfect on its own.
What if I don’t have fresh vanilla extract? Well, you *should* invest in good vanilla, but if you’re in a pinch, you can skip it. The chocolate and cherries will carry the flavor. **FYI**, imitation vanilla is okay too, just not as potent.
Final Thoughts
So there you have it, my friend! A super easy, ridiculously delicious Cherry Chocolate Cake that will make you feel like a baking superstar without breaking a sweat (or your sanity). Now go impress someone—or yourself—with your new culinary skills. You’ve earned it! Seriously, go forth and bake, then eat. And maybe send me a slice? Just kidding… mostly. Enjoy!


