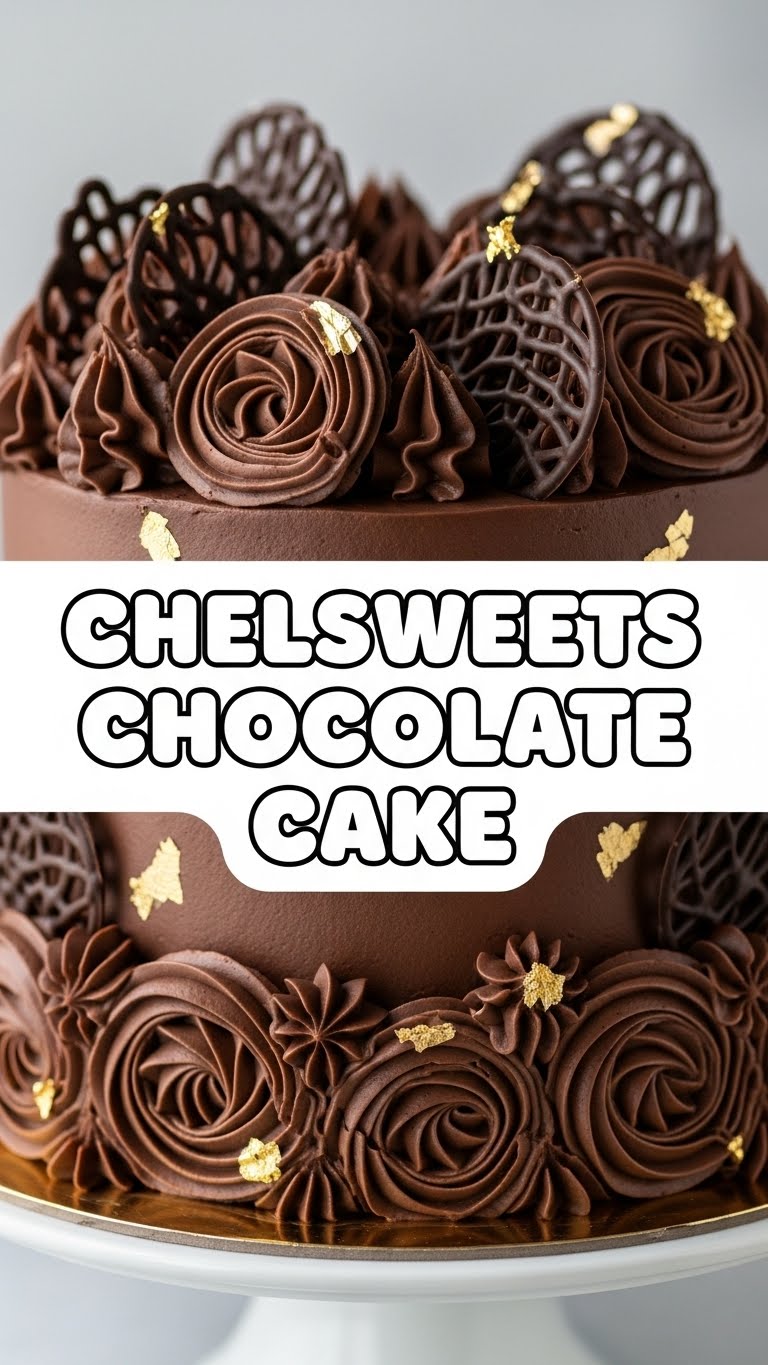
Okay, so you’ve got that chocolate craving gnawing at your soul, but the thought of a complicated recipe makes you wanna just order takeout? Been there, done that, bought the oversized comfy pants. Well, buckle up, buttercup, because we’re about to dive into the magical world of Chelsweets Chocolate Cake – and trust me, it’s easier than trying to get a toddler to eat broccoli. (Seriously, it is!)
Why This Recipe is Awesome
Look, I get it. You’ve seen a million chocolate cake recipes claiming to be “the best.” But this one? This Chelsweets masterpiece isn’t just “the best,” it’s practically a cheat code for deliciousness. It’s super moist, ridiculously rich, and chocolatey enough to make you forget all your problems. Plus, it’s pretty much idiot-proof. Even I, Queen of Occasionally-Burning-Toast, managed to pull this off without setting off the smoke alarm. That’s a glowing recommendation, IMO.
Ingredients You’ll Need
Time to raid your pantry! Most of these are probably chilling in your kitchen right now, just waiting for their moment in the spotlight.
- All-Purpose Flour: The sturdy backbone of our cake. Don’t even think about using self-rising – we’re in control here!
- Granulated Sugar: Because life’s short, eat dessert first. And sweet.
- Unsweetened Cocoa Powder: The star of the show! Go for good quality; your tastebuds will thank you.
- Baking Soda & Baking Powder: Our dynamic duo for lift. Don’t confuse them; they’re not interchangeable, you rebel.
- Salt: Just a pinch, to make all that chocolate sing.
- Eggs: Preferably room temperature. They play nicer that way.
- Milk: Also room temperature. Again, temperamental divas these ingredients are.
- Vegetable Oil (or other neutral oil): For that glorious, never-dry moisture.
- Vanilla Extract: The OG flavor enhancer. Don’t skip it!
- Hot Coffee (or hot water): This is the secret weapon! It doesn’t make the cake taste like coffee, it just makes the chocolate flavor EXPLODE. You’ll thank me later.
Step-by-Step Instructions
- Get Prepped: First things first, preheat your oven to 350°F (175°C). Then, grease and flour two 8-inch round cake pans. Or line ’em with parchment circles if you’re feeling fancy.
- Dry Mix Magic: Grab a large bowl. Whisk together your flour, sugar, cocoa powder, baking soda, baking powder, and salt. Make sure there are no lumpy bits trying to hide!
- Wet Mix Wonder: In a separate medium bowl, whisk together your eggs, milk, vegetable oil, and vanilla extract until they’re all buddy-buddy.
- Combine Forces: Pour the wet ingredients into the dry ingredients. Mix on low speed (or by hand) until just combined. Don’t overmix, or your cake will be tough and sad.
- The Hot Liquid Twist: Now, slowly pour in your hot coffee (or water) while mixing on low speed until the batter is smooth. It’ll be thin, and that’s totally normal! Don’t panic!
- Divide & Conquer: Divide that glorious batter evenly between your two prepared cake pans. Give ’em a little tap on the counter to release any air bubbles.
- Bake It ‘Til You Make It: Pop those beauties into your preheated oven and bake for 30-35 minutes, or until a toothpick inserted into the center comes out clean.
- Cool Down: Let them cool in the pans for about 10-15 minutes before carefully inverting them onto a wire rack to cool completely. Patience is a virtue, especially when cake is involved.
Common Mistakes to Avoid
Nobody’s perfect, but we can avoid some classic oopsies, right?
- Forgetting to Preheat: Rookie move! Your oven needs to be hot and ready, not just kinda warm.
- Overmixing the Batter: This is the quickest way to dry, crumbly cake sadness. Mix until just combined, then back away from the mixer.
- Not Using Room Temperature Ingredients: Seriously, it makes a difference. Cold ingredients don’t emulsify as well, leading to less fluffy cake. Plan ahead, people!
- Opening the Oven Door Too Soon: Resist the urge to peek! You’ll let all the heat out and your cake might sink. Give it at least 25 minutes before you even think about looking.
- Not Letting It Cool Completely: I know, I know. It smells amazing. But trying to frost a warm cake is like trying to ice skate uphill. Everything will melt and slide off. Chill, literally.
Alternatives & Substitutions
Life happens, and sometimes you’re missing an ingredient. Don’t fret! We’ve got options.
- No Coffee? No Problem! If you’re not a coffee drinker or just plain out, hot water works perfectly fine. The coffee just enhances the chocolate, it doesn’t add a coffee flavor, so don’t stress if you skip it.
- Milk Swap: Out of regular milk? Almond, soy, or oat milk will work just as well here. Dairy-free chocolate cake, anyone?
- Oil vs. Butter: This recipe calls for oil for max moisture, but if you’re a butter purist, you can try melted unsalted butter. Just know it might alter the texture slightly – less spongy, maybe a bit more dense. I personally stick with oil for this one, it’s a game changer!
- Smaller Pans: If you only have 6-inch pans, you can use three of them! Just adjust the baking time down a bit (maybe 25-30 mins), keeping an eye on it.
FAQ (Frequently Asked Questions)
- Can I make this into cupcakes?
Heck yes! Fill cupcake liners about two-thirds full and bake for 18-22 minutes. You’ll get around 24 cupcakes. Party time!
- What kind of cocoa powder should I use?
Any good quality unsweetened cocoa powder will do! Natural or Dutch-processed both work fine for this recipe, since we’re using both baking soda and baking powder. Don’t overthink it, just use what you have!
- My cake sank in the middle! What happened?
Oh, the dreaded cake crater! This usually means you either overmixed, opened the oven door too soon, or your leavening agents (baking soda/powder) might be old. Check those expiration dates, champ!
- Can I make this ahead of time?
Absolutely! The cake layers can be baked up to 2-3 days in advance, cooled completely, wrapped tightly in plastic wrap, and stored at room temperature or even frozen for longer storage. Just thaw before frosting.
- Why do you recommend room temperature ingredients? Does it really matter?
YES, it matters, my friend! Room temperature ingredients emulsify better, creating a smoother batter and a more tender, evenly baked cake. Think of it as a cozy hug for your ingredients, making them play nice.
- Can I use margarine instead of butter?
Well, technically yes, but why hurt your soul like that? Margarine has a different fat and water content and can affect the texture and flavor. Stick to oil or real butter if you can!
Final Thoughts
So there you have it, your ultimate guide to conquering the Chelsweets Chocolate Cake. You’ve officially leveled up your baking game, and honestly, you deserve a medal (or at least a huge slice of cake). Now go impress someone – or, more realistically, yourself – with your new culinary superpowers. You’ve earned it, you magnificent baker, you!


