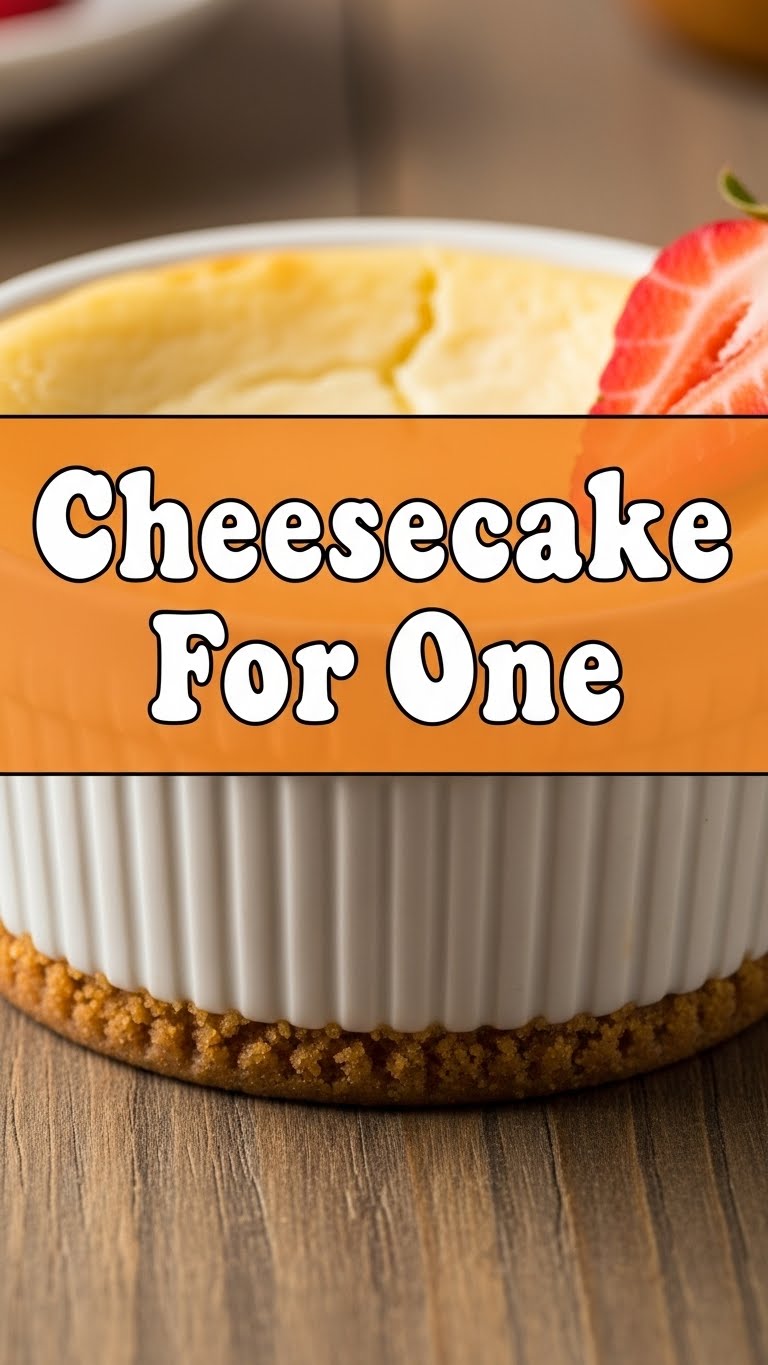
Ever found yourself staring into the fridge, dreaming of cheesecake, but then the sheer thought of making a whole one for just *you* sends shivers down your spine? Yeah, me too. Who needs 12 slices of temptation when one perfect, glorious slice will do? Exactly. BTW, welcome to your new obsession: Cheesecake for One. No sharing required, no leftover guilt (mostly).
Why This Recipe is Awesome
Okay, so why bother with *this* recipe? Well, for starters, it’s basically the culinary equivalent of a hug in a ramekin – but baked. It’s **quick**, like ‘Netflix episode is almost over and I need dessert NOW’ quick. It’s also ridiculously **easy**. Honestly, if I, a person whose most ambitious baking project once involved setting off the smoke detector with toast, can nail this, you absolutely can too. Plus, portion control, baby! Or, you know, portion *for one* control. No judgment here.
Ingredients You’ll Need
- Graham cracker crumbs: About 2 tablespoons. Or crushed digestive biscuits if you’re feeling fancy.
- Melted butter: 1 tablespoon. Because butter makes everything better, duh.
- Cream cheese: 4 ounces (half a standard block). **Full fat is your friend here**, trust me.
- Granulated sugar: 2-3 tablespoons. Adjust to your sweet tooth level.
- Sour cream or plain Greek yogurt: 1 tablespoon. For that tangy kick and extra creaminess.
- Vanilla extract: 1/2 teaspoon. Non-negotiable for flavor.
- Egg yolk: 1. Just the yolk, folks. Don’t be shy, separate it like a pro.
- Lemon juice: 1/2 teaspoon (optional, but highly recommended). Brightens everything up!
Step-by-Step Instructions
- **Preheat Your Oven & Prep Your Dish:** Get that oven heated to 325°F (160°C). Grab an oven-safe ramekin (around 6oz/180ml capacity) and lightly grease it.
- **Crust Time!** In a small bowl, mix the graham cracker crumbs and melted butter. Press this mixture firmly into the bottom of your prepared ramekin. **Don’t skimp on the pressing!** Pop it in the oven for 5 minutes.
- **Cheesecake Batter Magic:** While the crust is pre-baking, combine the cream cheese, sugar, sour cream (or yogurt), vanilla, egg yolk, and lemon juice (if using) in another bowl.
- **Whip It Good:** Use a whisk or a small spatula to mix everything until it’s completely smooth and lump-free. **Don’t overmix!** We’re not making soufflé here, just a smooth, creamy batter.
- **Assemble & Bake:** Pour the glorious cream cheese mixture over your slightly baked crust. Place the ramekin on a small baking sheet (just in case of spills, because life happens).
- **Bake Away:** Bake for 20-25 minutes, or until the edges are set but the center still has a slight wobble. This wobble is key!
- **Cool Down, Chill Out:** Take it out of the oven and let it cool on a wire rack for about 30 minutes. Then, cover it and transfer it to the fridge for at least 2 hours. **The longer it chills, the better!**
- **Toppings & Enjoy!** Add your favorite toppings (berries, chocolate sauce, whipped cream, or just a spoon) and devour!
Common Mistakes to Avoid
- **Overmixing the batter:** This is a big no-no! Too much air means cracks in your cheesecake. Just mix until smooth, then stop.
- **Baking too long:** We want a creamy center, not a dry hockey puck. Watch for that gentle wobble!
- **Skipping the chill time:** I know, I know, it’s hard to wait. But chilling lets the cheesecake set properly and intensifies the flavor. **Patience, young grasshopper!**
- **Using low-fat cream cheese:** Just… don’t. This is a treat, embrace the full fat for optimal creaminess and flavor. You’ll thank me.
Alternatives & Substitutions
- **Crust variations:** No graham crackers? Use crushed shortbread cookies, ginger snaps, or even chocolate wafers for a different vibe.
- **Sour cream alternative:** Plain Greek yogurt works perfectly and adds a nice tang. If you’re really desperate, a tiny splash of heavy cream could work, but sour cream/yogurt is superior.
- **Toppings galore:** Fresh berries (raspberries, blueberries, strawberries), a drizzle of chocolate ganache, a dollop of whipped cream, caramel sauce, or a simple lemon curd. Get creative! Personally, I’m a berry purist with cheesecake. So refreshing!
FAQ (Frequently Asked Questions)
- **”Can I bake this in a regular muffin tin?”** Yep! Just use a lined muffin cavity. Baking time might be slightly less, so keep an eye on it.
- **”My cheesecake cracked! What happened?”** Probably overmixed or overbaked. Or maybe a sudden temperature change during cooling. Don’t worry, it still tastes amazing! Just cover it with toppings. No one will know.
- **”Do I *have* to use an egg yolk?”** It adds richness and helps with structure and creaminess. You could *try* skipping it, but it might be a bit softer and less decadent. IMO, it’s worth the effort.
- **”How long does it last?”** Stored covered in the fridge, it’ll be good for 3-4 days. But let’s be real, it won’t last that long.
- **”Can I make two at once?”** Absolutely! Just double all the ingredients and bake them side-by-side. More cheesecake, more happiness!
Final Thoughts
See? I told you it was easy! Now you’ve got this glorious, perfectly portioned cheesecake just for *you*. No need to share, no awkward “just one more slice” internal debates. Just pure, unadulterated dessert bliss. So go on, bask in your culinary glory, you magnificent dessert wizard! You totally earned this.


