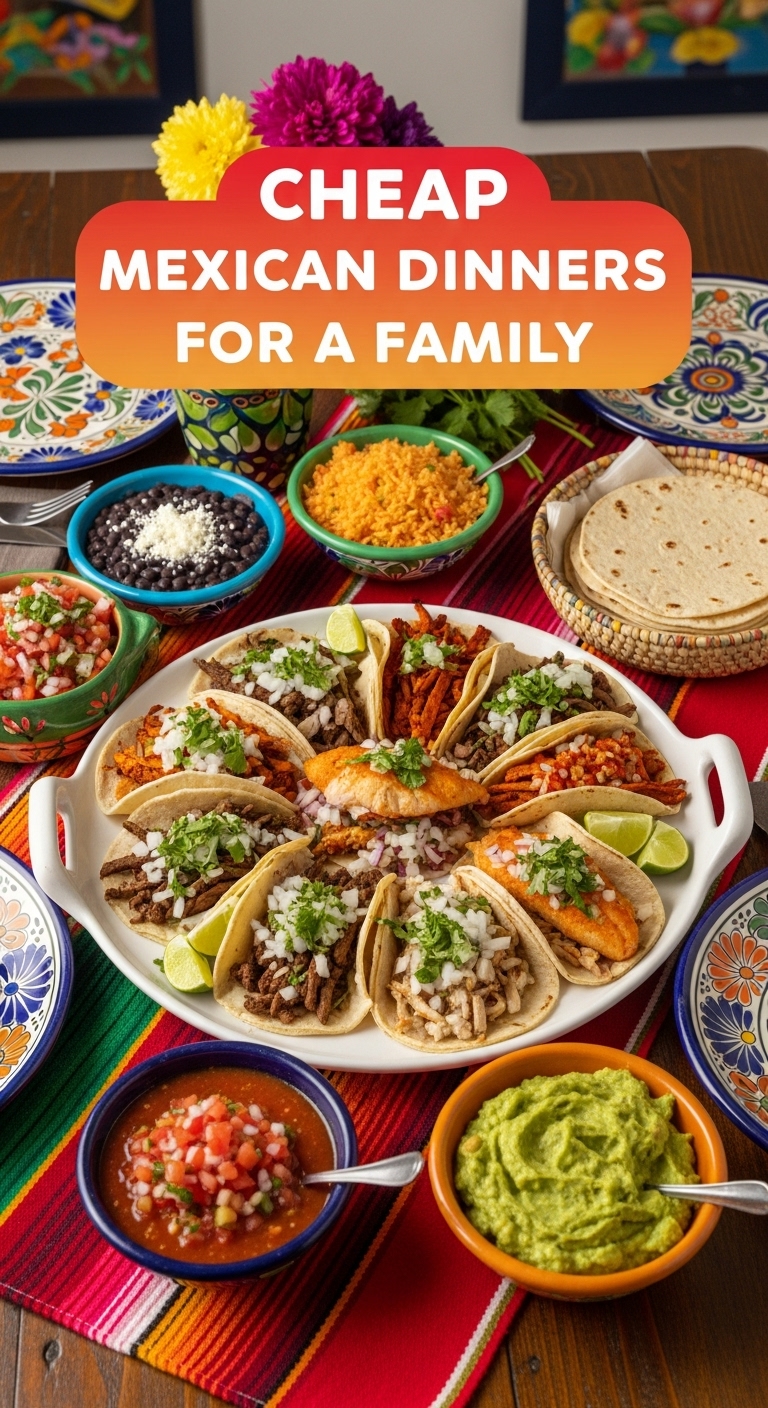
So, you’re staring into the abyss of an empty fridge, your wallet’s feeling a bit thin, and the kids are chanting “I’m hungry!” like a tiny, insistent cult? Been there, my friend, been there. But fear not, because tonight we’re not just making dinner; we’re making a **budget-friendly, crowd-pleasing, “I-can’t-believe-this-was-so-easy” Mexican feast** that’ll make everyone happy without breaking the bank or your spirit. No fancy techniques, no obscure ingredients, just pure, unadulterated deliciousness. Ready to get this fiesta started?
Why This Recipe is Awesome
Okay, let’s talk about why this “Build-Your-Own Speedy Mexican Bowls (or Nachos!)” concept is your new weeknight superhero. First off, it’s **idiot-proof**. Seriously, even if your cooking skills extend only to making toast, you got this. Secondly, it’s cheap. Like, “I can pay my rent AND eat well” cheap. We’re talking canned beans and rice, people! Thirdly, it’s versatile. Bowls tonight, nachos tomorrow, maybe even a burrito for lunch. And finally, minimal cleanup. Because who wants to spend an hour scrubbing pots when you could be binging your favorite show? Not me, that’s for sure. It’s basically a hug in a bowl, with a side of fiscal responsibility.
Ingredients You’ll Need
Gather ’round, my frugal foodies! Here’s your shopping list. Don’t worry, it’s short and sweet, just like your patience after a long day.
- 1 tbsp Olive Oil: Or whatever oil is lurking in your pantry.
- 1 medium Onion: Diced, because nobody likes big surprise chunks.
- 2 cloves Garlic: Minced. The more the merrier, IMO.
- 2 cans (15 oz each) Black Beans or Pinto Beans: Drained and rinsed. Because bean juice is for villains.
- 1 cup Salsa: Your favorite jarred kind. Mild, medium, hot – you do you!
- 1 tsp Chili Powder: For that warm, cozy hug.
- ½ tsp Cumin: Essential for giving it that “mmm, Mexican!” vibe.
- Salt & Pepper: To taste, obviously.
- 2 cups Cooked Rice: Brown, white, minute rice – whatever you’ve got. Make it ahead if you’re feeling fancy.
- 2 cups Shredded Cheese: Cheddar, Monterey Jack, a Mexican blend. All are welcome.
- Your Choice of Base:
- For Bowls: More cooked rice! Or lettuce, if you’re trying to be healthy (bless your heart).
- For Nachos: A bag of sturdy Tortilla Chips.
- Optional Toppings (where the fun happens!):
- Sour cream or Greek yogurt (for a healthier tang)
- Chopped cilantro
- Diced avocado or a dollop of guacamole
- Pickled jalapeños (for a kick!)
- Extra salsa
- Hot sauce (because why not?)
- Corn (canned or frozen, thawed)
Step-by-Step Instructions
Alright, apron on (or don’t, I won’t judge), let’s make some magic. These steps are so easy, you could probably do them in your sleep.
- Get Your Rice On: If you don’t have cooked rice already, get that going first. Follow package directions, or just throw some instant rice in the microwave if you’re truly in a hurry. You’ll need about 2 cups cooked for the bean mixture and more for your bowls.
- Sauté the Aromatics: Heat the olive oil in a medium pan over medium heat. Toss in your diced onion and cook until it’s soft and translucent, about 5 minutes. Add the minced garlic and cook for another minute until fragrant. Don’t let it burn, or it’ll be bitter, and nobody wants a bitter dinner.
- Bean Me Up, Scotty: Drain and rinse your black or pinto beans (seriously, don’t skip the rinsing!). Add them to the pan with the cooked onion and garlic. Stir in the salsa, chili powder, and cumin. Give it a good stir, and let it simmer for about 5-7 minutes, allowing those flavors to get to know each other really well. Season with salt and pepper to taste.
- Assemble Your Masterpiece (Choose Your Own Adventure):
- For Bowls: Grab individual bowls. Scoop a generous amount of cooked rice (your base) into each. Spoon the warm bean mixture over the rice.
- For Nachos: Spread your tortilla chips in a single layer on a baking sheet. Spoon the bean mixture evenly over the chips.
- Cheese Please! Sprinkle a hefty amount of shredded cheese over your bowls or nachos. If doing nachos, pop the baking sheet into a preheated oven (around 375°F / 190°C) for 5-7 minutes, or until the cheese is gloriously melted and bubbly. For bowls, you can microwave them for 30-60 seconds until the cheese is melty, or just enjoy it slightly soft from the warm beans.
- Top It Off: This is where you get creative! Add your favorite toppings. A dollop of sour cream, some fresh cilantro, a few slices of avocado, maybe a dash of hot sauce if you’re feeling brave. Serve immediately and bask in the glory of your culinary genius.
Common Mistakes to Avoid
Listen, we all make mistakes. It’s how we learn! But let’s try to avoid these rookie errors, shall we?
- Skipping the Seasoning: Just beans and rice? Bland city, population: you. **Always taste and adjust your salt, pepper, chili powder, and cumin.** Don’t be shy!
- Forgetting to Rinse the Beans: That can of bean liquid? It’s starchy, salty, and can give your dish an odd flavor. Rinse ’em clean, friend.
- Overcrowding the Nacho Pan: If you’re doing nachos, piling too many chips on one sheet pan means some won’t get cheesy or crispy. Give them room to breathe!
- Ignoring the Toppings: The bean and rice mixture is good, but the toppings are what elevate it from “meal” to “experience.” Don’t skimp on the fun stuff!
- Underestimating the Power of a Good Spoon: Seriously, a good, sturdy serving spoon makes the whole “building” process so much easier. Trust me on this.
Alternatives & Substitutions
This recipe is like a chameleon; it adapts! Here are some ways to switch things up based on your pantry or mood:
- Bean Bonanza: Not a fan of black beans? Pinto beans work great, and even kidney beans can step up to the plate. If you have refried beans, you can thin them out with a splash of water or broth for a creamier texture.
- Protein Power-Up: Want to add some meat? Brown a pound of ground beef, turkey, or shredded chicken with the onions and garlic. Season it up and mix it into the beans. Voila, meaty goodness!
- Veggie Vibes: Stir in some frozen corn, diced bell peppers, or even a handful of spinach with the beans for extra nutrients and color. Nobody said healthy can’t be tasty!
- Cheese Whiz: Any good melting cheese will do. Colby, pepper jack (if you like a little heat), even a sprinkle of cotija cheese after baking for a salty finish.
- Base Swaps: Instead of rice or chips, try serving the bean mixture in warm flour tortillas or corn tortillas for quick tacos. Or scoop it into crunchy lettuce cups for a super light option.
FAQ (Frequently Asked Questions)
Got questions? I’ve got answers. Mostly.
- “Can I make this vegetarian/vegan?”
Absolutely! It’s already vegetarian. To make it vegan, just skip the cheese (or use a vegan shred), and swap the sour cream for a plant-based alternative or some creamy avocado. Easy peasy! - “How long do the leftovers last?”
If you even have any, you mean? The bean mixture keeps well in an airtight container in the fridge for 3-4 days. Store your toppings separately to keep them fresh. - “What if I don’t have all the spices?”
Don’t panic! The chili powder and cumin are key for that classic flavor, but if you’re missing one, it’s not the end of the world. You can substitute a pinch of smoked paprika for chili powder, or use a general “taco seasoning” blend if you have it. Improvise, chef! - “Can my kids help make this?”
Oh, definitely! Get them involved. They can rinse the beans, stir the mixture (carefully!), and *definitely* be in charge of the all-important topping station. It’s a great way to make dinner fun. - “Is it actually *cheap* cheap?”
My friend, this is the epitome of cheap. Canned beans, rice, and salsa are some of the most budget-friendly staples you can buy. Your wallet will thank you. - “Can I make it spicier?”
You betcha! Add a pinch of cayenne pepper to the bean mixture, dice up some fresh jalapeños or serrano peppers, or just go wild with the hot sauce. Your mouth, your rules.
Final Thoughts
So there you have it, folks! A ridiculously easy, unbelievably tasty, and seriously cheap Mexican dinner that’s perfect for a family, a solo feast, or even feeding an unexpected crowd. It’s proof that amazing food doesn’t need a hefty price tag or hours in the kitchen. Now go impress someone—or yourself—with your new culinary skills. You’ve earned it! And maybe, just maybe, you’ll actually have some cash left over for that extra bag of chips. 😉 Happy cooking!


