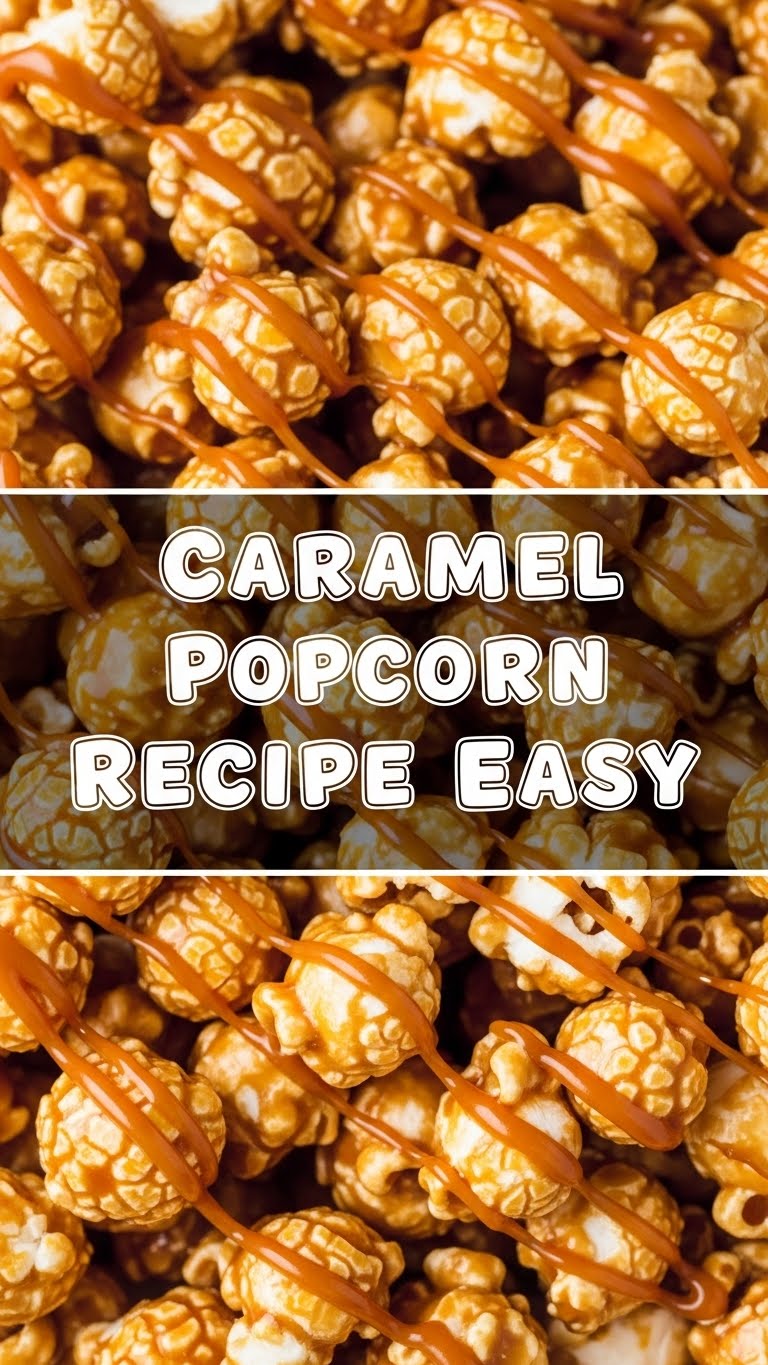
So you’re craving something warm, gooey, sweet, and perfectly crunchy, but the idea of spending hours in the kitchen sounds like a punishment? My friend, you’ve come to the right place. We’re about to make the easiest, most ridiculously delicious caramel popcorn known to humanity. And no, you don’t need a culinary degree – just a sweet tooth and a microwave. Let’s do this!
Why This Recipe is Awesome
Okay, let’s be real. We all have those moments when we want to feel like a domestic goddess/god, but our patience level is, shall we say, ‘limited.’ This recipe? It’s basically magic. It’s so simple, it’s almost insulting. You’ll look like a culinary genius, and all you did was microwave a few things and stir. Seriously, if I can do it without burning the house down, you’re golden. Plus, it uses ingredients you probably already have lurking in your pantry, so no emergency grocery runs needed. Win-win!
Ingredients You’ll Need
- Popped Popcorn: About 10-12 cups. Make it fresh, or grab a bag of plain, air-popped stuff. No butter or salt added, unless you like your caramel popcorn a little… extra.
- Unsalted Butter: ½ cup (that’s one stick). Don’t skimp on the good stuff!
- Brown Sugar: ½ cup, packed. Light or dark, your call. It’s giving us that deep, molasses-y goodness.
- Corn Syrup: ¼ cup. Don’t fear the syrup! It’s our secret weapon for *not* having rock-hard caramel.
- Salt: ½ teaspoon. Crucial for balancing all that sweetness. Trust me on this.
- Vanilla Extract: ½ teaspoon. A little splash of fancy.
- Baking Soda: ½ teaspoon. This is the real MVP, making our caramel light and airy instead of tooth-breakingly hard. Science!
Step-by-Step Instructions
Get Poppin’: First things first, pop your popcorn! Aim for about 10-12 cups. Spread it out in a large, heat-proof bowl. Make sure it’s big enough to stir comfortably without popcorn flying everywhere.
Caramel Magic, Part 1 (Microwave Prep): In a separate, microwave-safe bowl (make sure it’s a big one, because that caramel will bubble!), combine the butter, brown sugar, corn syrup, and salt.
Caramel Magic, Part 2 (Microwave Time!): Microwave the butter mixture on high for 2 minutes. Take it out, give it a good stir. Pop it back in for another 2 minutes. Stir again. Now, for the grand finale, microwave for one more minute. Be careful, it’ll be hot and bubbly!
The Secret Sauce: Quickly stir in the vanilla extract and, most importantly, the baking soda. Watch it bubble up and lighten! This is exactly what we want.
Drizzle & Toss: Immediately pour the hot caramel over your waiting popcorn. Grab a sturdy spoon or spatula and gently, but thoroughly, toss to coat every single piece of popcorn. Be patient, it might take a minute or two to get everything covered.
Bake (Optional but Recommended): For that perfectly crisp, chewy, and non-sticky texture, spread the coated popcorn onto a large baking sheet lined with parchment paper. Bake at 250°F (120°C) for about 30-40 minutes, stirring every 10-15 minutes. This step is a game-changer, IMO.
Cool Down & Break Up: Let it cool completely on the baking sheet. As it cools, it’ll harden and become delightfully crunchy. Once cool, break up any large clumps. Try not to eat it all in one sitting (good luck with that!).
Common Mistakes to Avoid
- Not using a big enough bowl for the caramel: You’ll end up with a sticky, bubbly mess all over your microwave. Trust me, I speak from experience.
- Skipping the baking soda: Your caramel will be a jawbreaker instead of a delightful, airy coating. Don’t do it to yourself (or your teeth!).
- Not stirring the popcorn enough: You’ll have some super-caramelized pieces and some sad, naked pieces. Aim for even distribution!
- Thinking you don’t need to bake it: While technically edible right after coating, baking truly elevates it from “good” to “OMG, I need more!” It gets rid of that slight stickiness. Don’t skip the bake if you want bakery-level results!
Alternatives & Substitutions
- Popcorn Base: Feel free to use microwave popcorn if you’re *really* lazy, just make sure it’s the plain, unsalted kind. Or, try different types of popcorn kernels for varied textures.
- Brown Sugar: You *could* try granulated sugar, but you’ll lose some of that deep, rich caramel flavor. Not recommended, but hey, you do you.
- Corn Syrup: Maple syrup or golden syrup can work in a pinch, but corn syrup gives the best texture for avoiding crystallization.
- Flavor Boosts: Feeling fancy? A pinch of cinnamon or a tiny dash of cayenne pepper (for a sweet-spicy kick!) can be fun additions to the caramel mixture. Or, drizzle with melted chocolate after it cools!
FAQ (Frequently Asked Questions)
- “Can I use margarine instead of butter?” Well, technically yes, but why hurt your soul like that? Butter just tastes better, let’s be honest. For a treat like this, splurge a little!
- “My caramel turned out hard as a rock! What went wrong?” You probably skipped the baking soda, didn’t you? Or maybe you overcooked it significantly. Baking soda is key for that soft chew!
- “How do I store this deliciousness?” Once completely cool, store it in an airtight container at room temperature for up to a week. If it lasts that long, you have more self-control than I do.
- “Can I double the recipe?” Absolutely! Just make sure you have an even bigger bowl for the popcorn and maybe do the caramel in two batches if your microwave bowl isn’t huge.
- “What if I don’t have a microwave?” No worries! You can make the caramel on the stovetop. Combine ingredients in a saucepan, bring to a boil, and boil for about 3-4 minutes, stirring constantly, until it reaches about 240°F (116°C) on a candy thermometer. Then proceed with vanilla and baking soda.
Final Thoughts
And there you have it! Your very own batch of ridiculously easy, ridiculously delicious caramel popcorn. Go ahead, brag a little. You totally deserve it. Now go impress someone—or yourself—with your new culinary skills. You’ve earned it! Just try not to eat the entire batch yourself… unless you want to. No judgment here! Enjoy!


