So, you’ve got that craving, huh? That deep, dark desire for something sweet, something appley, something… *caramel-y*, but also warm and gooey like pie? Yeah, I get it. And you probably want it *now*, without turning your kitchen into a disaster zone or spending an entire afternoon playing baker. Good news, my friend. We’re about to make magic. Get ready for the easiest, most ridiculously satisfying Caramel Apple with Apple Pie Filling creation your tastebuds have ever met!
Why This Recipe is Awesome
Let’s be real, life’s too short for complicated desserts unless you’re, like, a professional pastry chef (and even then, probably not). This recipe? It’s the ultimate ‘I want to impress people but also be lazy’ treat. Seriously, it’s so simple, even my cat could *almost* follow along – and he mostly just bats at dust bunnies. It combines the best of a gooey caramel apple with the comfort of apple pie, all without you having to wrestle a whole pie crust. It’s basically a dessert cheat code. You’re welcome.
Ingredients You’ll Need
- **A few sturdy apples:** (3-4 medium, peeled, cored, and chopped). Think Granny Smith for that tart balance, or Honeycrisp if you’re feeling fancy. Don’t be shy.
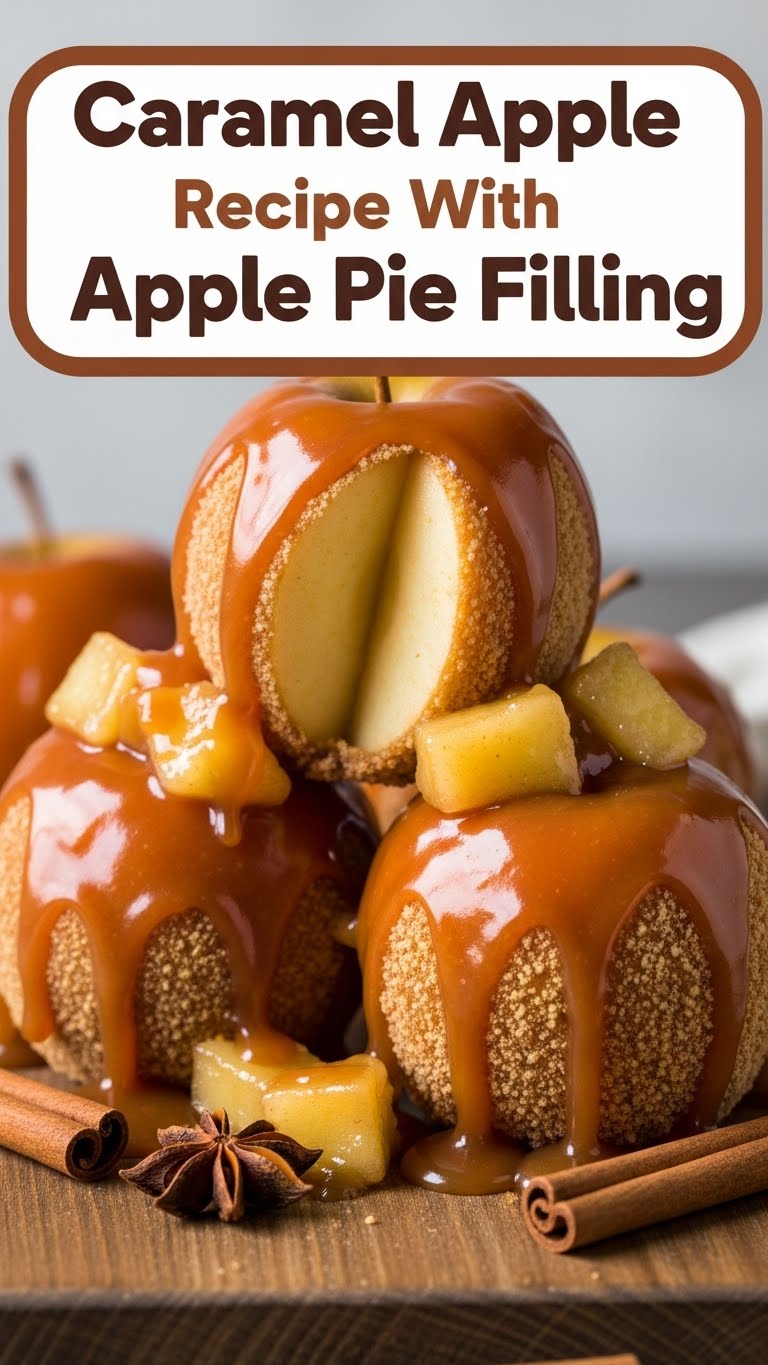
- **One can (21 oz) of your favorite apple pie filling:** Yes, *canned*. We’re not making life harder than it needs to be, remember? This is our secret shortcut to deliciousness.
- **Store-bought caramel sauce:** (About 1 cup, the squeeze bottle kind, because convenience is king). Or more. No judgment here.
- **2 tablespoons of unsalted butter:** Because everything’s better with butter, duh.
- **1/4 cup light brown sugar:** For that extra sticky, sweet goodness.
- **1/2 teaspoon ground cinnamon:** Gives it that ‘grandma’s kitchen’ smell.
- **Optional Toppings:** Whipped cream, vanilla ice cream, chopped nuts, a sprinkle of sea salt. Go wild, you magnificent beast.
Step-by-Step Instructions
- **Prep Your Apples:** First things first, get those apples ready. Peel, core, and chop ’em into bite-sized pieces. Don’t go too tiny, or they’ll turn to mush. We want texture!
- **Sauté Time:** Melt your butter in a large skillet over medium heat. Toss in your chopped apples, brown sugar, and cinnamon. Cook for about 5-7 minutes, stirring occasionally, until the apples start to soften a bit but still have some crunch. This step makes them extra flavorful and prevents them from getting totally lost in the pie filling.
- **Introduce the Filling:** Now, pour in that can of apple pie filling. Stir it all together with your sautéed apples and let it simmer for another 3-5 minutes. You want everything warm and happy, bubbling gently. **Don’t overcook, or you’ll lose that lovely apple texture.**
- **Caramel Drizzle:** Take your skillet off the heat. Drizzle about half of your caramel sauce over the apple mixture and stir it in gently. This coats everything in that glorious sticky sweetness and makes it impossibly good.
- **Serve It Up:** Spoon your warm, carameled apple mixture into bowls. Drizzle the remaining caramel sauce over the top like you’re an artist. Add any optional toppings you desire – a dollop of whipped cream, a scoop of ice cream, some crunchy nuts. Voila! Instant dessert hero.
Common Mistakes to Avoid
- **Using mushy apples:** Please don’t use mealy apples. They’ll just disintegrate and you’ll end up with a sad, apple-flavored goo. Granny Smiths are your BFF here for holding shape and giving that tart kick.
- **Forgetting to stir:** Your apples will stick and burn. Sad face. Stir them, people! A little attention goes a long way.
- **Overdoing the caramel too early:** Is there such a thing? *Technically* no, but if you want to actually taste the apples, maybe hold back a *smidge* when stirring it in. You can always add more at the end, **you can’t take it away.**
- **Not serving warm:** This dessert is meant to be warm and gooey. Cold caramel is… less fun. Pop it in the microwave for a few seconds if it cools down.
Alternatives & Substitutions
- **Different Apples:** Not a Granny Smith fan? Try Honeycrisp or Fuji for a sweeter version. Just know they might break down a little more. Embrace the goo!
- **Spice It Up:** Feeling adventurous? Add a pinch of nutmeg or a tiny dash of allspice with your cinnamon. It’s like a secret flavor handshake that just screams “fall.”
- **Homemade Caramel:** If you’re feeling *extra* ambitious and have an hour to kill, sure, make your own caramel. But honestly? The store-bought stuff is perfectly fine for this, and our goal here is minimal effort, maximum deliciousness.
- **Toppings Galore:** Crushed graham crackers? Chopped pecans? A scoop of vanilla bean ice cream? A sprinkle of flaky sea salt to cut the sweetness? Yes, yes, and yes! This is your dessert playground.
FAQ (Frequently Asked Questions)
- **Q: Can I make this ahead of time?** A: You *can*, but it’s really best served warm and fresh. The apples get a little softer. If you must, reheat gently on the stove or microwave.
- **Q: What if I don’t have brown sugar?** A: White sugar will work, but brown sugar gives a deeper, more molasses-y flavor. **IMO**, it’s worth getting the brown stuff for that extra depth.
- **Q: My caramel is too thick, help!** A: Sometimes it gets a bit stiff when it cools. Pop the bottle in a bowl of warm water for a few minutes, or microwave it for 10-15 seconds. Just be careful, it gets hot fast!
- **Q: Is this healthy?** A: Bless your heart. We’re talking about caramel and pie filling. It’s ‘healthy for your soul’ food. Enjoy it in moderation, my friend.
- **Q: Can I add nuts to the apple mixture?** A: Absolutely! Toss them in with the apples during the sauté step for a little crunch. Walnuts or pecans would be amazing.
- **Q: How long does it last in the fridge?** A: If you have any leftovers (which is doubtful, let’s be real), it’ll keep in an airtight container for 2-3 days. Reheat before serving!
Final Thoughts
See? I told you it was easy! You just whipped up a dessert that tastes like pure autumn indulgence without breaking a sweat. Now go impress someone—or yourself—with your new culinary skills. You’ve earned those bragging rights, and more importantly, you’ve earned that delicious, gooey goodness. Happy eating, superstar!


