So, you’ve got those sad, spotty bananas sitting on your counter, practically begging for a glow-up? And maybe, just maybe, you’re dreaming of banana bread that basically makes itself and lasts forever (well, almost)? My friend, you’ve come to the right place. We’re diving into the ridiculously fun world of baking banana bread *in* jars. It’s like regular banana bread, but with a secret agent twist: ready whenever you are, and perfect for impressing people with minimal actual effort. Let’s get baking!
Why This Recipe is Awesome
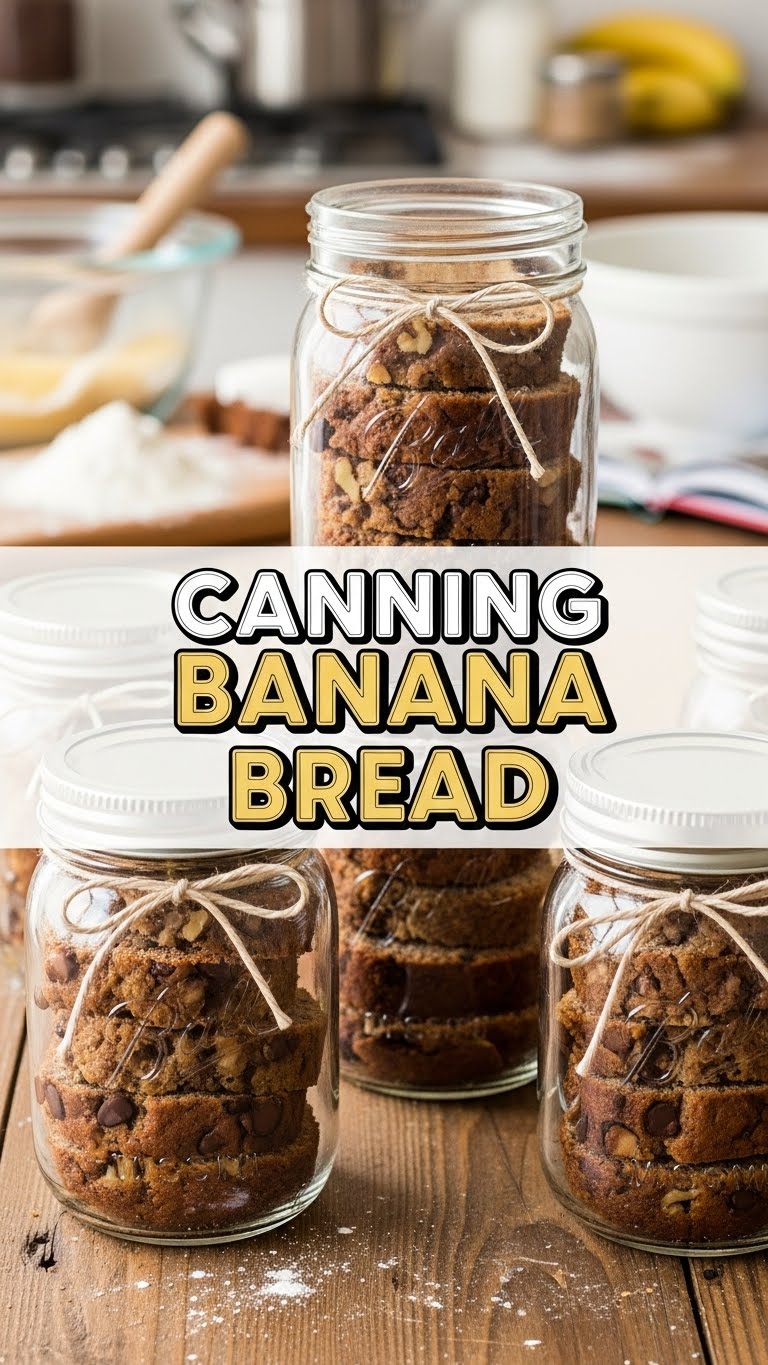
Look, we all love a good loaf of banana bread. But what if I told you we could make it even better? By baking it in jars, you get perfectly portioned, adorable little loaves that stay moist for days (under the right conditions, of course—more on that important bit later!).
It’s practically **idiot-proof**. Seriously, if I can do it without setting off the smoke detector, you can too. This method is also fantastic for gifting; who doesn’t love receiving a cute jar of homemade deliciousness? Plus, it means you can whip up a batch, store ’em, and have a banana bread fix whenever that craving hits, without having to bake a whole new loaf. Wins all around, IMO.
Ingredients You’ll Need
Gather ’round, fellow banana bread enthusiasts! Most of these you probably have lying around. No fancy stuff, just pure, unadulterated goodness.
- 3-4 ripe bananas: We’re talking brown spots, practically black, the ones you almost threw out. These are your flavor powerhouses!
- 1/2 cup (1 stick) unsalted butter: Melted, because who has time to soften butter?
- 1 large egg: Room temp is best, but if you forget, don’t sweat it.
- 1 teaspoon vanilla extract: A splash of magic.
- 1 cup all-purpose flour: The backbone of our bread.
- 1/2 cup granulated sugar: For that sweet, sweet goodness. Adjust if your bananas are mega-sweet.
- 1 teaspoon baking soda: Our fluffy-maker.
- 1/2 teaspoon salt: To balance all that sweetness and make everything pop.
- Pint-sized wide-mouth canning jars (about 4-5): Washed, dried, and ready for their starring role. Don’t forget the lids and rings!
Step-by-Step Instructions
Alright, apron on (or not, we’re not judging), let’s get this show on the road!
- Prep Your Bananas: In a large bowl, mash those ripe bananas with a fork. You want some chunks in there for texture, so don’t go crazy. Embrace the lumpiness!
- Wet Ingredients Unite: Add the melted butter, egg, and vanilla extract to the mashed bananas. Whisk it all together until just combined. Don’t overmix; we’re making bread, not meringue.
- Dry Ingredients Party: In a separate bowl, whisk together the flour, sugar, baking soda, and salt. Make sure there are no lumps of baking soda hanging out, or you’ll get a weird bitter spot (trust me, been there).
- Combine & Conquer: Gently fold the dry ingredients into the wet ingredients. Mix until *just* combined. A few streaks of flour are totally fine; overmixing develops gluten, which makes tough bread. We want tender, moist bread, remember?
- Jar Up!: Now for the fun part. **Grease the inside of your canning jars VERY well.** This is crucial for easy removal later. Fill each jar about halfway or a little less (roughly 1/2 to 2/3 cup of batter per pint jar). This prevents overflowing during baking, which is a mess you don’t need.
- Bake It Up: Preheat your oven to 350°F (175°C). Place the filled jars on a baking sheet (just in case of any rogue overflow, though if you didn’t overfill, you’re golden). Bake for 30-40 minutes, or until a toothpick inserted into the center comes out clean.
- Cool & Seal (but not for canning!): Let the jars cool on a wire rack. While still warm, some people like to put on the lids and rings. This can create a *slight* vacuum seal as it cools, but **it is NOT a safe canning method for shelf-stable storage.** These are baked goods in jars. They are delicious, but they are NOT truly canned.
- Enjoy or Store: Once cooled, these are ready to devour! If you’re not eating them immediately, **store them in the refrigerator for up to a week, or freeze them for longer storage (up to 3 months).** Don’t be fooled by the seal; this bread needs to be kept cold!
Common Mistakes to Avoid
Nobody’s perfect, but we can avoid some classic banana bread blunders together. Learn from my mistakes, folks!
- Using underripe bananas: This is a cardinal sin. Your bread will lack flavor and sweetness. **Black spots are your friend!**
- Overmixing the batter: As mentioned, tough bread is sad bread. Mix just until combined.
- Not greasing the jars properly: Rookie mistake! Your delicious bread will be glued to the glass, and you’ll have to chisel it out. Use butter, cooking spray, or whatever makes you happy, but use enough!
- Overfilling the jars: Nobody wants an erupting banana bread volcano in their oven. Stick to about halfway full.
- **Thinking this is shelf-stable canning:** This is a big one! While baking in jars is super convenient, the density and low acidity of banana bread mean it’s not safe for traditional water bath or pressure canning to achieve shelf-stable pantry storage. **Always refrigerate or freeze your jarred banana bread!** Don’t risk it, your tummy will thank you.
Alternatives & Substitutions
Feeling creative? Mix things up a bit! This recipe is pretty forgiving.
- Nuts: Walnuts or pecans are classic. Add 1/2 to 1 cup with the dry ingredients. Toasted nuts? Even better!
- Chocolate Chips: Who doesn’t love chocolate? Add 1/2 to 1 cup of your favorite kind (milk, dark, white—go wild!) with the dry ingredients.
- Spices: A pinch of cinnamon or nutmeg can elevate the flavor profile beautifully.
- Dairy-Free: Swap the butter for coconut oil or a plant-based butter alternative. You might need a splash of plant-based milk if the batter seems too thick.
- Gluten-Free: Use a 1:1 gluten-free baking flour blend. Works like a charm!
FAQ (Frequently Asked Questions)
Got questions? I’ve got answers (and a bit of sass).
- Can I use frozen bananas? Absolutely! Just thaw them first, and don’t drain the liquid—that’s extra flavor!
- My bananas aren’t ripe enough! Help! Pop them on a baking sheet and bake at 300°F (150°C) for 15-30 minutes until their skins turn black. Let them cool, then mash. Crisis averted!
- What size jars are best? Pint jars are ideal for individual servings or gifting. Half-pint jars are cute but might require adjusting baking time slightly.
- **So, I can’t actually *can* this for the pantry?** Nope! And this is important: for safety reasons, baked goods are **not suitable for traditional canning methods** (water bath or pressure canning) for shelf-stable storage. The “seal” you might get is just a vacuum from cooling, not a guarantee against spoilage. Think of this as “banana bread baked *in* a jar” rather than “canned banana bread.”
- How do I get the bread out of the jar easily? Make sure you greased those jars like your life depended on it! A thin knife or spatula run around the edges after it’s cooled usually does the trick.
- Can I add other fruits? You bet! A handful of blueberries or diced apples would be delicious, but remember to keep the total wet ingredient ratio balanced.
Final Thoughts
There you have it, folks! Your new go-to recipe for banana bread that’s not only ridiculously tasty but also super convenient and fun to make. Whether you’re making a batch for yourself (no judgment here) or whipping them up as charming gifts, you’re going to love these. Now go impress someone—or yourself—with your new culinary skills. You’ve earned it!


