So you’re craving something warm, comforting, and apple-y but the thought of making a pie *right now* makes you want to crawl under a blanket? Been there, done that, got the crumb-stained T-shirt. What if I told you there’s a way to have that pie filling ready to go, like magic, whenever the mood strikes? Yep, we’re talking canning apple pie filling, but with a twist that’ll make your life infinitely easier.
Why This Recipe is Awesome
Because, my friend, this isn’t just a recipe; it’s a superpower. Imagine: a dreary Tuesday night, you’re scrolling through Netflix, and BAM! Apple pie craving hits. Instead of sighing dramatically and ordering pizza, you grab a jar of this heavenly stuff from your pantry. Pop it in a crust, bake, and voilà! Instant hero status. It’s like having a dessert genie in a jar, only you’re the genie, and the wish is for pie. Future you will seriously high-five past you for this.
Plus, it’s a fantastic way to deal with that apple bounty from the orchard (or, let’s be real, the grocery store sale). And the best part? It uses a special thickener that actually makes it safe for canning. No mushy, watery filling disasters here. **It’s idiot-proof, even I didn’t mess it up!**
Ingredients You’ll Need
Gather your troops! Here’s what you’ll need to conjure up some apple-y goodness. Measurements are for a typical batch, but feel free to scale up if you’re feeling ambitious (and have a lot of apples!).
- 6 lbs firm apples: Think Granny Smith, Honeycrisp, Fuji, or Braeburn. You want ones that hold their shape and have a nice tart-sweet balance. Don’t be shy!
- 2 cups granulated sugar: Adjust to your sweet tooth and apple tartness.
- 4 cups water: Good old H2O, nothing fancy.
- 1 cup bottled lemon juice: Essential for safety and to keep those apples from browning into a sad, murky mess.
- 1 teaspoon ground cinnamon: Because what’s apple pie without that cozy, warm hug of cinnamon?
- 1/2 teaspoon ground nutmeg: Just a pinch, to make things extra homey.
- 1/4 teaspoon ground allspice (optional): For an extra layer of spice sophistication.
- 2 cups Clear Jel (Cook Type): **STOP! This is your secret weapon, NOT cornstarch!** You might’ve heard of cornstarch for thickening, but for safe canning, Clear Jel is the MVP. It’s a modified food starch that handles high heat and acidity like a champ. Trust me on this one; we’ll talk more about it later.
Step-by-Step Instructions
Ready to get your hands sticky? Let’s make some magic happen!
- Prep Your Jars: First things first, wash 7-quart canning jars (or 14 pint jars) in hot, soapy water. Rinse them well and keep them warm in your canner or a hot water bath. Sterilize the lids and rings according to manufacturer directions. You want everything sparkling clean and ready to go.
- Apple Attack! Time to tackle those apples. Peel, core, and slice them into uniform 1/2-inch pieces. Try to keep them consistent so they cook evenly. Place the sliced apples in a large bowl and toss them with a tablespoon or two of extra lemon juice to prevent browning while you prep everything else.
- Syrup Sizzle: In a large, non-reactive pot (stainless steel is great), combine the sugar, 4 cups water, bottled lemon juice, cinnamon, nutmeg, and allspice (if using). Bring this mixture to a rolling boil over medium-high heat, stirring until the sugar dissolves.
- The Clear Jel Charm: Here’s the critical part! In a separate bowl, whisk the Clear Jel with 1 cup of cold water until it’s completely smooth and lump-free. Once your syrup is boiling, slowly whisk the Clear Jel mixture into the hot syrup. Keep whisking constantly until the mixture thickens and comes back to a full boil. This usually takes about 1-2 minutes. **Don’t skimp on the whisking; we want smooth, not lumpy!**
- Apple Bath: Gently fold your prepared apple slices into the thickened syrup. Bring the mixture back to a gentle boil, stirring occasionally. Cook just until the apples are heated through and slightly tender-crisp, about 3-5 minutes. You don’t want them mushy; they’ll cook more during processing.
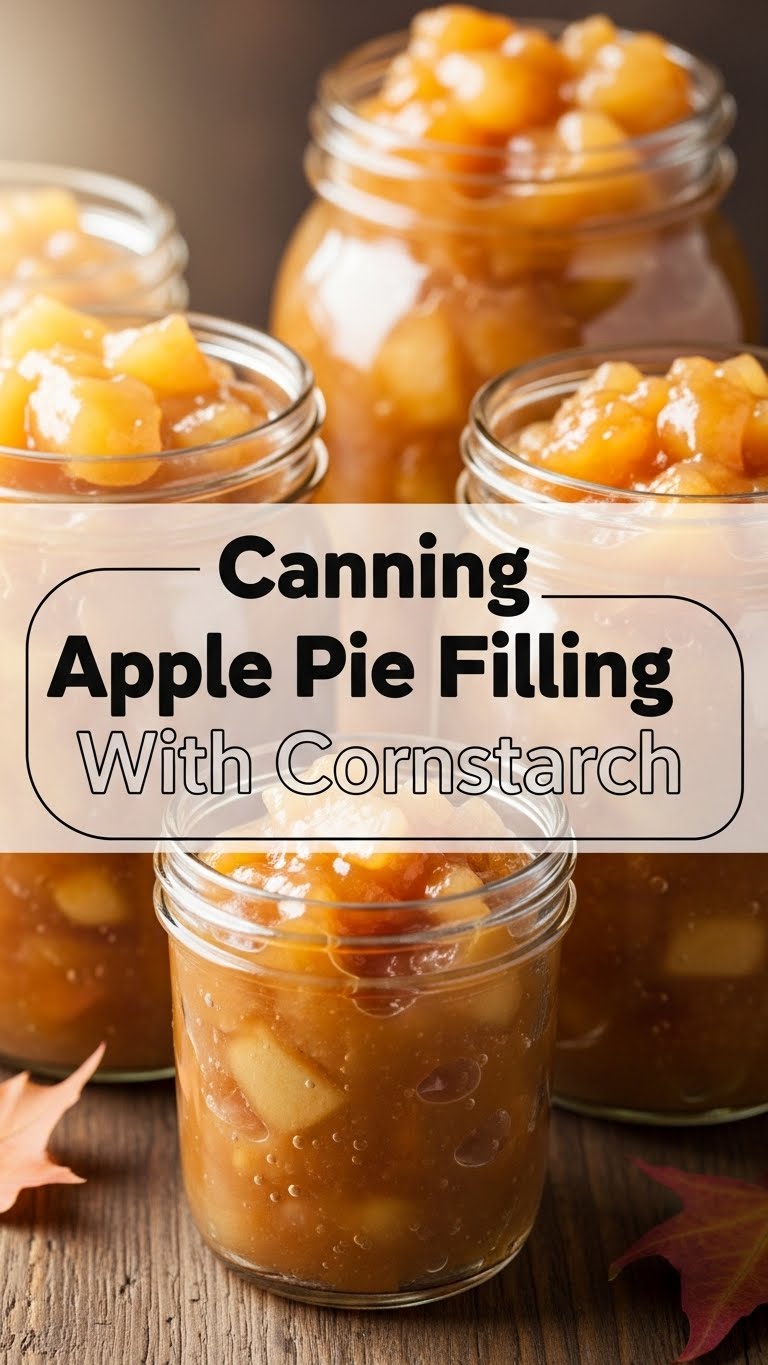
- Jar It Up: Ladle the hot apple pie filling into your warm, prepared jars, leaving 1-inch headspace (that’s the space between the top of the filling and the rim of the jar). Use a clean, damp cloth to wipe the jar rims. Any bit of food can prevent a proper seal. Center the lids and screw on the bands finger-tight.
- Process with Power: Carefully place the filled jars into your boiling water canner. Make sure the water covers the jars by at least an inch. Bring the water to a rolling boil and process quart jars for 20 minutes (or pint jars for 15 minutes), adjusting for altitude if necessary (check a reliable canning guide for your specific elevation).
- Cool Down: Once processing is complete, turn off the heat and let the jars sit in the canner for 5 minutes before carefully removing them to a wire rack. Let them cool undisturbed for 12-24 hours. You’ll hear those satisfying “pings!” as they seal. Check for seals: lids should be concave and not flex when pressed. Store properly sealed jars in a cool, dark place.
Common Mistakes to Avoid
Listen up, buttercup, because avoiding these blunders will save you a headache (and potentially a bad stomach ache, FYI). We want delicious, not disastrous!
- Using Cornstarch: I know, the title mentions it, but for real, **DO NOT USE CORNSTARCH FOR CANNING!** It breaks down under the high heat and acidity of canning, leading to a thin, watery mess and, more importantly, it can interfere with proper heat penetration, making your canned goods unsafe. Clear Jel is the only starch recommended for canning pie fillings.
- Skipping Lemon Juice: This isn’t just for flavor; it’s for safety! Lemon juice adds acidity, which is crucial for safe water bath canning of low-acid foods like apples. It also prevents those pretty apples from turning a depressing brown.
- Overcooking Apples: If your apples are mush before they even hit the jar, you’re going to have sad, mushy pie filling. Cook them just until they’re tender-crisp.
- Not Leaving Headspace: This isn’t just a suggestion; it’s a rule! Too little headspace, and your lids might buckle or pop during processing. Too much, and you might not get a proper seal. Stick to that 1-inch.
- Improper Sealing: Did you wipe the jar rims? Are the lids centered? Are the bands finger-tight (not cranked down like you’re trying to win a wrestling match)? Small details lead to big sealing success.
Alternatives & Substitutions
Feeling creative? Here are a few ways to mix things up, without compromising safety:
- Apple Medley: Don’t stick to just one apple variety! A mix of tart Granny Smiths and sweeter Honeycrisps creates a more complex flavor profile. It’s like a party in your mouth!
- Spice It Up: Feel free to play with your spices. Add a tiny pinch of ground cloves or a bit of fresh ginger for extra zing. Pumpkin pie spice blend works wonders too if you’re feeling extra autumnal. Just don’t go overboard; you still want to taste the apples!
- Sweetness Scale: While the sugar ratio is important for texture and preservation, you can slightly reduce or increase the sugar to your taste if your apples are particularly sweet or tart. Just keep within a reasonable range – don’t cut it in half, unless you’re trying to make a savory apple dish (which isn’t what we’re doing here, right?).
- Other Fruits? While this recipe is for apple pie filling, you can adapt it for other fruits (like peaches or cherries), but **you’ll need to find a specific, tested canning recipe for those fruits,** as acidity levels and processing times will differ. Don’t just swap ’em out willy-nilly!
FAQ (Frequently Asked Questions)
Got questions? Good, I’ve got answers (and maybe a sarcastic comment or two). Let’s clear up some common curiosities!
- “Can I *really* use cornstarch for this, even just a little?” Nope, no, never, nada. We went over this, friend! For safe, shelf-stable canning, **Clear Jel is your only choice** for starch-thickened fillings. Cornstarch is a no-go for high-acid water bath canning, plain and simple.
- “What kind of apples are truly the *best*?” The ones you like to eat raw! But seriously, aim for firm, tart-to-mildly-sweet varieties that hold their shape well when cooked. Granny Smith, Honeycrisp, Braeburn, Fuji, Golden Delicious, or even a mix are excellent. Avoid overly soft or mealy apples.
- “Do I *have* to peel the apples? That’s so much work!” Technically, no, but for pie filling, peeling is highly recommended. Unpeeled apples can result in tough, leathery bits of peel in your smooth, delightful filling. It’s worth the extra effort, trust me.
- “How long does this magical filling last?” Properly canned and sealed jars stored in a cool, dark place can last for at least a year, sometimes even longer! Just make sure those seals are good and tight.
- “My filling looks a bit thin in the jar. Did I mess up the Clear Jel?” Don’t panic! The filling often looks a bit thinner when hot. It will thicken considerably as it cools in the jar. Plus, it will thicken even more when you bake it into a pie. You’re good!
- “Is this hard to do, really?” Nah, if I can follow instructions (mostly), you can too! It might seem like a lot of steps, but once you get into a rhythm, it’s pretty straightforward. Just set aside some time, put on some tunes, and enjoy the process.
- “Can I make a smaller batch?” Absolutely! Just scale down the ingredients proportionally. If you’re new to canning, a smaller batch is a great way to start and build confidence.
Final Thoughts
So there you have it! Your very own, perfectly can-able, apple pie filling. No more last-minute grocery runs for pie ingredients or wrestling with raw apples when a craving hits. You’ve just stocked your pantry with future happiness, and that’s a pretty amazing feat, IMO.
Now go impress someone—or yourself—with your new culinary skills. Bake a pie, make some turnovers, or just eat it with a spoon (no judgment here!). You’ve earned it!


