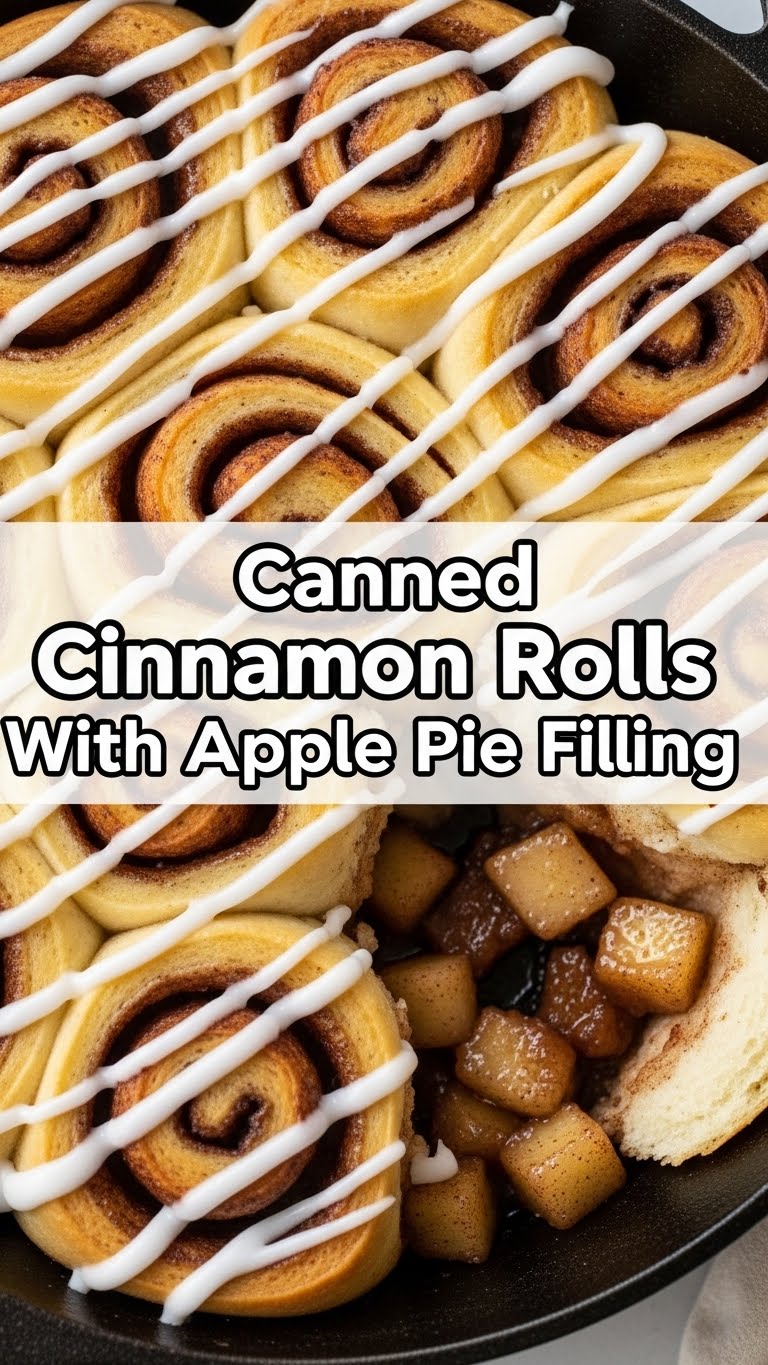
So you’re craving something warm, gooey, and utterly delicious but the thought of spending hours kneading dough or peeling a mountain of apples makes you want to crawl back into bed? Been there, done that, bought the T-shirt. Good news, my friend! We’re about to embark on a culinary adventure that’s so ridiculously simple, you’ll wonder why it’s not a national holiday. Get ready for Canned Cinnamon Rolls with Apple Pie Filling – your new favorite cheat-day, any-day, OMG-I-need-dessert-NOW recipe!
Why This Recipe is Awesome
Look, let’s be real. Not all of us are Michelin-star chefs, and sometimes, even *thinking* about baking from scratch feels like a marathon. That’s where this glorious concoction swoops in like a superhero with a cape made of convenience and deliciousness. Here’s the lowdown:
- It’s idiot-proof. Seriously, even your pet goldfish could probably follow these steps. I’ve personally tested it on days when my brain felt like a deflated balloon, and success was achieved.
- Minimal cleanup, maximum pleasure. We’re talking one baking dish, maybe a spoon, and your face. Done.
- Speed demon. From pantry to plate in less than 30 minutes. Perfect for unexpected guests, a sudden sweet tooth attack, or a Tuesday.
- The aroma alone is worth it. Your kitchen will smell like a cozy autumn dream, and everyone will think you’ve been slaving away all day. Let them think that, it’s our secret.
Ingredients You’ll Need
Gather ’round, pantry explorers! Here’s your very short shopping list:
- 1 can (8 count) refrigerated cinnamon rolls with icing: Don’t even THINK about buying the ones without icing. That little tub of sugary goodness is half the fun!
- 1 can (21 oz) apple pie filling: The pre-sliced, pre-spiced good stuff. Because, again, we’re not peeling apples today.
- Optional but recommended for extra *oomph*:
- 1-2 tablespoons melted unsalted butter: Because butter makes everything better. It’s a scientific fact.
- A sprinkle of cinnamon: If you’re feeling fancy, or just really love cinnamon (who doesn’t?).
- A dash of vanilla extract: Adds that “homemade” vibe.
Step-by-Step Instructions
Alright, apron on (or not, we’re casual here!), let’s get baking!
- Preheat Power: First things first, get that oven hot. Preheat your oven to 375°F (190°C). This is crucial, don’t skip it!
- Dish Duty: Grab an 8×8 or 9×9 inch baking dish. If you’re feeling generous and want to share, a 9×13 inch dish works too, you’ll just spread them out a bit more. Lightly spray it with cooking spray.
- Unroll the Fun: Pop open that can of cinnamon rolls! Separate them and place each roll flat into your prepared baking dish. You might need to slightly flatten them with your palm to make a little “nest” for the apple filling.
- Apple Attack: Now, spoon about 1-2 tablespoons of the apple pie filling directly onto the top of each cinnamon roll. Don’t be shy; load ’em up! If you have any extra melted butter, vanilla, or cinnamon, you can drizzle it over the apples at this point for an extra flavor boost.
- Bake Time: Slide that dish into your preheated oven. Bake for 15-20 minutes, or until the cinnamon rolls are golden brown and cooked through. Keep an eye on them; ovens vary!
- Icing on the Cake (Roll): Once they’re out of the oven, immediately grab that little tub of icing from the cinnamon roll can. Drizzle (or dollop, we don’t judge) it all over the warm rolls. The heat will melt it into a glorious glaze.
- Serve & Devour: Let them cool for a few minutes (if you can resist!) then serve warm. You’ve earned this, my friend.
Common Mistakes to Avoid
Even the simplest recipes have their pitfalls. Don’t be “that guy” (or gal) who makes these rookie errors:
- Thinking you don’t need to preheat the oven: Rookie mistake! You want those rolls to cook evenly and get that perfect golden crust, not just sit there limply.
- Overcrowding the pan: Give those rolls some breathing room! If they’re too squished, they won’t cook as well or get that nice crisp edge.
- Forgetting the icing: I mean, come on. That’s like forgetting the sprinkles on a cupcake. The icing is non-negotiable!
- Not checking for doneness: Every oven is a unique snowflake. Your rolls might cook faster or slower than mine. Use the suggested time as a guide, but always look for that golden-brown perfection.
Alternatives & Substitutions
Feeling adventurous? Here are a few ways to mix things up:
- Fruit Swaps: Not an apple fan? Try cherry pie filling, peach, or even blueberry! They all work wonderfully. IMO, cherry is a strong contender.
- Nutty Crunch: Sprinkle some chopped pecans or walnuts over the apples before baking for a nice textural contrast.
- Cream Cheese Frosting Upgrade: If you’re feeling extra, ditch the can’s icing and whip up a simple cream cheese frosting. It takes it from “amazing” to “holy moly, you made this?!”
- Spiced It Up: A pinch of nutmeg, allspice, or even a tiny bit of cardamom with your cinnamon can elevate the flavor profile.
FAQ (Frequently Asked Questions)
Got questions? I’ve got answers, delivered with a side of sass.
- Can I use light cinnamon rolls? Well, technically yes, but why hurt your soul like that? If you’re going for gooey goodness, go all in!
- What if I don’t have apple pie filling? Improvise! Chopped apples sautéed with butter, brown sugar, and cinnamon could work in a pinch, but it’s more effort. Just buy the can, friend.
- Can I make this ahead of time? You can prep the rolls in the dish with the apples, cover it, and refrigerate overnight. Then just bake in the morning! Adjust baking time as needed for a cold dish.
- How do I store leftovers? Pop ’em in an airtight container in the fridge for up to 2-3 days. Reheat gently in the microwave or oven.
- Can I add ice cream? Is that even a question? YES! A scoop of vanilla ice cream with these warm rolls is pure bliss. FYI, it’s basically mandatory.
- What kind of baking dish is best? Glass or ceramic dishes work great. Metal pans tend to cook a bit faster, so adjust your time if you’re using one.
Final Thoughts
There you have it! A recipe so simple, so delicious, it’ll make you feel like a kitchen wizard without all the hocus pocus. This is your go-to for a quick dessert, an easy breakfast treat, or just because you deserve something sweet. Now go impress someone—or yourself—with your new culinary skills. You’ve earned it!


